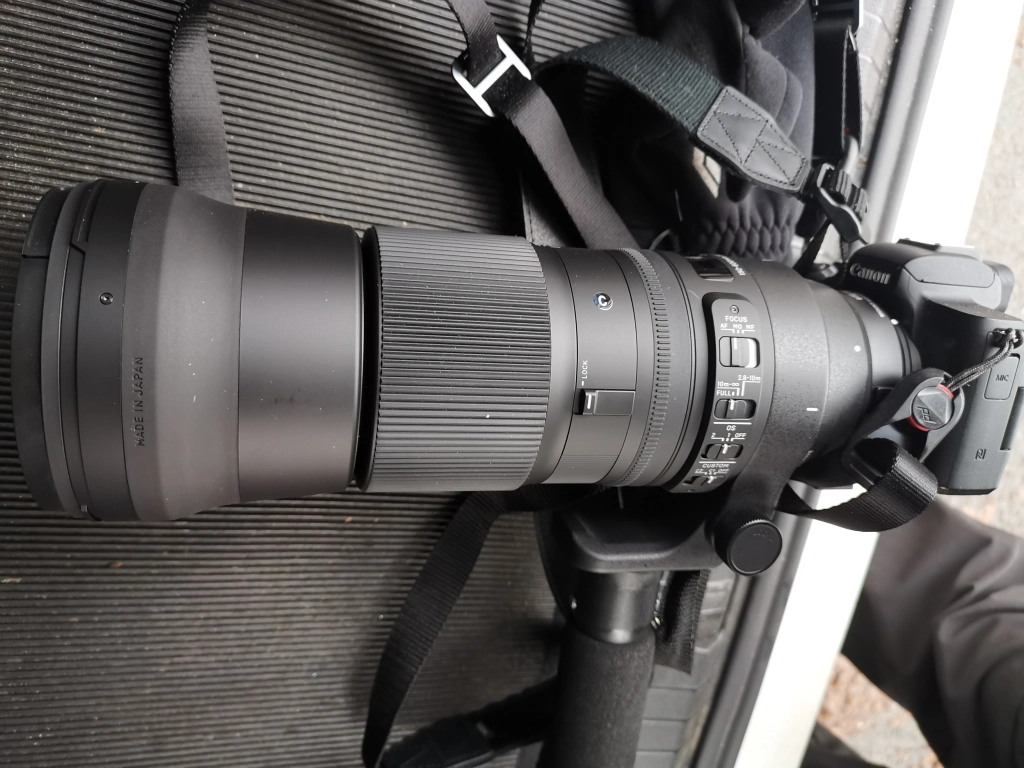
As holidays are traditionally time to be lazy and just rest, I have not undertaken any major photography projects either. One thing that I have been wondering though, has been the distinction between “soft” and “sharp” photos. There are actually many things intermingling here. In old times, the lenses I used were not capable of delivering optically sharp images, and due to long exposure times, unsensitive film (later: sensors), the images were also often blurry: I had not got the subject in focus and/or there was blur caused by movement (of target and/or the camera shaking). Sometimes the blurry outcomes were visually or artistically interesting, but this was mostly due to pure luck, rather than any skill and planning.
Later, it became feasible to get images that were technically controlled and good-looking according to the standard measurements of image quality. Particularly the smartphone photos have changed the situation in major ways. It should be noted that the small sensor and small lenses in early mobile phone cameras did not even need to have any sort of focus mechanisms – they were called ‘hyperfocal lenses’, meaning that everything from very close distance to infinity would always be “in focus” (at least theoretically). As long as you’d have enough light and not too much movement in the image, you would get “sharp” photos.

However, sharpness in this sense is not always what a photographer wants. Yes, you might want to have your main subject to be sharp (have a lot of details, and be in perfect focus), but if everything in the image background shows such detail and focus as well, that might be distracting, and aesthetically displeasing.
Thus, the expensive professional cameras and lenses (full frame bodies, and “fast”, wide-aperture lenses) are actually particularly good in producing “soft” rather than “sharp” images. Or, to put it slightly better, they will provide the photographer larger creative space: those systems can be used to produce both sharp and soft looking effects, and the photographer has better control on where both will appear in the image. The smartphone manufacturers have also added algorithmic techniques that are used to make the uniformly-sharp mobile photos softer, or blurry, in selected areas (typically e.g. in the background areas of portrait photos).
Sharpness in photos is both a question of information, and how it is visually expressed. For example, a camera with very low resolution sensor cannot be used to produce large, sharp images, as there is not enough information to start with. A small-size version of the same photo might look acceptably sharp, though. On the other hand, a camera with massively high-resolution sensor does not automatically procude sharp looking images. There are multiple other factors in play, and the visual acuity and contrast are perhaps the most crucial ones. The ray of light that comes through the lens and falls on the sensor produces what is called a “circle of confusion”, and a single spot of the subject should ideally be focused on so small spot in the sensor that it would look like a nice, sharp spot also in the finished image (note that this is also dependent on the visual acuity, the eyes of the person looking at it – meaning that discussions of “sharpness” are also in certain ways always subjective). Good quality optics have little diffraction effects that would optically produce visual blur to the photo.

Similarly, the sharp and soft images may be affected by “visual noise”, which generally is created in the image sensor. In film days, the “grain” of photography was due to the actual small grains of the photosensitive particles that were used to capture the light and dark areas in the image. There were “low ISO” (less light-sensitive) film materials that had very fine-grained particles, and “high ISO” (highly light-sensitive) films that had larger and coarser particles. Thus, it was possible to take photos in low-light conditions (or e.g. with fast shutter speeds) with the sensitive film, but the downside was that there was more grain (i.e. less sharp details, and more visual noise) in the final developed and enlarged photographs. The same physical principles apply also today, in the case of photosensitive, semiconductive camera sensors: when the amplification of light signal is boosted, the ISO values go up, faster shots or images in darker conditions can be captured, but there will be more visual noise in the finished photos. Thus, the perfectly sharp, noise-free image cannot always be achieved.
But like many photographers seek for the soft “bokeh” effect into the backgrounds (or foregrounds) of their carefully composed photos, some photographers do not shy away from the grainy effects of visual noise, or high ISO values. Similar to the control of sharpness and softness in focus, the use of grain is also a question of control and planning: if all and everything one can produce has noise and grain, there is no real creative choice. Understanding the limitations of photographic equipment (with a lot of training and experimentation) will eventually allow one to utilize also visual “imperfections” to achieve desired atmospheres and artistic effects.


You must be logged in to post a comment.