
 In my photography blog, I have published a new photo project, “Small Wings” – see: https://frans.photo.blog/2020/10/04/small-wings/
Category: DIY
All Do-It-Yourself style stuff
PC Build, Midsummer 2020
I have followed an about five-year PC upgrade cycle – making smaller, incremental parts upgrades in-between, and building a totally new computer every four-five years. My previous two completely new systems were built during a Xmas break – in December 2011 and 2015. This time, I was seeking for something to put my mind into right now (year 2020 has been a tough one), and specced my five-year build now in Midsummer, already.
It somehow feels that every year is a bad year to invest into computer systems. There is always something much better coming up, just around the corner. This time, it seems that there will be both a new processor generation and new major graphics card generation coming up, later in 2020. But after doing some comparative research for a couple of weeks, in the end, I did not really care. The system I’ll build with the 2020 level of technology, should be much more capable than the 2015 one, in any case. Hopefully the daily system slowdowns and bottlenecks would ease, now.
Originally, I thought that this year would be the year of AMD: both the AMD Zen 2 architecture based, Ryzen 3000 series CPUs and Radeon RX 5000 GPUs appeared very promising in terms of value for money. In the end, it looks like this might be my last Intel-Nvidia system (?), instead. My main question-marks related to the single-core performance in CPUs, and to the driver reliability in Radeon 5000 GPUs. The more I read, and discussed with people who had experience with the Radeon 5000 GPUs, the more I heard stories about blue screens and crashing systems. The speed and price of the AMD hardware itself seemed excellent. In CPUs, on the other hand, I evaluated my own main use cases, and ended up with the conclusion that the slightly better single core performance of Intel 10th generation processors would mean a bit more to me, than the solid multi-core, multithread-performance of similarly priced, modern Ryzen processors.
After a couple of weeks of study into mid-priced, medium-powered components, here are the core elements chosen for my new, Midsummer 2020 system:


Intel Core i5-10600K, LGA1200, 4.10 GHz, 12MB, Boxed (there is some overclocking potential in this CPU, too)


ARCTIC Freezer 34 eSports DUO – Red, processor cooler (I studied both various watercooling solutions, and the high-powered Noctua air coolers, before settling on this one; the watercooling systems did not appear quite as durable in the long run, and the premium NH-D15 was a bit too large to fit comfortably into the case; this appared to be a good compromise)

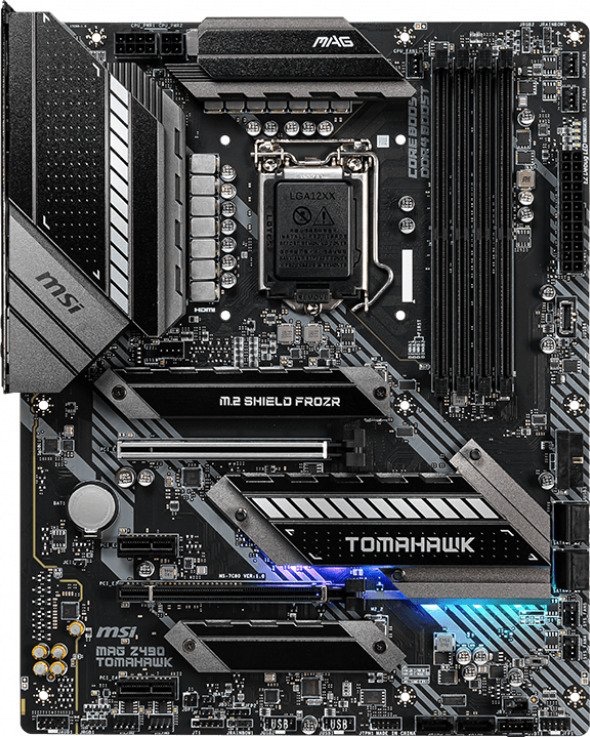
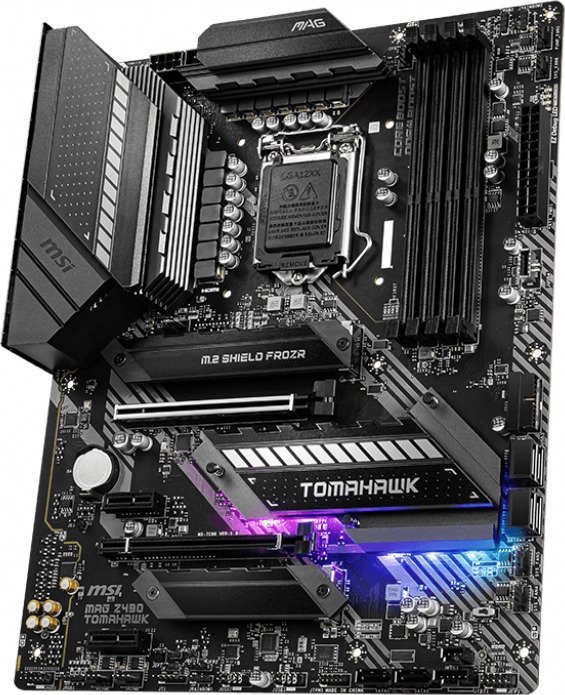

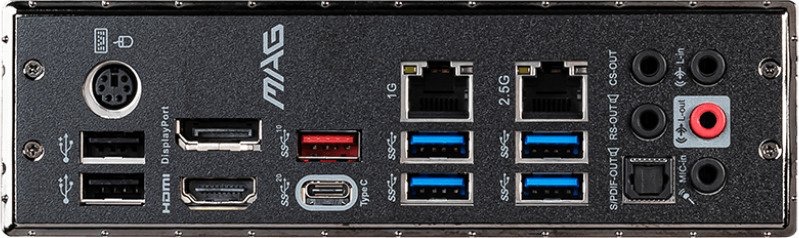
MSI MAG Z490 TOMAHAWK, ATX motherboard (this motherboard appears to strike a nice balance between price vs. solid construction, feature set, and investments put into the Voltage Regulator Modules, VRMs, and other key electronic circuit components)
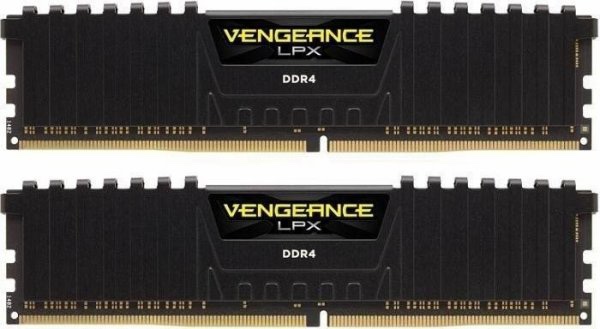
Corsair 32GB (2 x 16GB) Vengeance LPX, DDR4 3200MHz, CL16, 1.35V memory modules (this amount of memory is not needed for gaming, I think, but for all my other, multitasking and multi-threaded everyday uses)
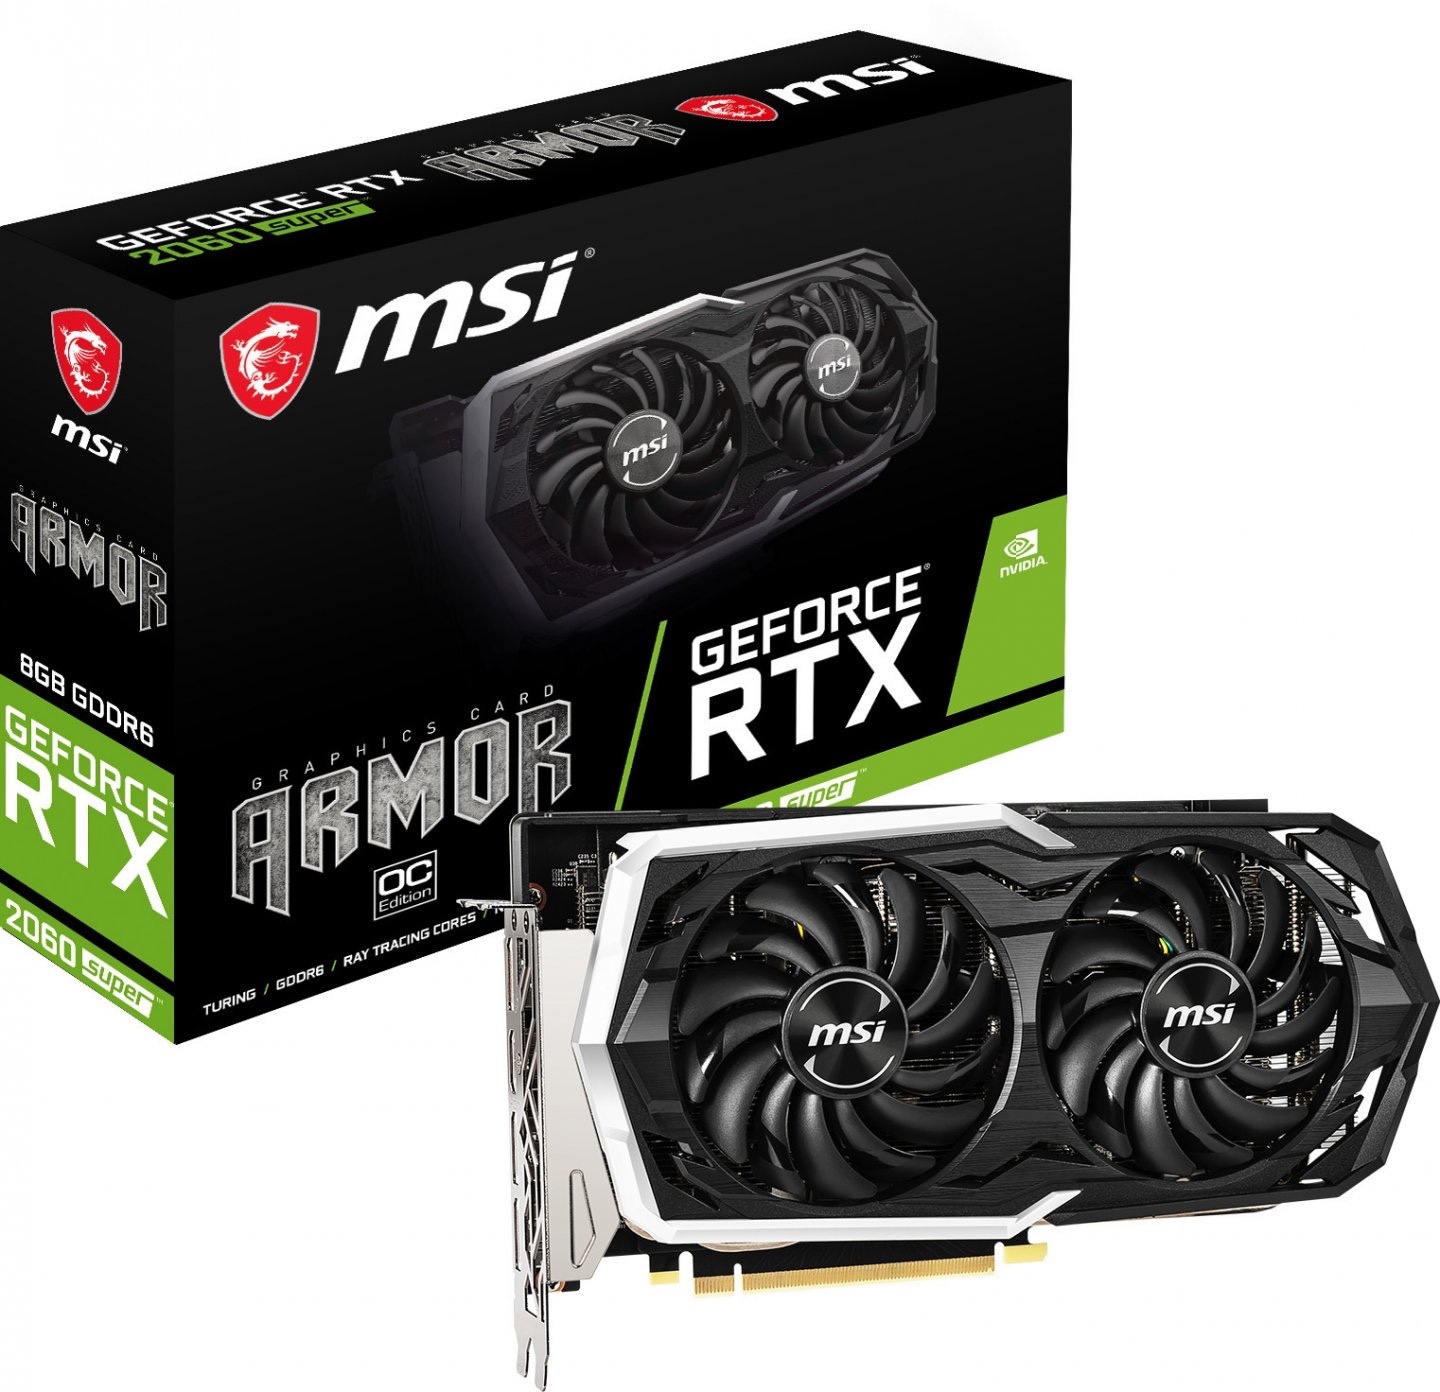


MSI GeForce RTX 2060 Super ARMOR OC GPU, 8GB GDDR6 (this is entry level ray-tracing technology – that should be capable enough for my use, for a couple of years at least)
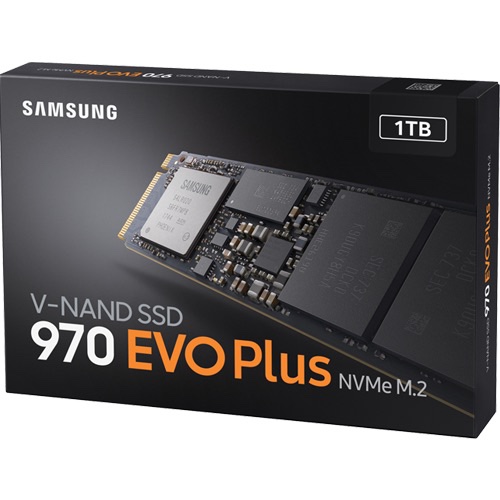
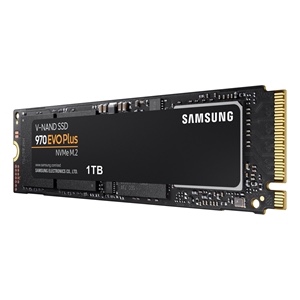
Samsung 1TB 970 EVO Plus SSD M.2 2280, PCIe 3.0 x4, NVMe, 3500/3300 MB/s (this is the system disk; there will be another SSD and a large HDD, plus a several-terabyte backup solution)
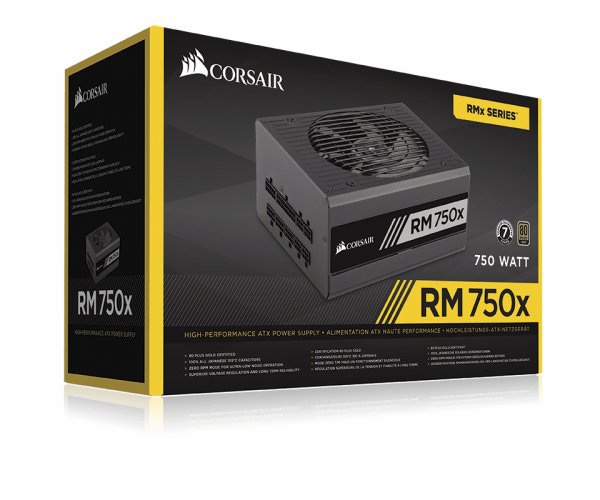


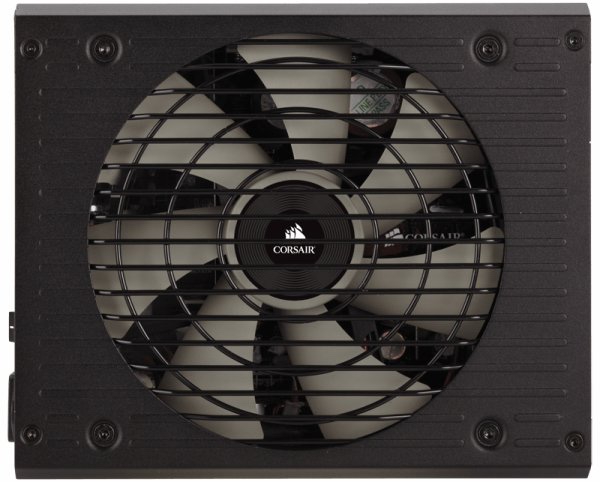
Corsair 750W RM750x (2018), modular power unit, 80 Plus Gold (there should be enough reliable power available in this PSU)


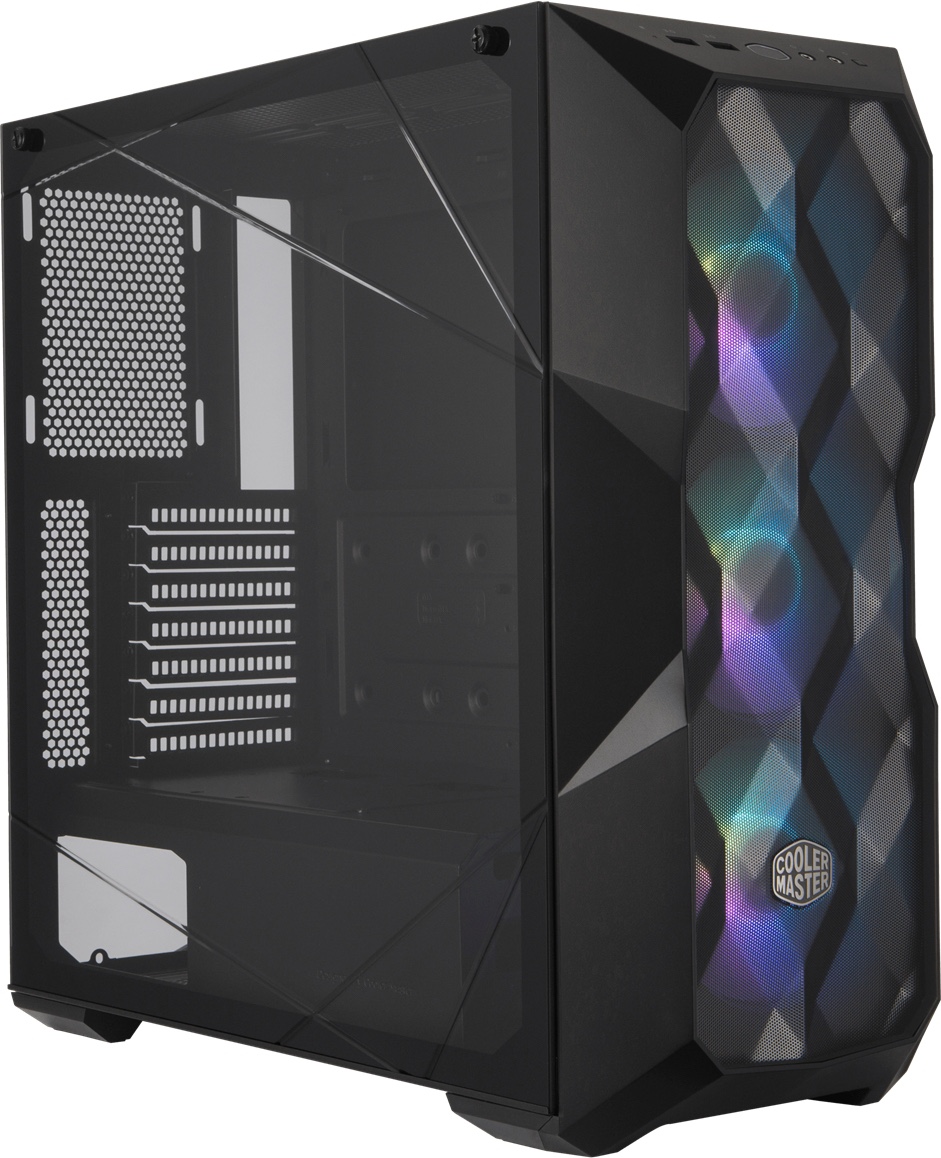

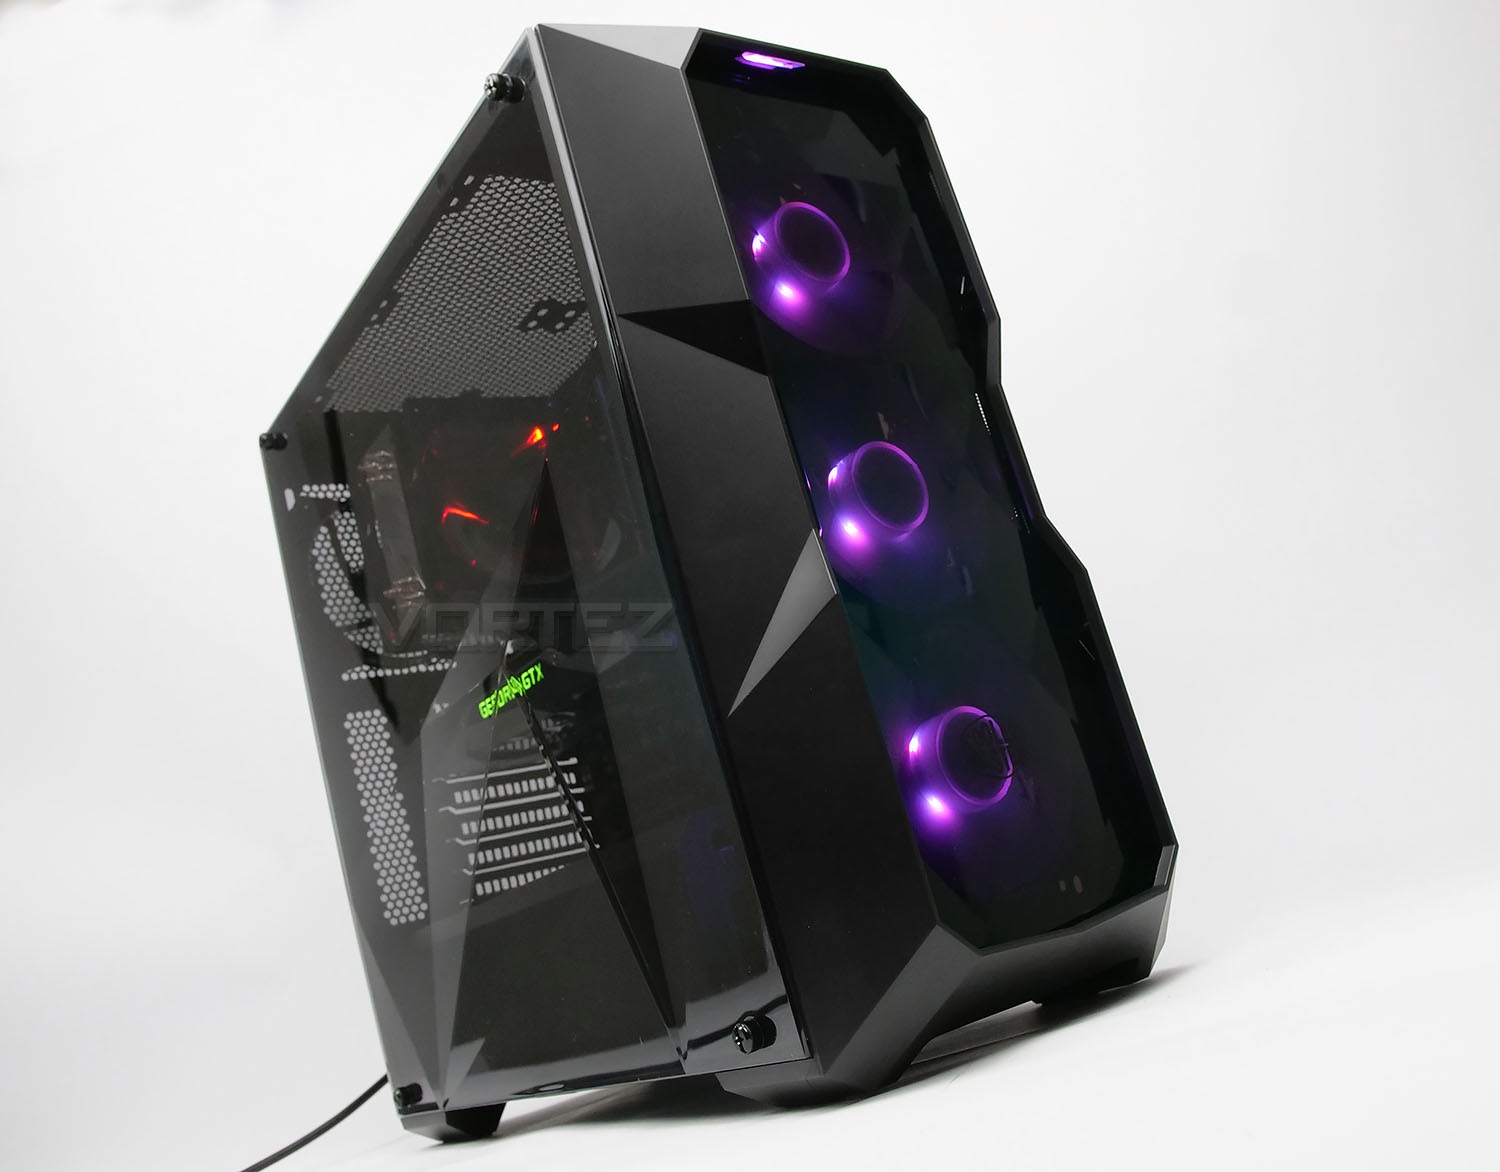

Cooler Master MasterBox TD500 Mesh w/ controller, ATX, Black (this is chosen on the basis of available test results – the priorities for me here were easy installation, efficient air flow, and thirdly silent operation)
As a final note, it was interesting to note that during the intervening 2015-2020 period, there was time when RGB lights became the de facto standard in PC parts: everything was radiating and pulsating in multiple LED colours like a Xmas tree. It is ok to think about design, and aim towards some kind of futurism, even, in this context. But some things are just plain ridiculous, and I am happy to see a bit more minimalism winning ground in PC enthusiast level components, too.
Towards the chili season 2020

There are already few hours of (dim) sunlight per day, so it is again time to start thinking about the next chili season. There were some lessons to consider from last year (one of new hydroponics approach – you can read more in my garden thread/category of this blog: https://fransmayra.fi/category/garden/).
One of the lessons was that “slow” chilies and the cold Finnish summer do not go together very well. I am not willing to use electric heaters for extended periods just to keep my plants alive in the greenhouse. Thus, I have decided to remove Rocoto varieties from my selection. They are nice, large chili peppers, but many are also too slow to grow and ripen for my approach.
Another lesson from last year was sort of “positive problem”. The hydroponics is almost “too good” cultivation system for me. The plants really grew large in the new AutoPot 4pot system I got year ago. I had trouble last spring when plants were already so large in April that move from my basement into the outdoor greenhouse would have been necessary, but there was a “takatalvi” (cold spell, with more snow), and I was stuck with them. And when it was warm enough in May, the plants were far too large to be safely carried around, and had suffered from lack of direct sunlight. It was a sort of minor disaster. (See my post at: https://fransmayra.fi/2019/05/30/chilies-in-the-greenhouse/.)
Thus, while I can start thinking about the varieties to grow, I will not germinate them yet.
I need to get my priorities sorted out first. As shown in the above image, I have a lot of chili seeds (these are all ordered from the trusty FataliiSeeds.net store, I think). It makes no sense to try growing too many varieties at the same time, when in reality I have room for maybe 4-6 fully grown plants in the greenhouse.
My initial idea for this year is try to find more compact varieties – so I dropped any chili which says “Mammoth” in its name, for example. After that, there are just two main principles this year:
- one or two chilies that are just of right strength and taste for actually eating
- one or two chilies that are beatiful and interesting.
My current “shortlist” of chili seeds of different kinds is shown in the image below. In terms of taste, I really like both Lemon Drop (C. baccatum), and then yellow habanero style chilies (e.g. Hainan Yellow Lantern – the Chinese “Emperor Chili”, and Madame Jeanette, which is probably a related, Habanero style yellow chili but which originates from Surinam – these are all C. chinense chilies).
The “visual chili” department is much larger and difficult to sort out at this point. I am considering of trying out some new, multi-coloured varieties. I have experience from Bolivian Rainbow (C. annuum) and Numex Twilight (C. annuum) already. Both are nice, but there are just so many interesting plants out there! If you have any recommendations, please feel free to drop a comment below.

Switching to NVMe SSD

I made a significant upgrade to my main gaming and home workstation in Christmas 2015. That setup is soon thus four years old, and there are certainly some areas where the age is starting to show. The new generations of processors, system memory chips and particularly the graphics adapters are all significantly faster and more capable these days. For example, my GeForce GTX 970 card is now two generations behind the current state-of-the-art graphics adapters; NVIDIA’s current RTX cards are based on the new “Turing” architecture that is e.g. capable of much more advanced ray tracing calculations than the previous generations of consumer graphics cards. What this means in practice is that rather than just applying pre-generated textures to different objects and parts of the simulated scenery, the ray tracing graphics attempts to simulate how actual rays of light would bounce and create shadows and reflections in this virtual scene. Doing this kind of calculations in real-time for millions of light rays in an action-filled game scene is an extremely computationally intensive thing, and the new cards are packed with billions of transistors, in multiple specialised processor cores. You can have a closer look at this technology, with some video samples e.g. from here: https://www.digitaltrends.com/computing/what-is-ray-tracing/ .
I will probably update my graphics card, but only a little later. I am not a great fan of 3D action games to start with, and my home computing bottlenecks are increasingly in other areas. I have been actively pursuing my photography hobby, and with the new mirrorless camera (EOS M50) moving to using the full potentials of RAW file formats and Adobe Lightroom post-processing. With photo collection sizes growing into multiple hundreds of thousands, and the file size of each RAW photo (and it’s various-resolution previews) growing larger, it is the disk, memory and speed of reading and writing all that information that matters most now.
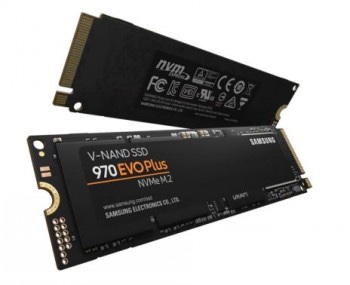
The small update that I made this summer was focused on speeding up the entire system, and the disk I/O in particular. I got Samsung 970 EVO Plus NVMe M.2 SSD (1 Tb size) as the new system disk (for more info, see here: https://www.samsung.com/semiconductor/minisite/ssd/product/consumer/970evoplus/). The interesting part here is that “NVMe” technology. That stands for “Non-Volatile Memory” express interface for solid stage memory devices like SSD disks. This new NVMe disk looks though nothing like my old hard drives: the entire terabyte-size disk is physically just a small add-on circuit board, which fits into the tiny M.2 connector in the motherboard (technically via a PCI Express 3.0 interface). The entire complex of physical and logical interface and connector standards involved here is frankly a pretty terrible mess to figure out, but I was just happy to notice that the ASUS motherboard (Z170-P) which I had bought in December 2015 was future-proof enough to come with a M.2 connector which supports “x4 PCI Express 3.0 bandwidth”, which is apparently another way of saying that it has NVMe support.
I was actually a bit nervous when I proceeded to install the Samsung 970 EVO Plus NVMe into the M.2 slot. At first I updated the motherboard firmware to the latest version, then unplugged and opened the PC. The physical installation of the tiny M.2 chip actually became one of the trickiest parts of the entire operation. The tiny slot is in an awkward, tight spot in the motherboard, so I had to remove some cables and the graphics card just to get my hands into it. And the single screw that is needed to fix the chip in place is not one of the regular screws that are used for computer case installations. Instead, this is a tiny “micro-screw” which is very hard to find. Luckily I finally located my original Z170-P sales box, and there it was: the small plastic pack with a tiny mounting bolt and the microscopic screw. I had kept the box in my storage shelves all these years, without even noticing the small plastic bag and tiny screws in the first place (I read from the Internet that there are plenty of others who have thrown the screw away with the packaging, and then later been forced to order a replacement from ASUS).
There are some settings that are needed to set up in BIOS to get the NVMe drive running. I’ll copy the steps that I followed below, in case they are useful for some others (please follow them only with your own risk – and, btw, you need to start by creating the Windows 10 installation USB media from the Microsoft site, and by pluggin that in before trying to reboot and enter the BIOS settings):
In your bios in Advanced Setup. Click the Advanced tab then, PCH Storage Configuration
Verify SATA controller is set to – Enabled
Set SATA Mode to – RAID
Go back one screen then, select Onboard Device Configuration.
Set SATA Mode Configuration to – SATA Express
Go back one screen. Click on the Boot tab then, scroll down the page to CSM. Click on it to go to next screen.
Set Launch CSM to – Disabled
Set Boot Device Control to – UEFI only
Boot from Network devices can be anything.
Set Boot from Storage Devices to – UEFI only
Set Boot from PCI-E PCI Expansion Devices to – UEFI only
Go back one screen. Click on Secure Boot to go to next screen.
Set Secure Boot state to – Disabled
Set OS Type to – Windows UEFI mode
Go back one screen. Look for Boot Option Priorities – Boot Option 1. Click on the down arrow in the outlined box to the right and look for your flash drive. It should be preceded by UEFI, (example UEFI Sandisk Cruzer). Select it so that it appears in this box.
(Source: https://rog.asus.com/forum/showthread.php?106842-Required-bios-settings-for-Samsung-970-evo-Nvme-M-2-SSD)
Though, in my case if you put “Launch CSM” to “Disabled”, then the following settings in that section actually vanish from the BIOS interface. Your mileage may vary? I just backspaced at that point, made the next steps first, then made the “Launch CSM” disable step, and then proceeded further.
Another interesting part is how to partition and format the SSD and other disks in one’s system. There are plenty of websites and discussions around related to this. I noticed that Windows 10 will place some partitions to other (not so fast) disks if those are physically connected during the first installation round. So, it took me a few Windows re-installations to actually get the boot order, partitions and disks organised to my liking. But when everything was finally set up and running, the benchmark reported that my workstation speed had been upgraded the “UFO” level, so I suppose everything was worth it, in the end.
Part of the quiet and snappy, effective performance of my system after this installation can of course be just due to the clean Windows installation in itself. Four years of use with all kinds of software and driver installations can clutter the system so that it does not run reliably or smoothly, regardless of the underlying hardware. I also took the opportunity to physically clean the PC inside-out thoroughly, fix all loose and rattling components, organise cables neatly, etc. After closing the covers, setting the PC case back to its place, and plugging in a sharp, 4K monitor and a new keyboard (Logitech K470 this time), and installing just a few essential pieces of software, it was pleasure to notice how fast everything now starts and responds, and how cool the entire PC is running according to the system temperature sensor data.
Cool summer, everyone!
Hydroponics, pt. 3
My chili project was delayed for a week or two (a nasty virus hit), so I have only now gradually been able to set up and move forward with my hydroponics system. I did get the AutoPot 4pot system by mail order (everything else was ok, except the small “tophat grommet” that is used to seal the connection of watertube into the water reservoir tank – I got that from a local store). The growing medium is 60/40 “Gold Label” HydroCoco mix, with a small layer of pure hydrocorn at the bottom.
The LED light system was bit of a challenge to install so that I can adjust the right height of lamps from the tops of chili plants (without fastening anything to the ceiling, as our panels cannot take it). This time it was right spot for an “IkeaHack”: the “elevators” for LED strips were installed into a Ikea MULIG cloth rack. Underneath the entire system a 80 x 80 cm plastic vat was installed, just to be secure with all that water. The outcome is perhaps not very beautiful, but it seems functional enough. Let’s see how the Canna Coco A+B solution that I am feeding them will work out. I am following the mild, rooting phase solution recipe at this point: 20 ml of both fertilizers into a 10 L bucket of water.
My four pots finally host these: Lemon Drop, CAP 270, Sugar Rush Orange, and Hainan Yellow Lantern. (Laura has other four chili seedlings in soil pots.) Looking forward to good growth!

A messy system? 
Selecting the seelings. 
Electricity for the LED strips. 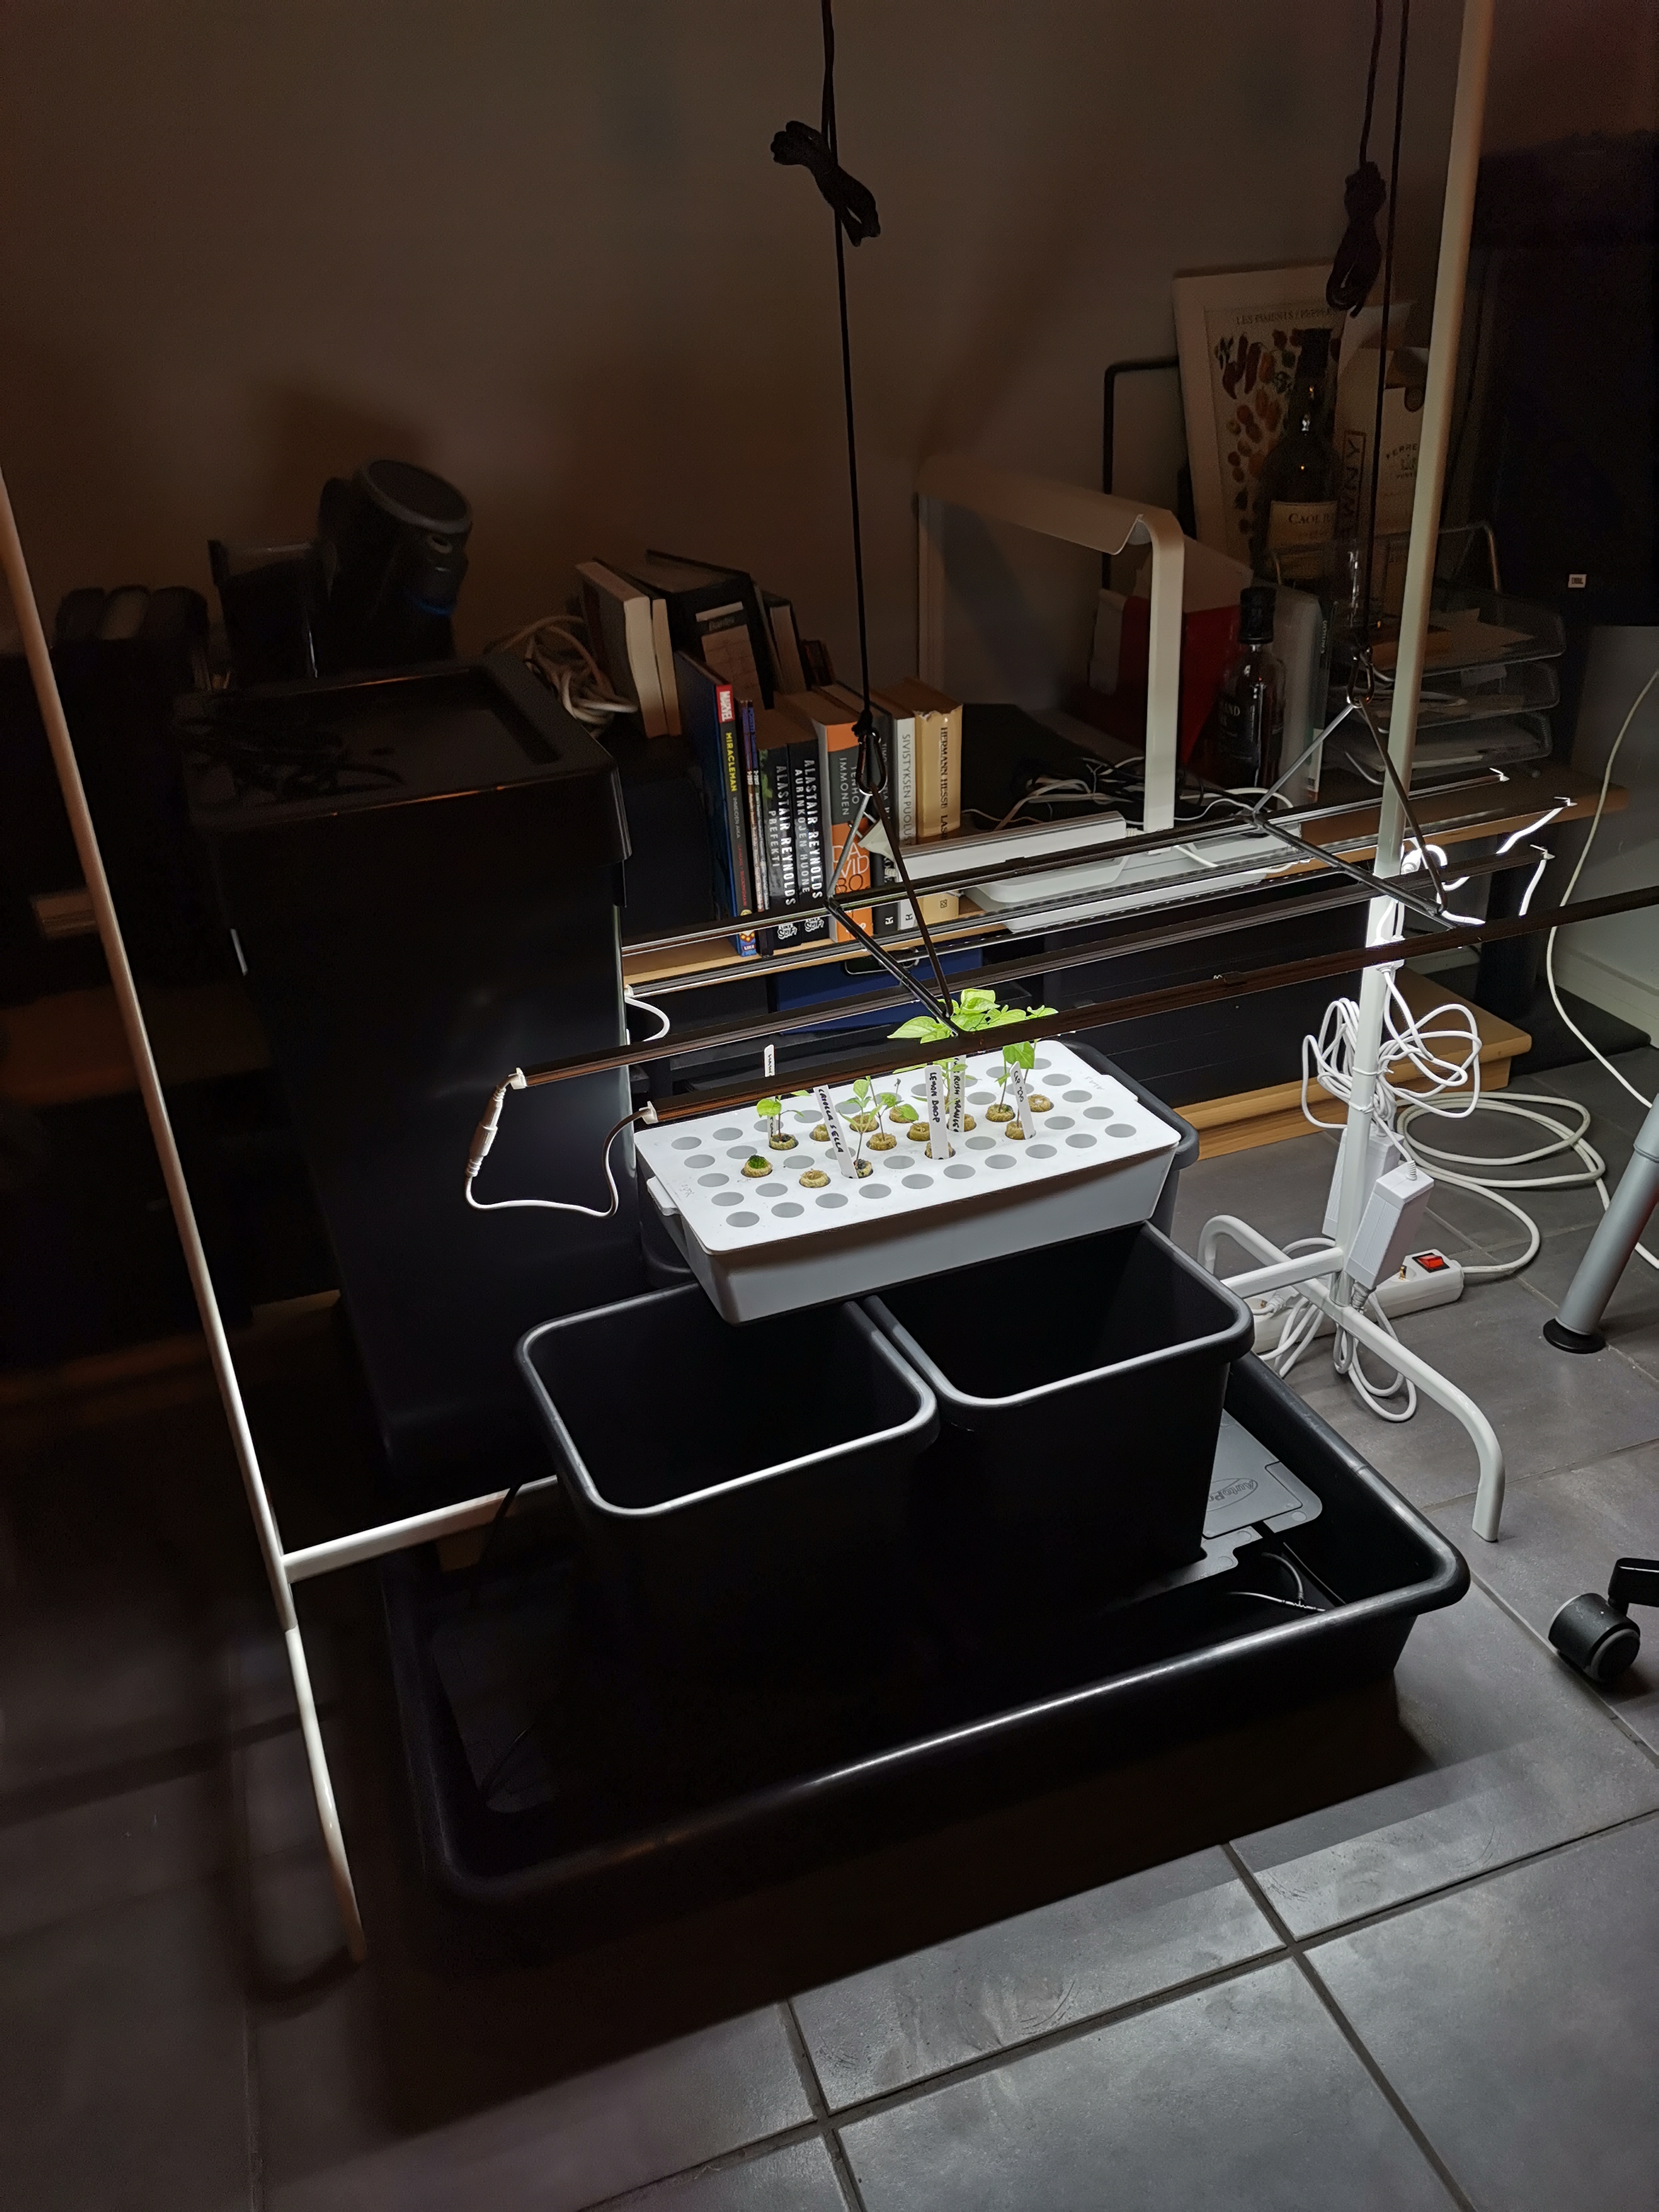
Doing measurements in a tight spot. 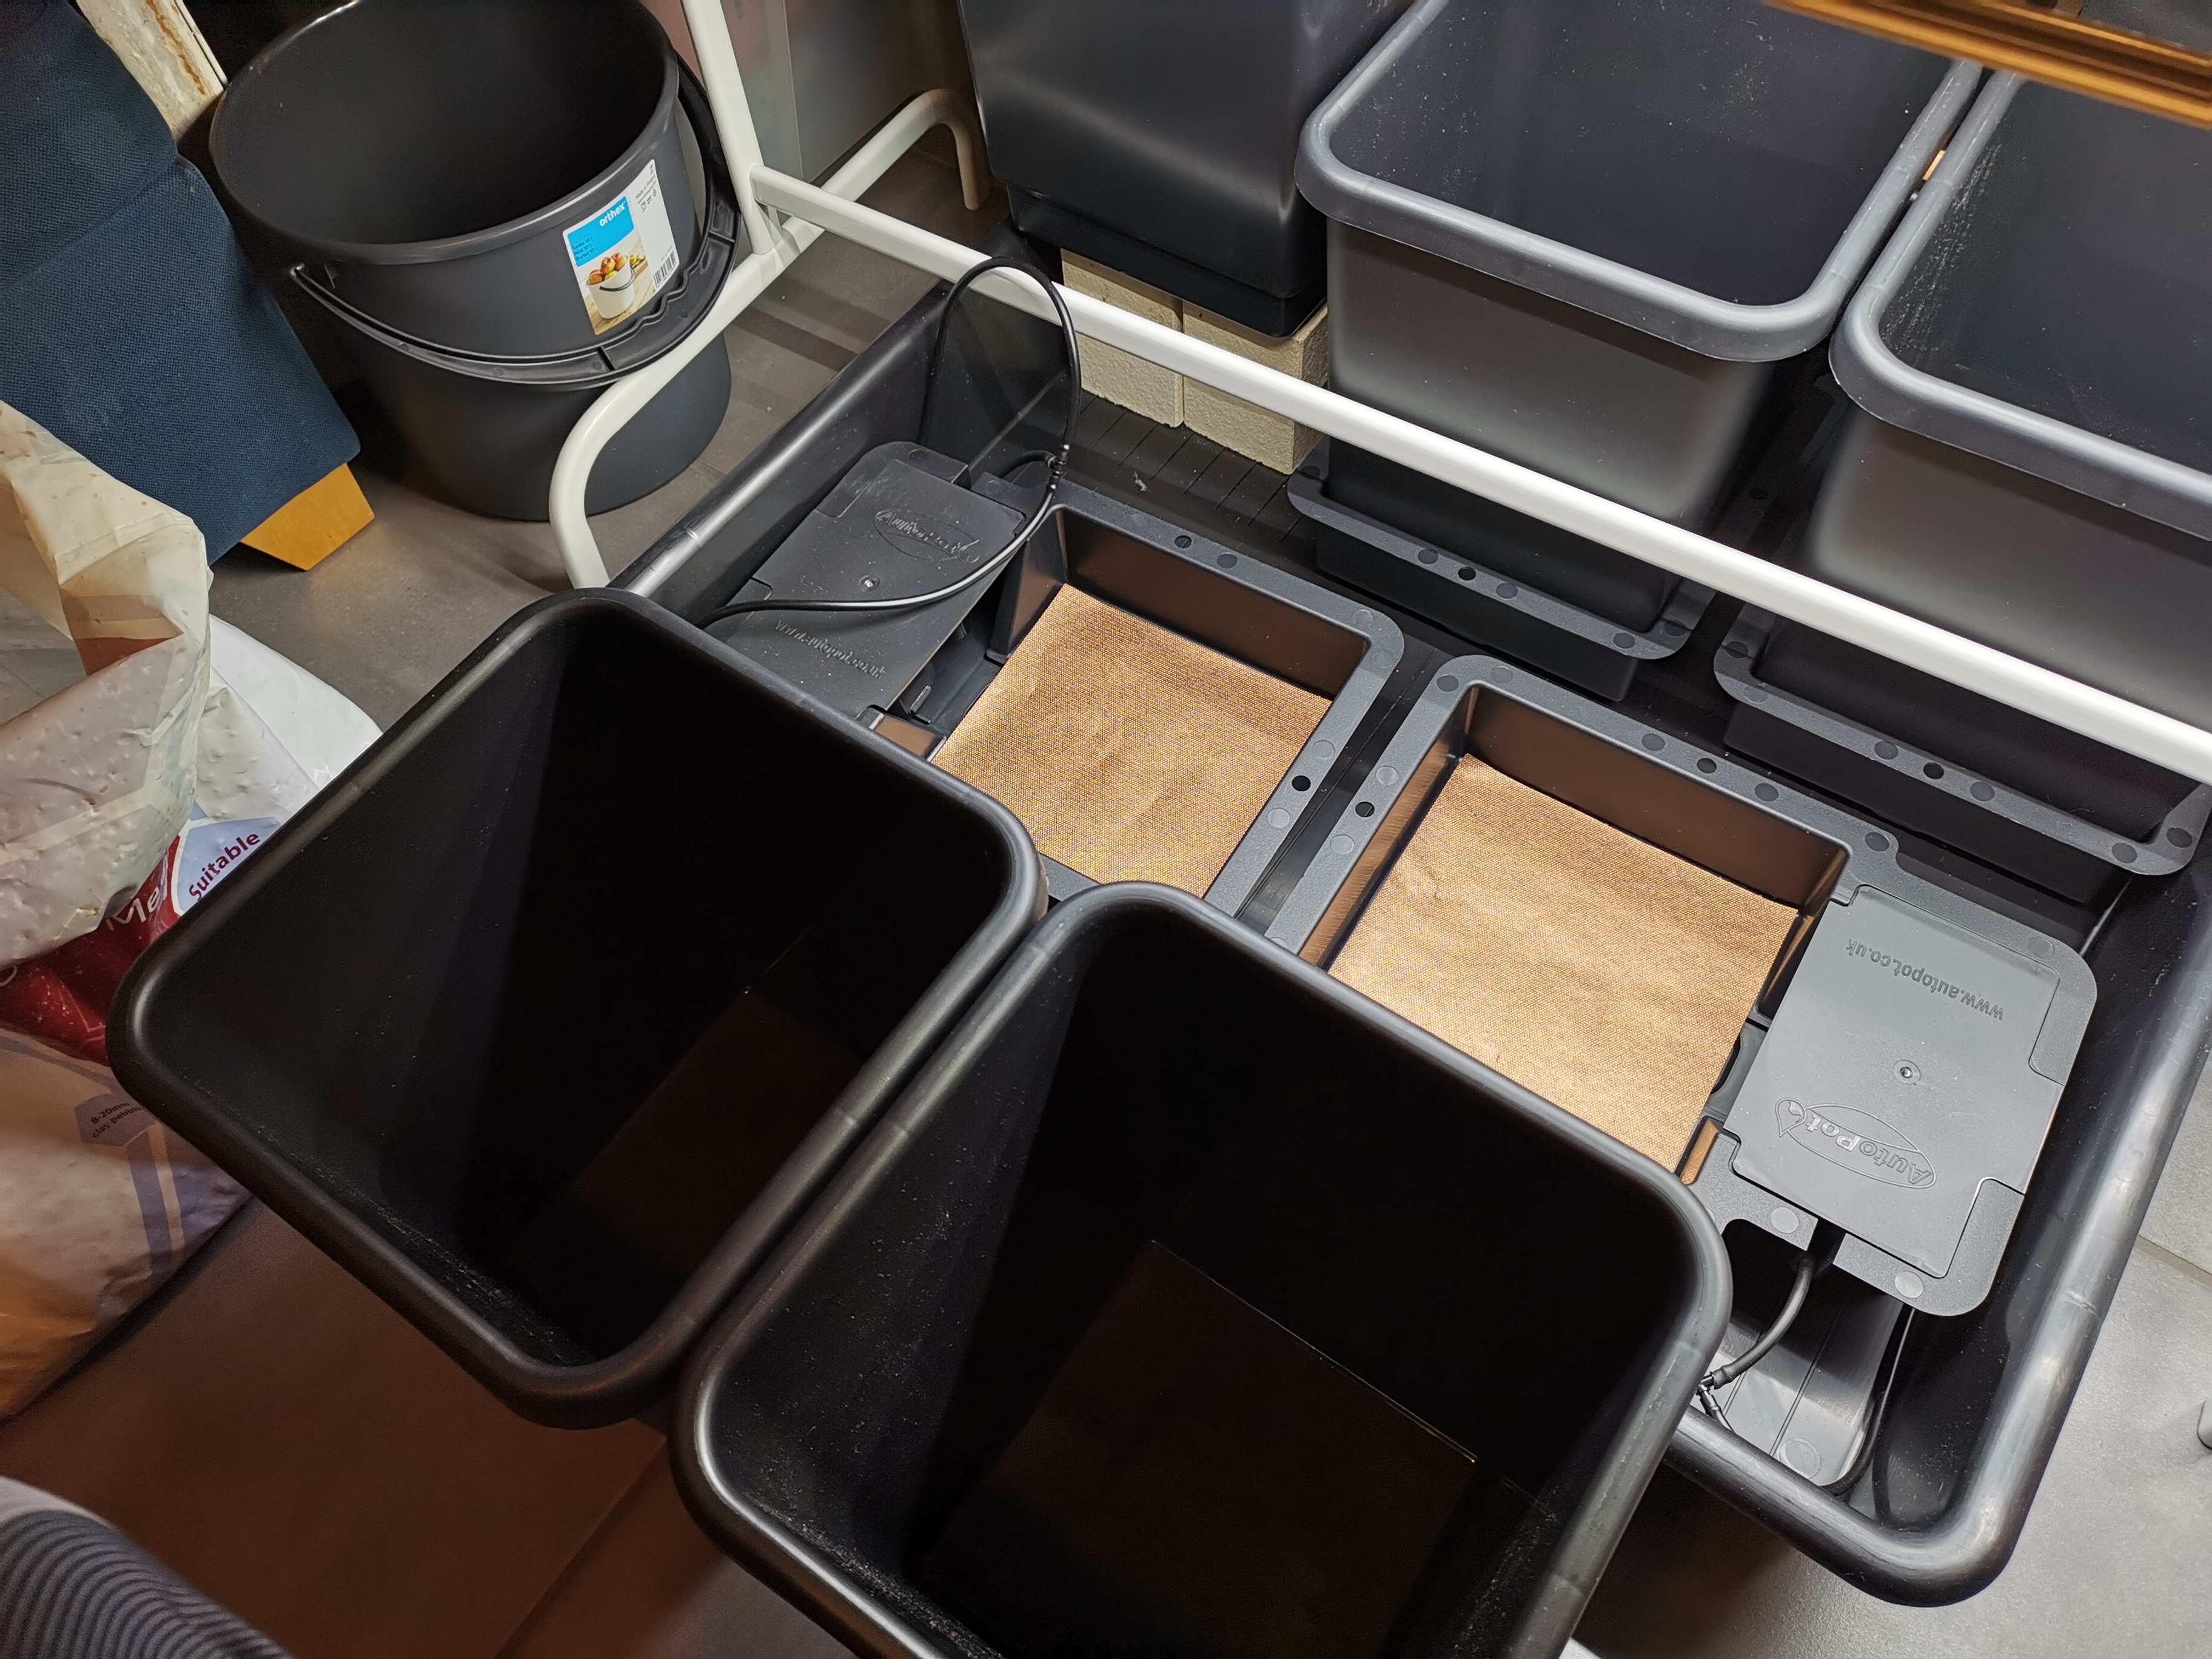
Copper filter layers as root protection for aquavalves. 
Testing the pH of every bucket. 
Water is flowing! 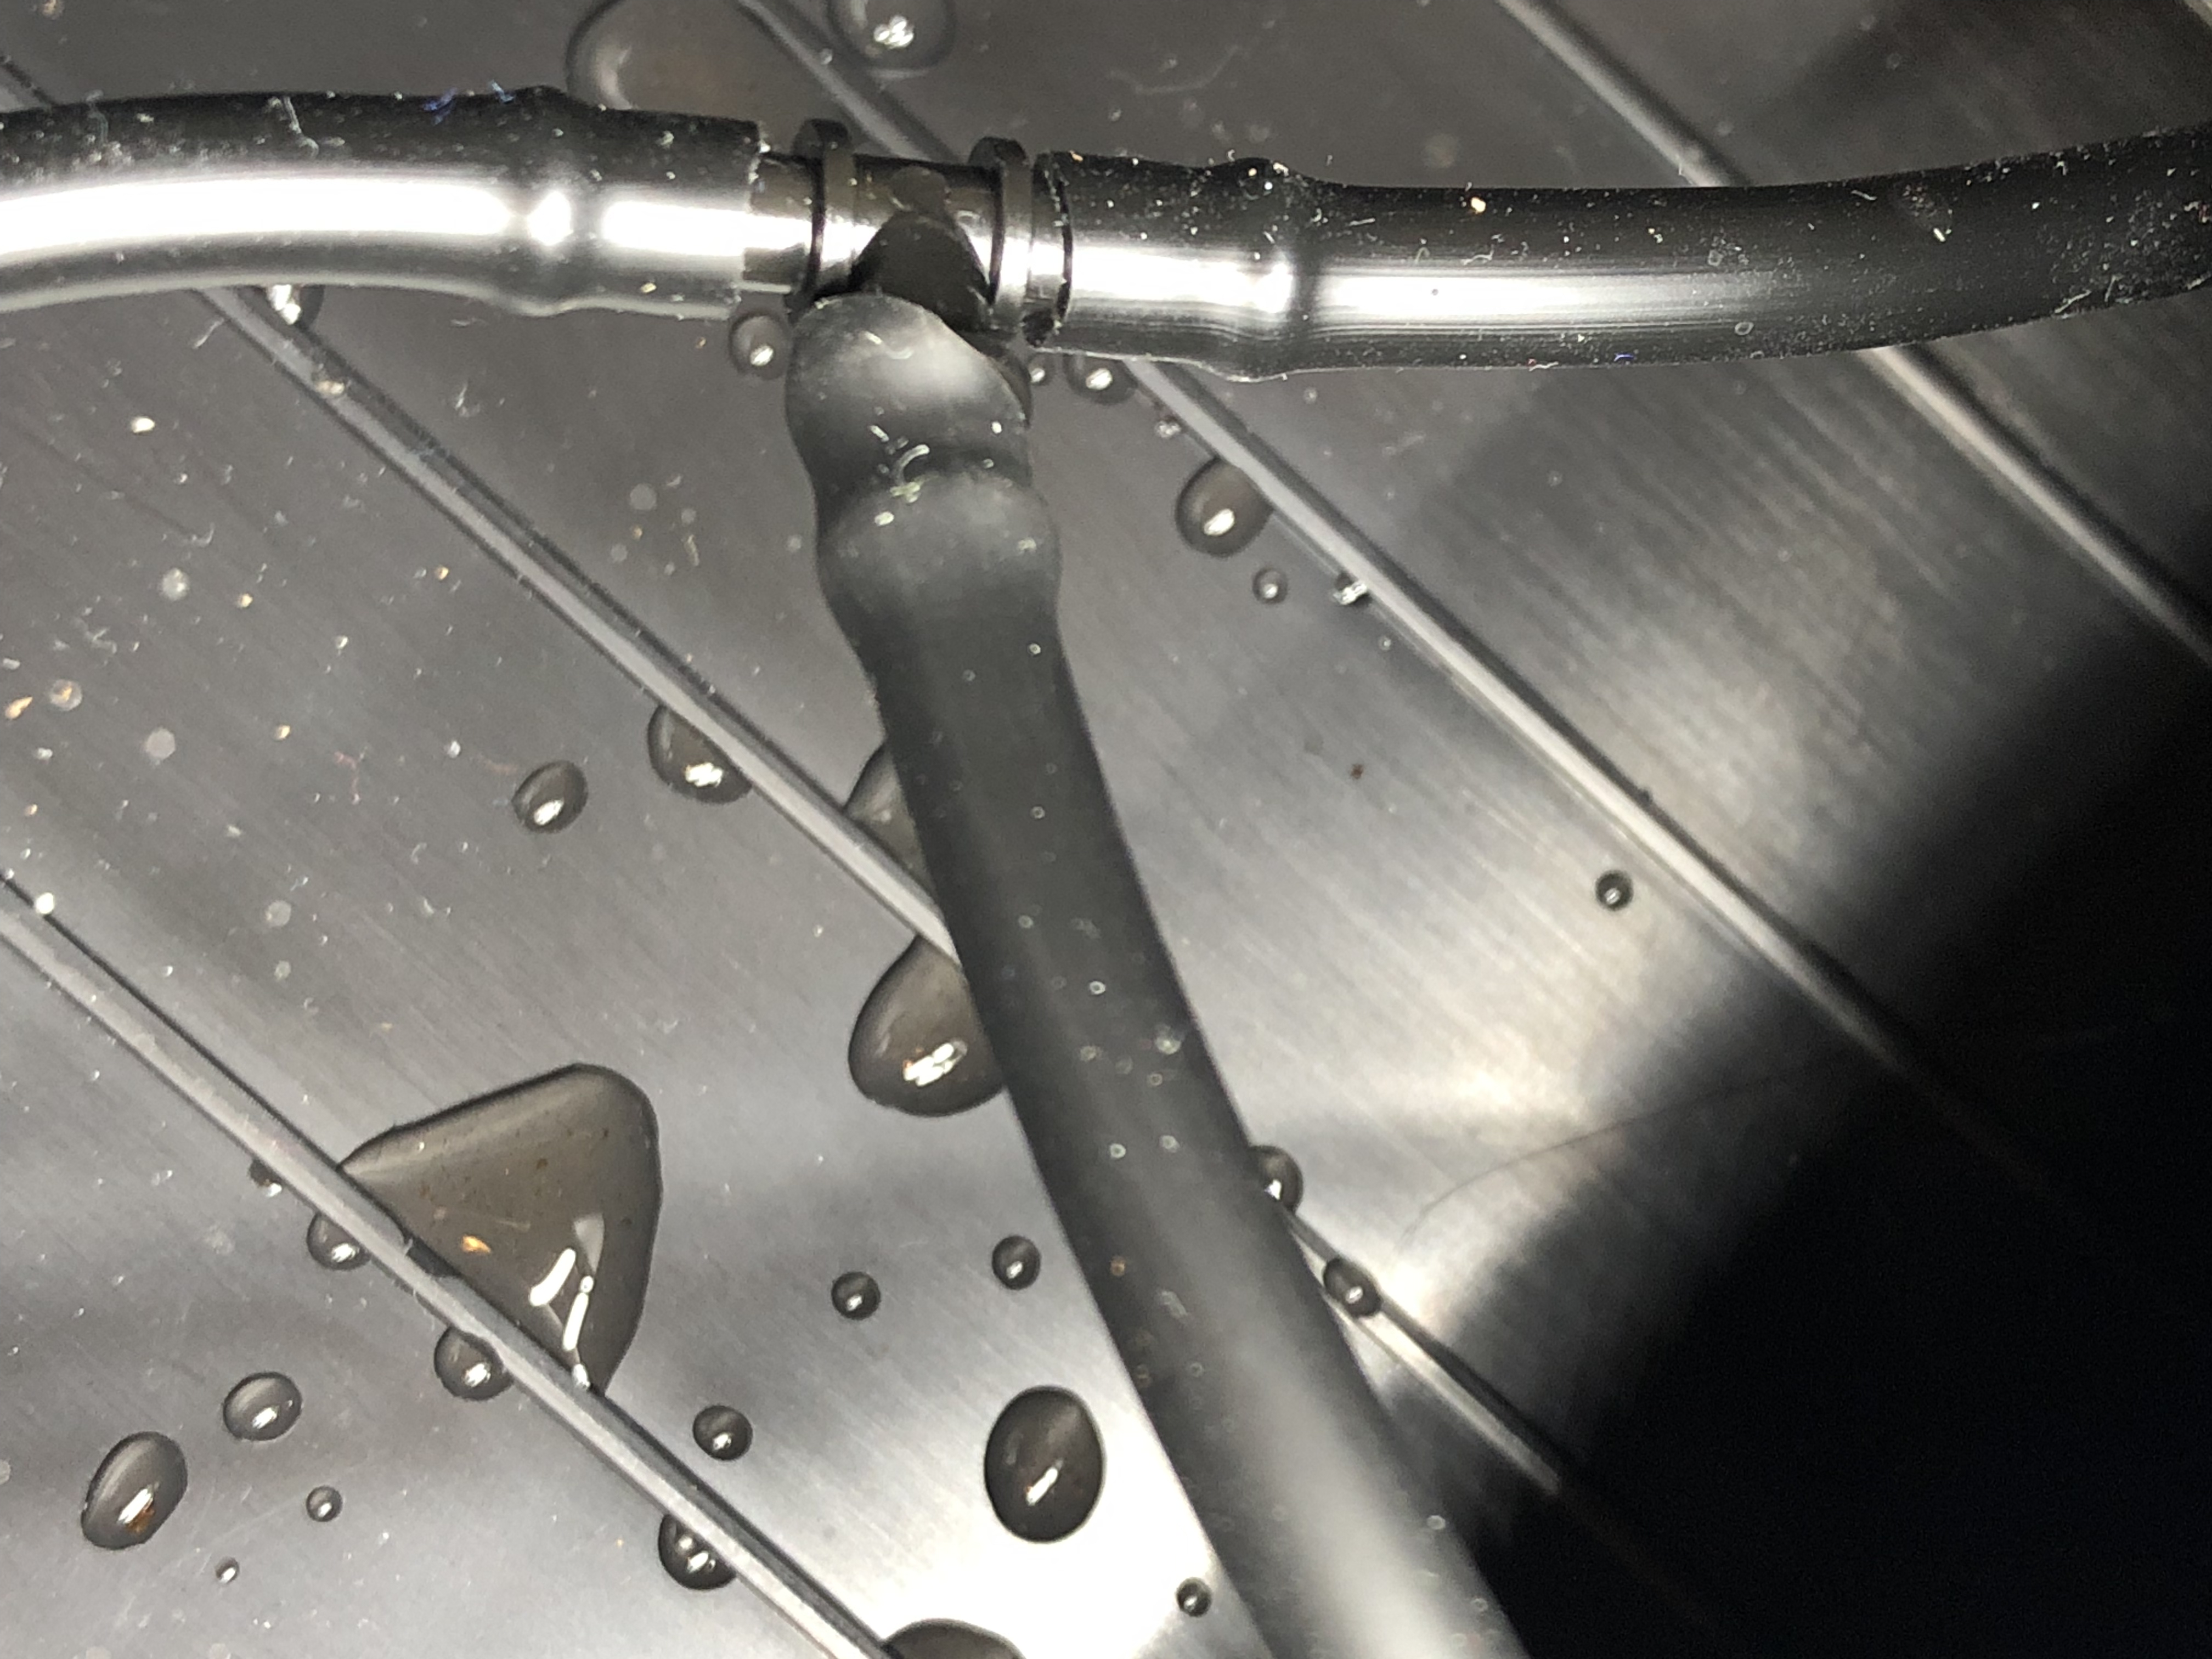
Pipe connections. 
Seedlings in the growing medium, with AutoPots hopefully doing their job.
Hydroponics?
I have done my chili gardening so far only with traditional, soil-based methods. The results have been varied, and there seems to be the constant threat of pests, plant diseases, or improper amounts of water and nutrients while working with soil. I am not completely sure how real this observation is, but I think I have noticed that e.g. soil-based chili growing is something that some of the more passionate hobbyists have long left behind. After moving into hydrophonics (where nutrients and oxygen are moved with water flow to plant roots), then to aeroponics (use of moist air to nourish hanging root systems), some even have made use of the NASA experiments in the International Space Station to create “high pressure aeroponics” or ultrasonic “fogponics” systems, where very small, 50 micron droplet size is utilised, to stimulate the growth of fine root hairs (trichoblasts) that maximise the surface area of root system, and produce optimal crop yield with minimal amounts of water and nutrients. The related high-pressure pumps and misting nozzle systems are interesting in engineering sense, I admit.

I was personally merely considering the more prosaic “bucket bubbler” hydroponics setup, but even that proved a bit problematic in my case. (There is no electric line running into our greenhouse, where I was planning these hydroponic bubblers to be situated.) Thus, I have now turned towards “passive hydroponics”, which is probably the oldest way this has been applied: growing plants without soil. The version that I am now aiming at is internationally known as a “hempy bucket” method: a black/dark bucket is filled with a 3 parts perlite and 1 part vermiculite mix, where the chili seedling is planted. There needs to be a drill hole for excess water down in the bucket, at c. 2 inches (or c. 5 cm) from the bottom. One then waters the plant with a nutrient, hydroponic solution every other day, until the roots grow and reach the water reservoir at the bottom part of the bucket. The solution watering is then reduced a bit, to twice a week. The water reservoir, bucket microclimate and perlite-vermiculite substrate keeps the upper roots supported, nourished and moist, while also providing nice amounts of oxygen, while the submerged, lower parts of the roots deliver the plant plenty of water and nutrients. The final outcome should be a better and more controlled growing environment than what can be reached in typical soil-based gardening.
For more, see e.g.
Chili season 2018, pt. 2
Since mid-January, when I did my chili planting this year, there has been some nice progress. All five varieties that focused on have made it to the stage where they are soon ready to move into bigger, mid-sized pots. Particularly when the small seedlings were moved from the tiny, Ikea cultivation pots into larger ones, and provided some fresh soil for their roots, they really started growing. (I think that I have been using both “Biolan Kylvö- ja Taimimulta” and “Kekkilä Taimimulta” this year.) The hydroponics is no doubt better for larger, production oriented growing of chilies, but for me at least the traditional soil-based growing has proved much easier to handle.
Here are a couple of photos from this stage. The bigger of two Naga Morich plants is already over 15 cm mark, and has been moved into a bigger pot: this one is one from Finnish Orthex, and is called “Eden bioplastic herb pot” (there is a small water storage at the bottom, and the pot also comes with a felt mat, that can be used if this pot is applied to keep store-bought herbs alive).

Most of the other plants are in the c. 10 cm range, below is pictured 7pot Primo Orange:

It will be interesting to see how the plants take the change, first into the windowsill with bright sunlight (they have grown under the Ikea Växer led lights), then into the greenhouse. The spring has been very late this year, and there is still snow and ice everywhere, and nights go well below freezing. But I’d think in May, latest, these will move into the greenhouse.
Chili season 2018


Time to start preparing for the next summer’s chili season. This time I have promised myself that I will not fool around with any silly Ikea “passive hydroponics” system or similar. Just old-fashioned soil, some peat, water and a light. But I will make use of the Ikea cultivation pots and led lights, as much as possible.
I will also try to radically cut down the number of plants that I’ll grow this time. Last summer was cold, damp, dark and bad in so many ways, but one part of the problem was that I had just too many plants in the end. Packing plants too densely into a small greenhouse will just predispose all plants to pests and diseases. Smaller number is also good for getting enough sunshine and good airflow around all plants.
I am again putting my trust in Finnish chili seeds from Fatalii.net (Jukka Kilpinen’s “Chile Pepper Empire”). I am trying to grow five plants:
- Naga Morich (C. chinense)
- Carolina Reaper x 7pot Douglah (C. Chinense hybrid, F2 generation)
- 7pot Primo Orange (C. chinense)
- Moruga Scorpion (C. chinense)
- Rocoto Riesen, Yellow (C. pubescens)
You might spot a pattern here: this is apparently the year of superhots for me (the Rocoto Riesen is the odd one out – thanks to Fatalii for dropping it into my order as a “surprise extra”). Originally I was planning on focusing on just my regular kitchen varieties (Lemon Drop, etc.), but losing all my hot chilies last summer left some kind of craving for retribution. If all these grow into proper plants, and yield proper crops, I will be in trouble. But: let’s see!
Testing Steam Link
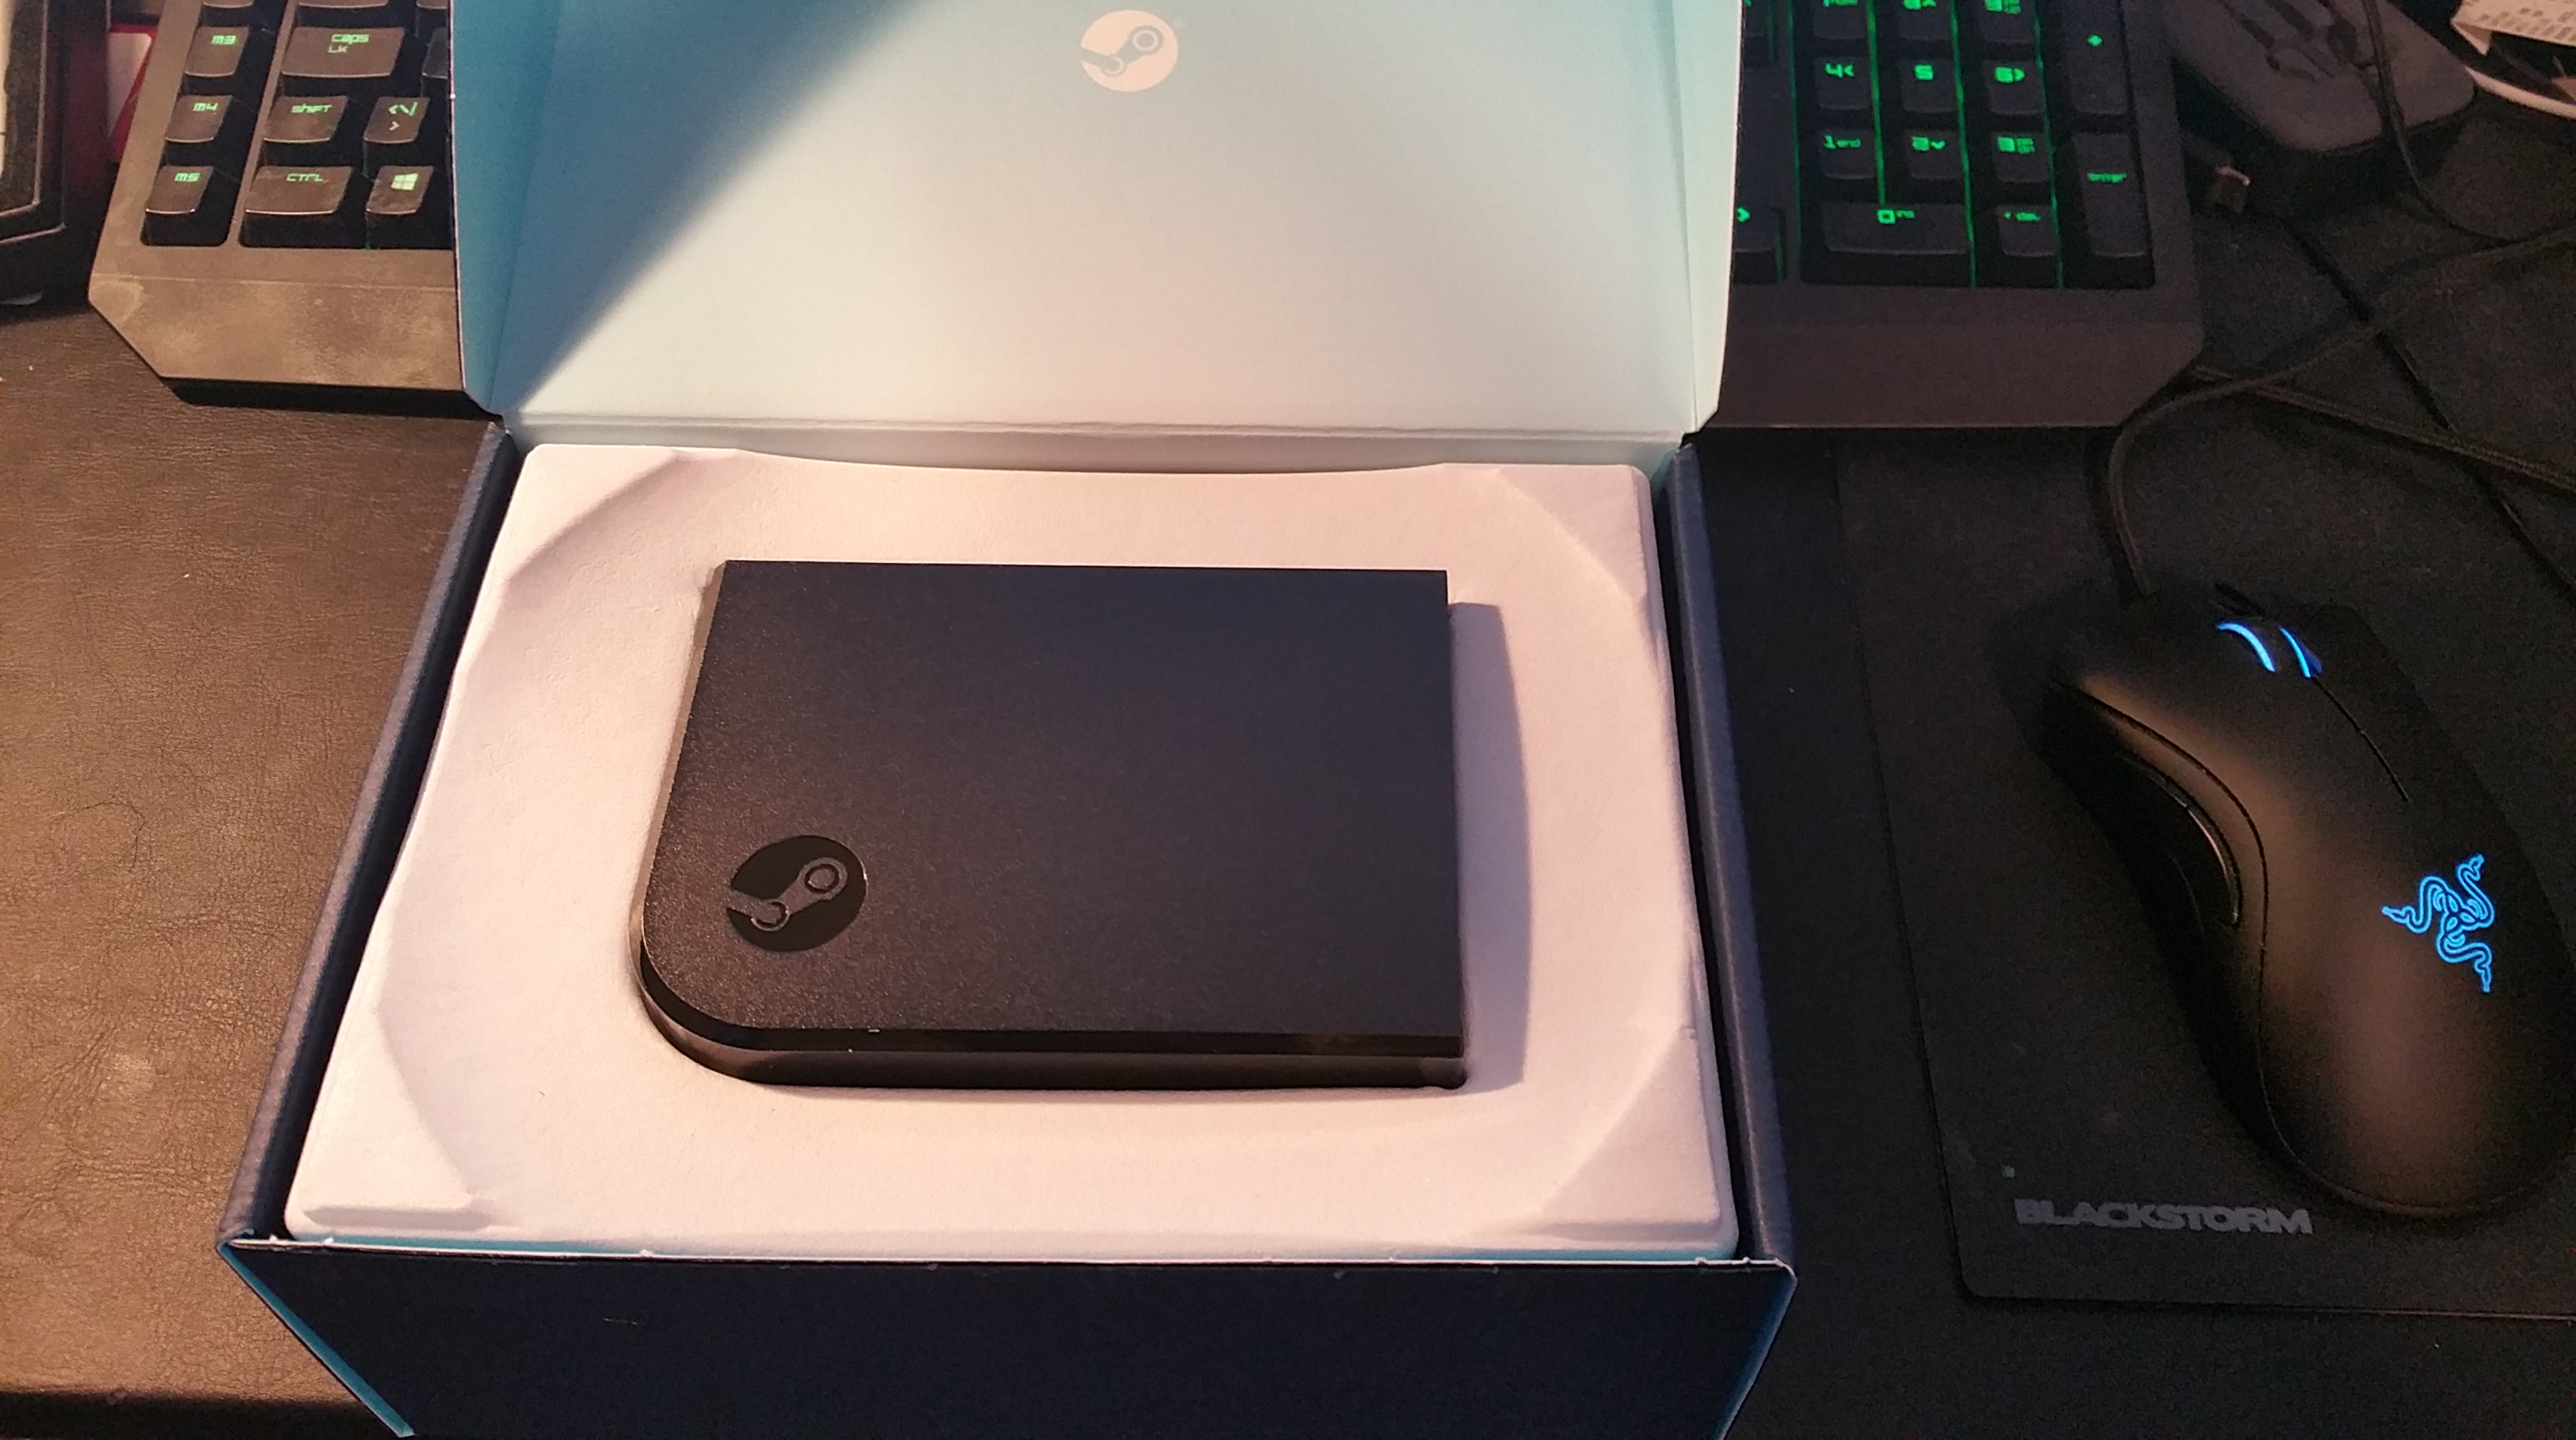
It is my summer vacation period now, and during a rainy week, it would be nice to play also some PC games – either alone, or together as a social experience, if a game from a suitable genre is available. To bring the PC experience from my “media cave” to the living room, I installed Steam Link, a small device that is designed for remotely streaming and accessing the PC games, running on the gaming desktop PC (which is equipped with a powerful graphics card) in the basement, from the living room large-screen tv.
The idea is pretty plug-and-play style simple, but it actually took over an hour of troubleshooting to get the system setup right. Initially, there was no image in the television screen, apart from the blue Link boot symbol, and the trick that finally solved this issue was to change the HDMI cable to another one – the Link box appears to be a bit picky on those. Then, my “Xbox One Controller with the Wireless Adapter” did not work with Steam Link (it works fine with the PC), but my old PS3 Dualshock controllers appeared to work just fine, both in wired and wireless modes. Finally, there was an issue with “Dota 2”, the game I first tested, where the game got stuck with every dialog box, and did not accept any input from either the gamepad or from mouse/keyboard (one can connect also Bluetooth devices to the Steam Link) – I had to run downstairs to access the game locally from the PC to get over it (I wonder what was behind that one). Oh yes, and finally it appeared that there was no game sound in the living room television, from any game running in the Steam Link. This could also be fixed by going downstairs, and changing manually the Windows 10 playback device to be the living room television set – the Steam software appears to get confused, and automatic configuration will end up muting and/or playing sounds via wrong audio devices.

But after those ones, we got some nice, all-family gameplay action with the “Jones on Fire” PC version. And there are now several more games downloading from the Steam store, so developing and selling – rather cheaply – the Steam Link box appears to be a smart move from Valve. Now, if only the multiple components and services in a typical h0me network would play together a bit more reliably, and the support for wireless game controllers (such as the wireless Xbox One version) would be better, this would be an excellent setup.
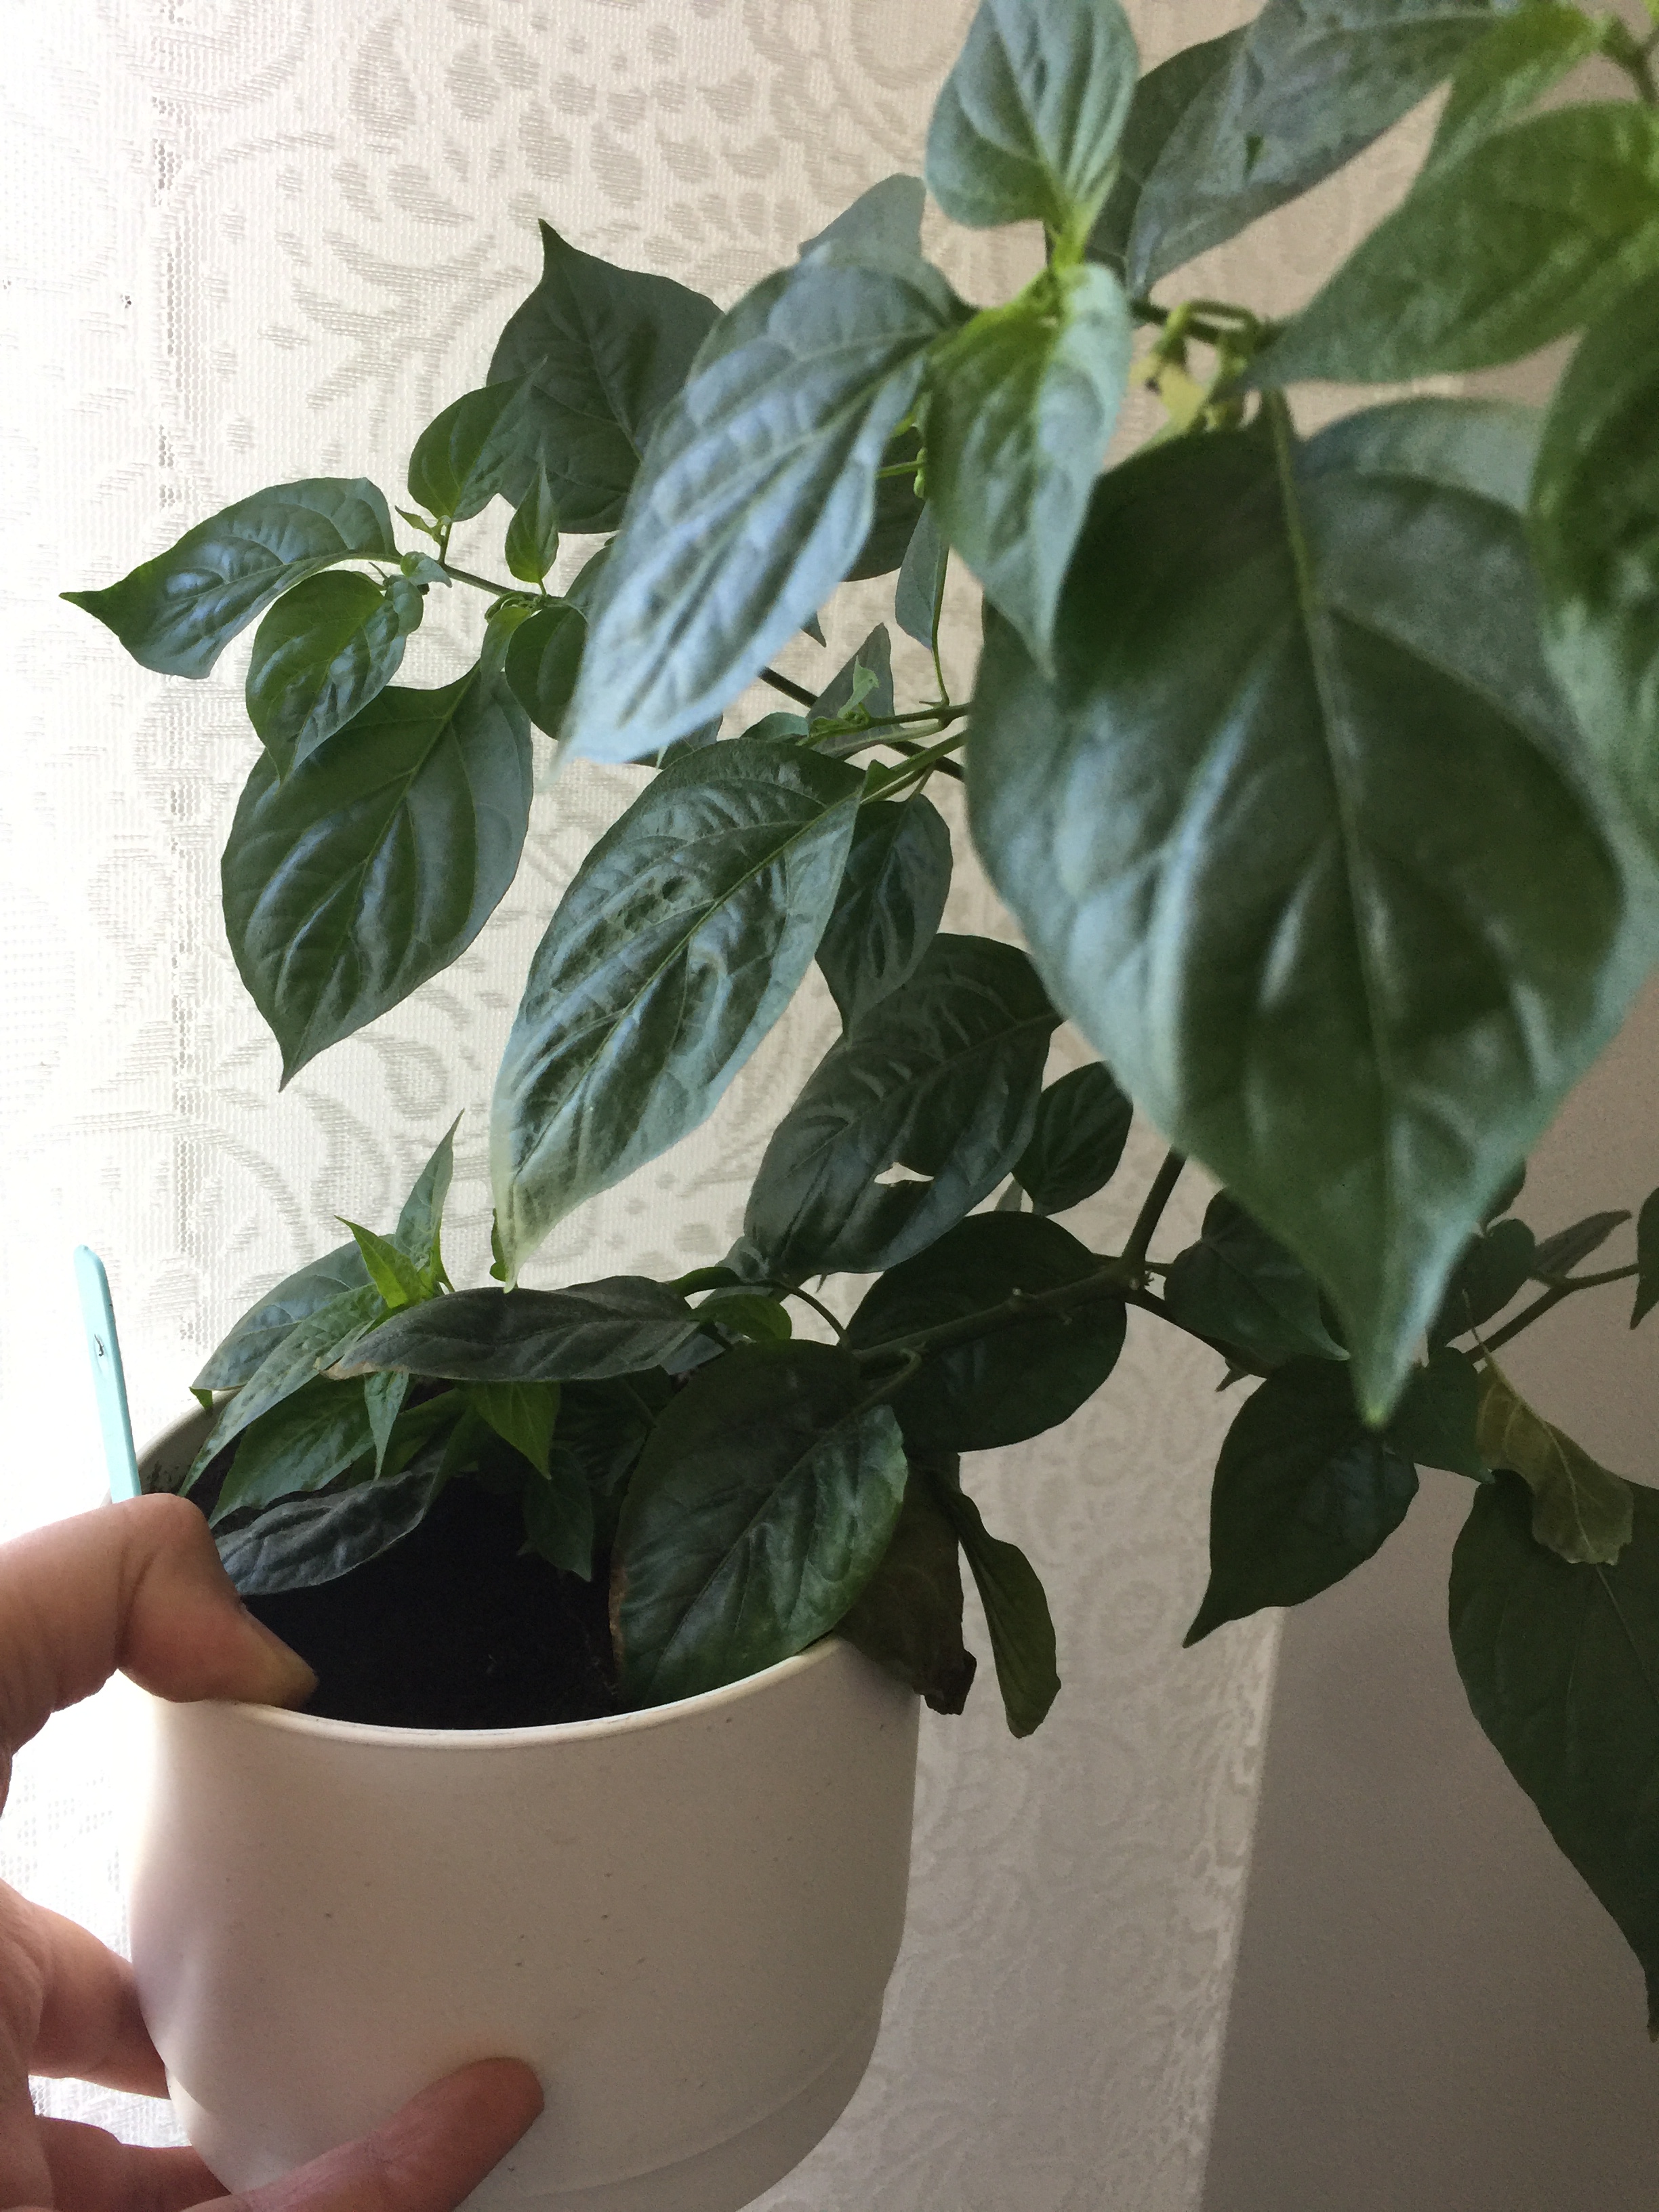
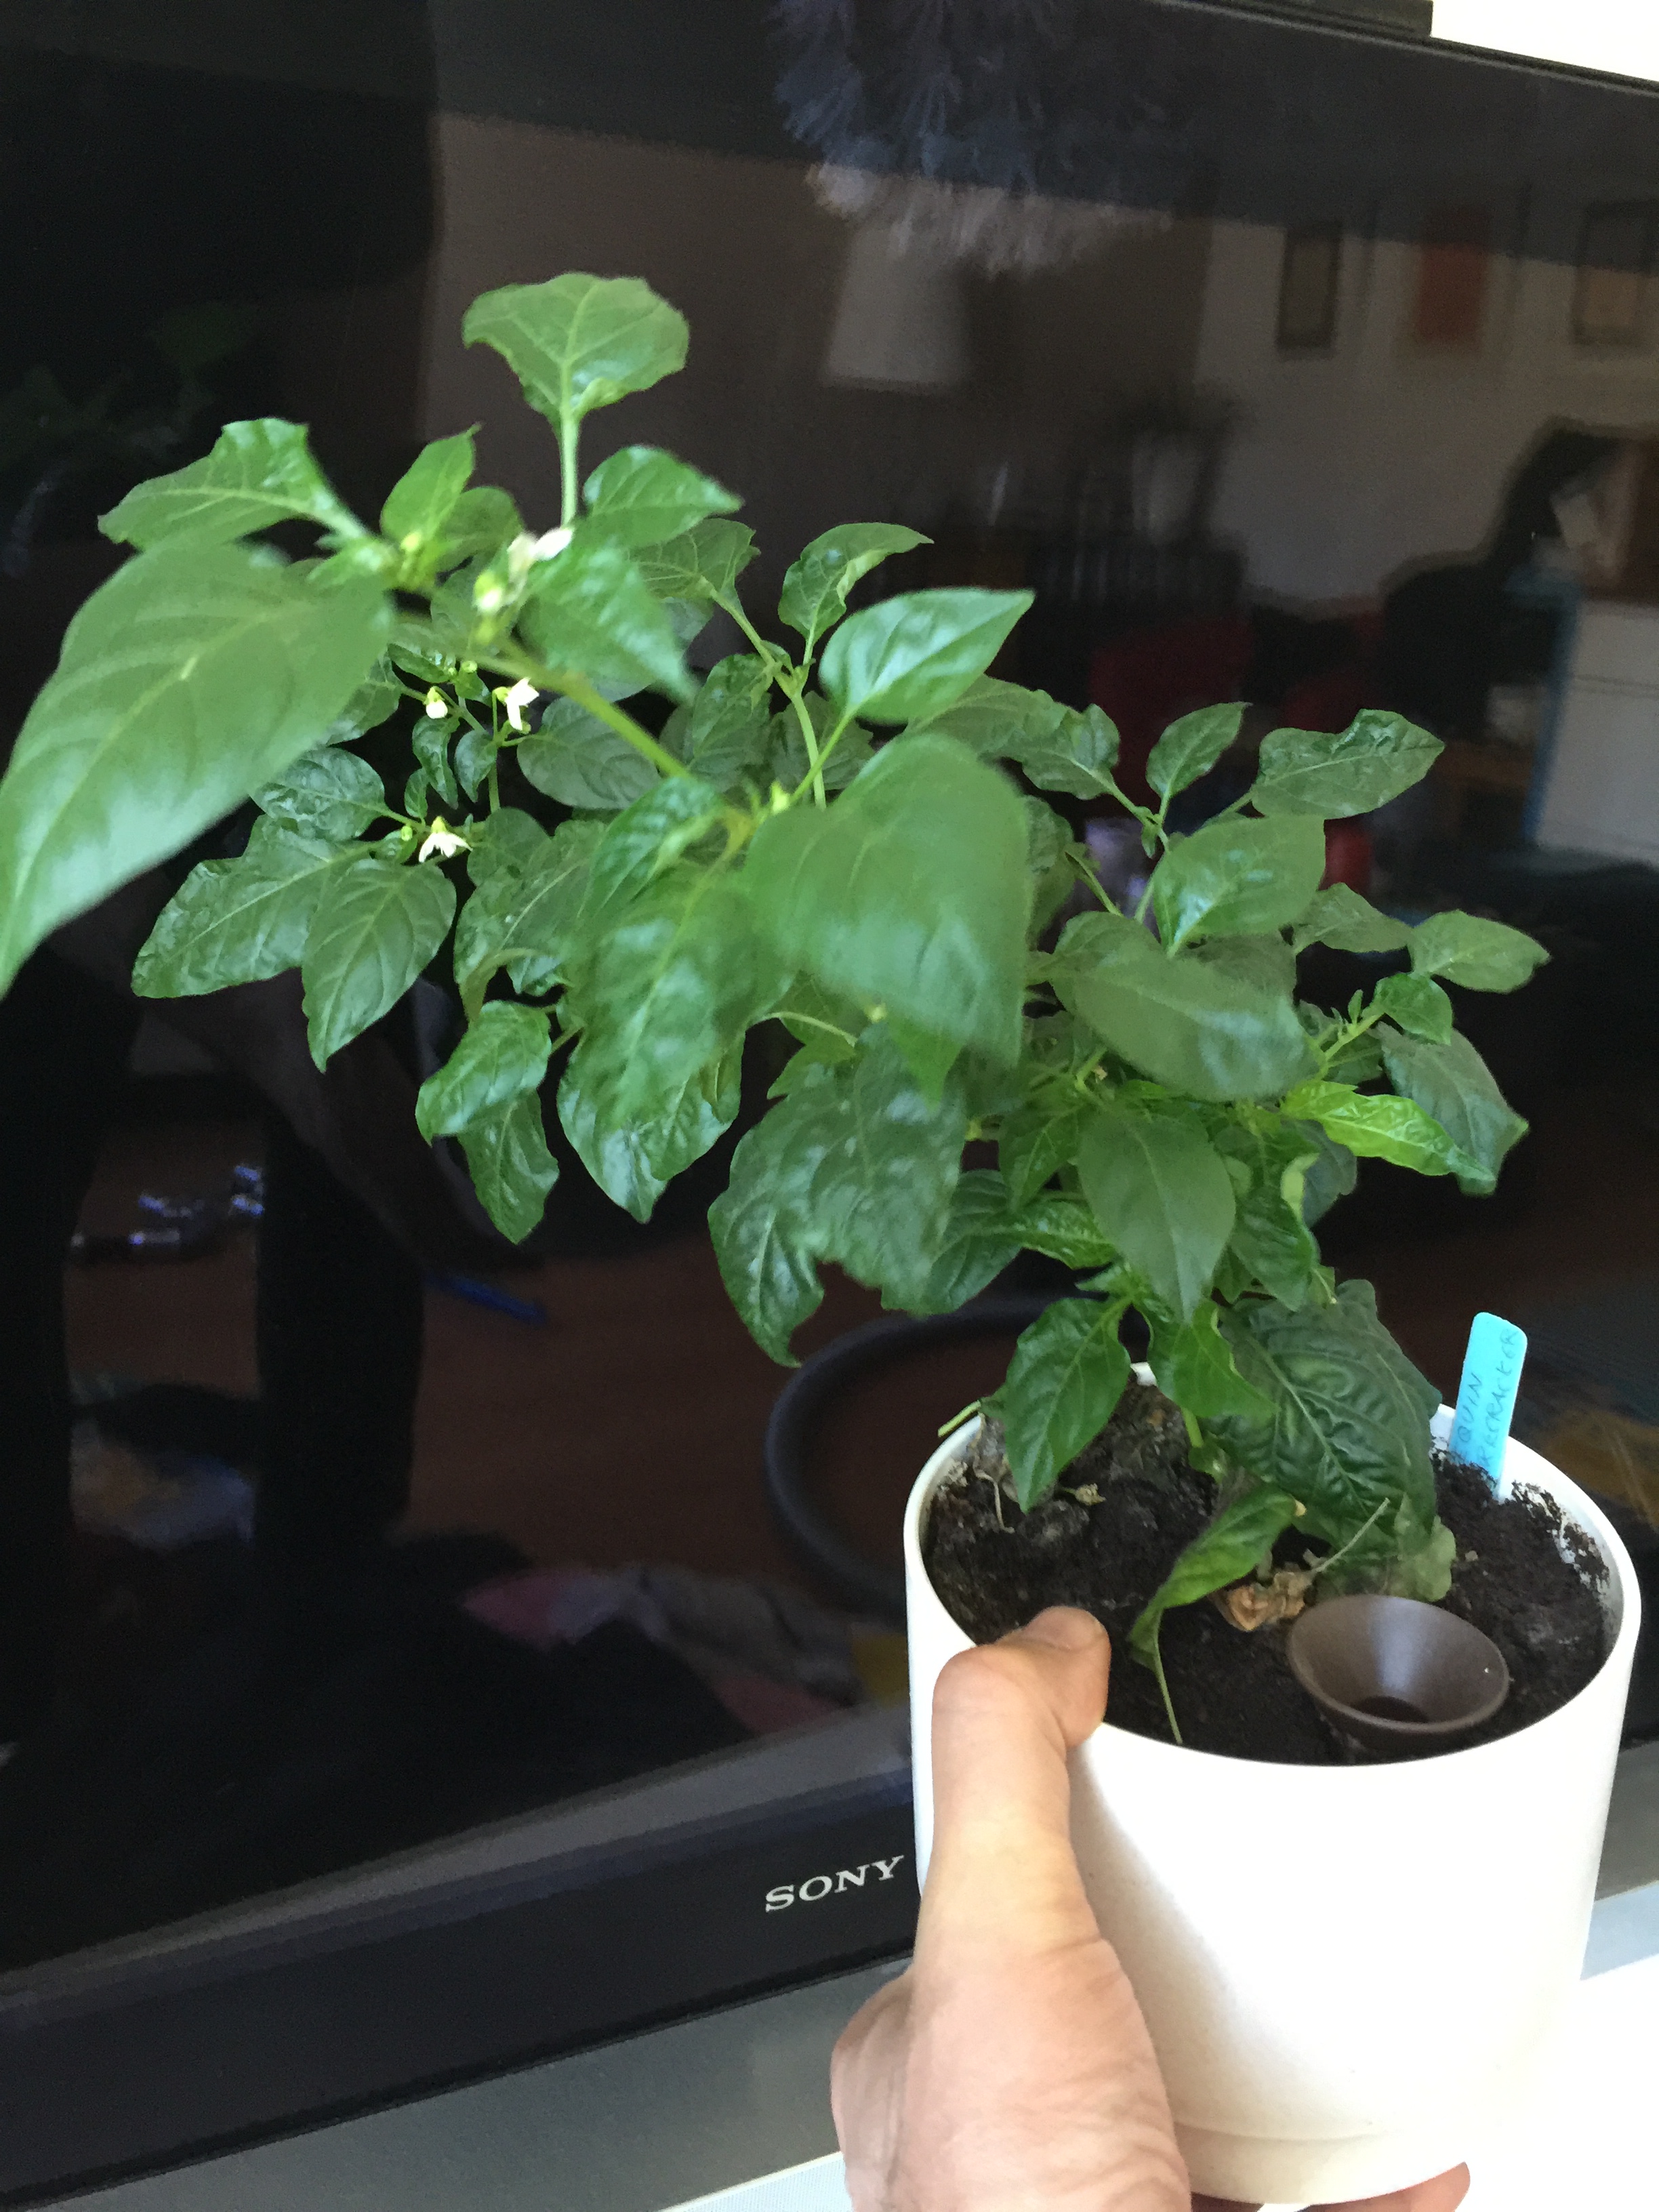
Chilies: May 2017 update

I have been growing a variety of chili peppers for a few years now, and the most of summers 2015 and 2016 were spent building and then testing the Juliana greenhouse that we use for extending the warm season here in Finland. This year however, April was the coldest in record, and there was no point in taking plants outdoors, when it would had just meant having the electric heater working around the clock (which means: expensive chilies!) Now, at the end of May, it finally looks like the unseasonal snow storms could be behind us (knocking on wood…) and this weekend has been the one when the greenhouse has been set up for business, most of the chilies have moved into bigger pots, while there has been also plenty of other work going on in our garden.
As I wrote earlier, I tried out the simple Ikea hydroponic system in germination and sapling phases. The early steps worked very well, and it seems that for indoor chili growing the setup is good for these first steps. However (partially due to the deferred Spring), I kept the saplings too long in the hydroponic setup – if large plants like chilies are grown in hydroponic manner, it needs to have a water pump installed, that keeps the nutritious water flowing over the roots, rather than just soaking them. I did not have the pump, and ended up in troubles, with growth of some plants suffering, and even losing a couple of important chili varieties. I moved the remaining plants into soil and pots in early April, if I remember correctly, but I should had done that much earlier. The growth was strong after the move, even while growing plants had to get along on the windowsill, without any extra plant lights from that onwards.

Luckily, there was the school yard sale in the local Messukylä school, where again hundreds of plants, dozens of chilies included, were available, so I could supplement my selection. I lost all my Aji varieties, and both of my extra hot varieties, “7 pot Brain Strain Yellow” and the Bhut Jolokia. But from the school sale I managed to get both a new Bhut Jolokia, as well as a Moruga Scorpion – both traditionally top of the line, as long as heat is measured. And there were also a couple of interesting habanero varieties that I picked up, as well as something that was called “Jalapeno Hot”. I have only tried rather mild japapenos so far, so it is interesting to see how that will turn out.
Here are some photos from the chilies at this point, 21st May: the school yard saplings are much smaller than the ones that I had grown in hydroponics and then in pots starting in January. The “Naga” (Bhut Jolokia) is particularly small, hopefully it will survive the move into a larger pot, it does not have particularly strong roots yet.
Talking about roots, I try this time using a specific commercial nutritient, Biobizz “Root Juice”: it is an organic “root stimulator” designed to boost root growth. As I had a gift voucher to a local chili gardeners’ store (thanks, Gamelab colleagues!), I have now also other nutritients to try – sticking to Biobizz products, per shopkeeper’s advice in soil based chili cultivation.


xx

You must be logged in to post a comment.