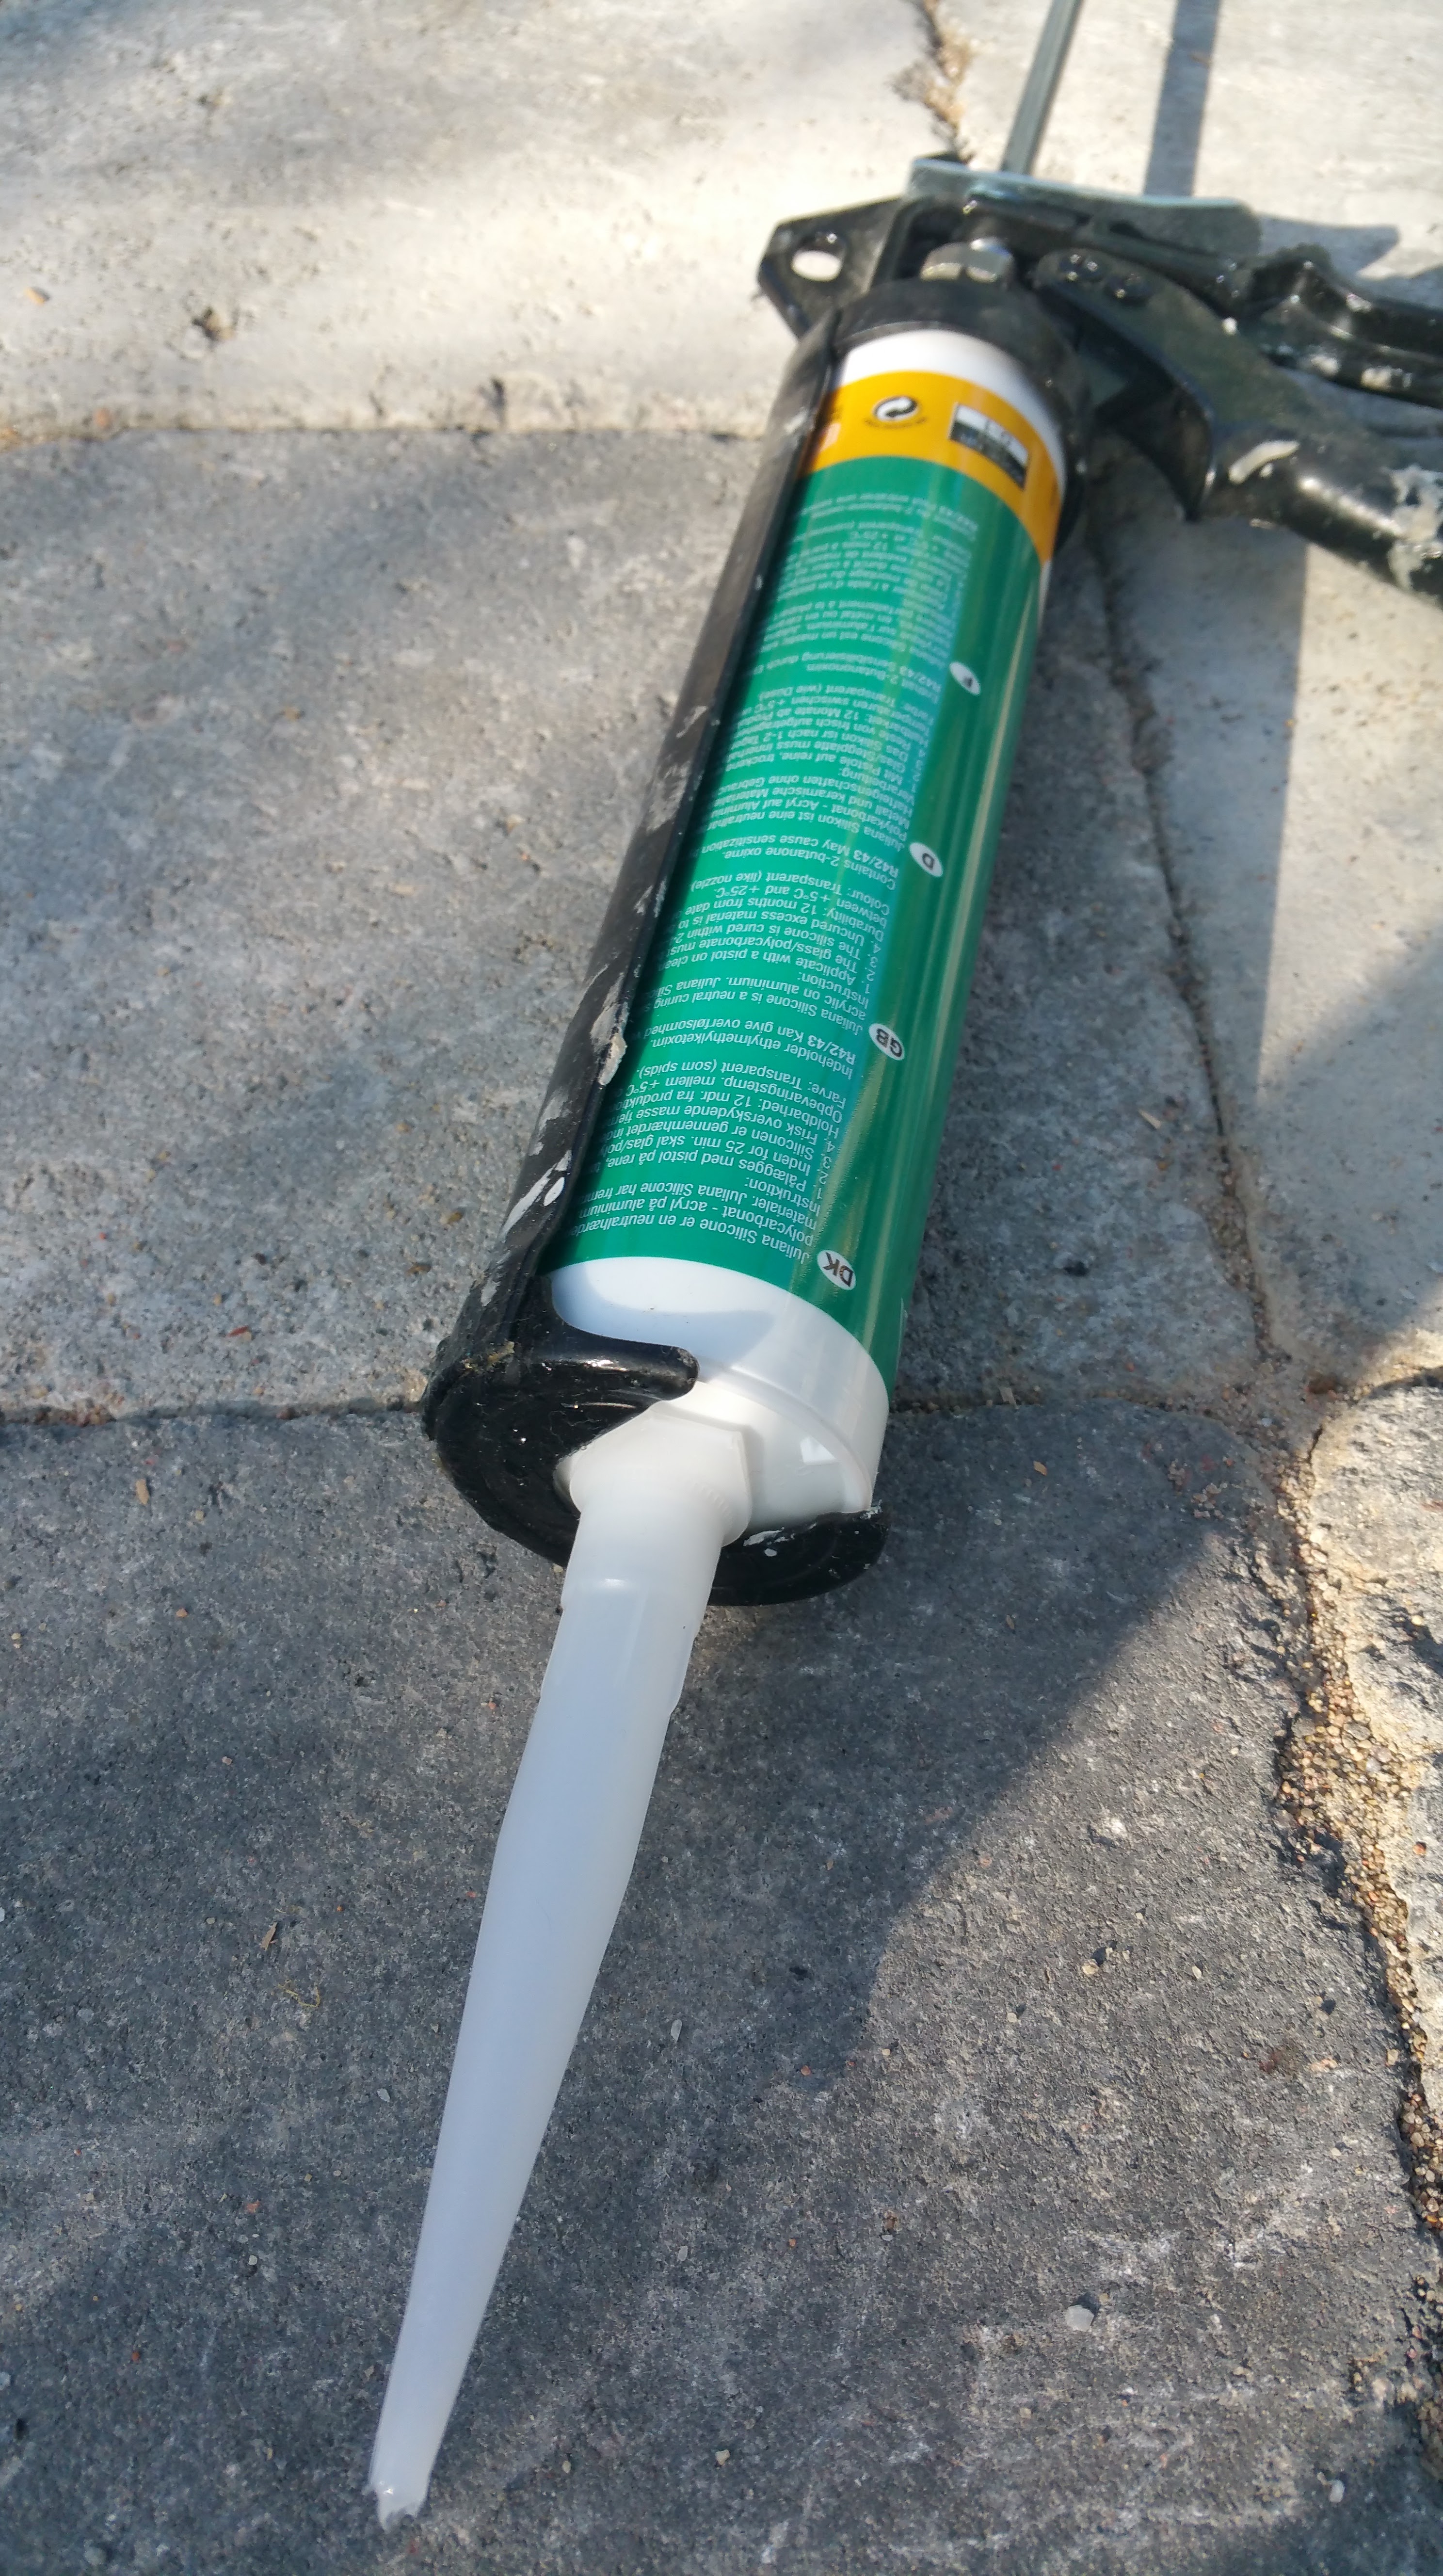
The final part of setting up the Juliana Compact greenhouse kit involved fitting and fixing the actual glass parts. This was pretty simple and straightforward in theory: if the base structure is correct in every regard, then one just needs to place the tempered glass pieces into the right holes at the aluminium frame and lock them into place. In practice this was not quite so easy, of course. The sealing of glass into the frame requires using either silicone gun or weatherstripping (stips of soft thermoplastic rubber) to provide an elastic base, and then applying the plastic lock strips (“M strips”) to lock glass sheets into place. (The lock strip plastic hardens in low temperatures, so this was a rush against time – setting sun and dropping temperatures would make the installation impossible.) We decided to use the weatherstripping option, which proved to be a good choice – even while the base and aluminium frame appeared to be pretty straight, there was still need to carefully move each sheet of glass several times during their installation attempts, and this would have been really difficult to do with messy silicone hardening and complicating things up. We decided also not to use acetone or any other strong solvent to clean the aluminium strips of grease, even while Juliana’s instructions told so (we were tipped by an expert that acetone actually ruins the cover paint from the frame, so using it would be a bad idea).
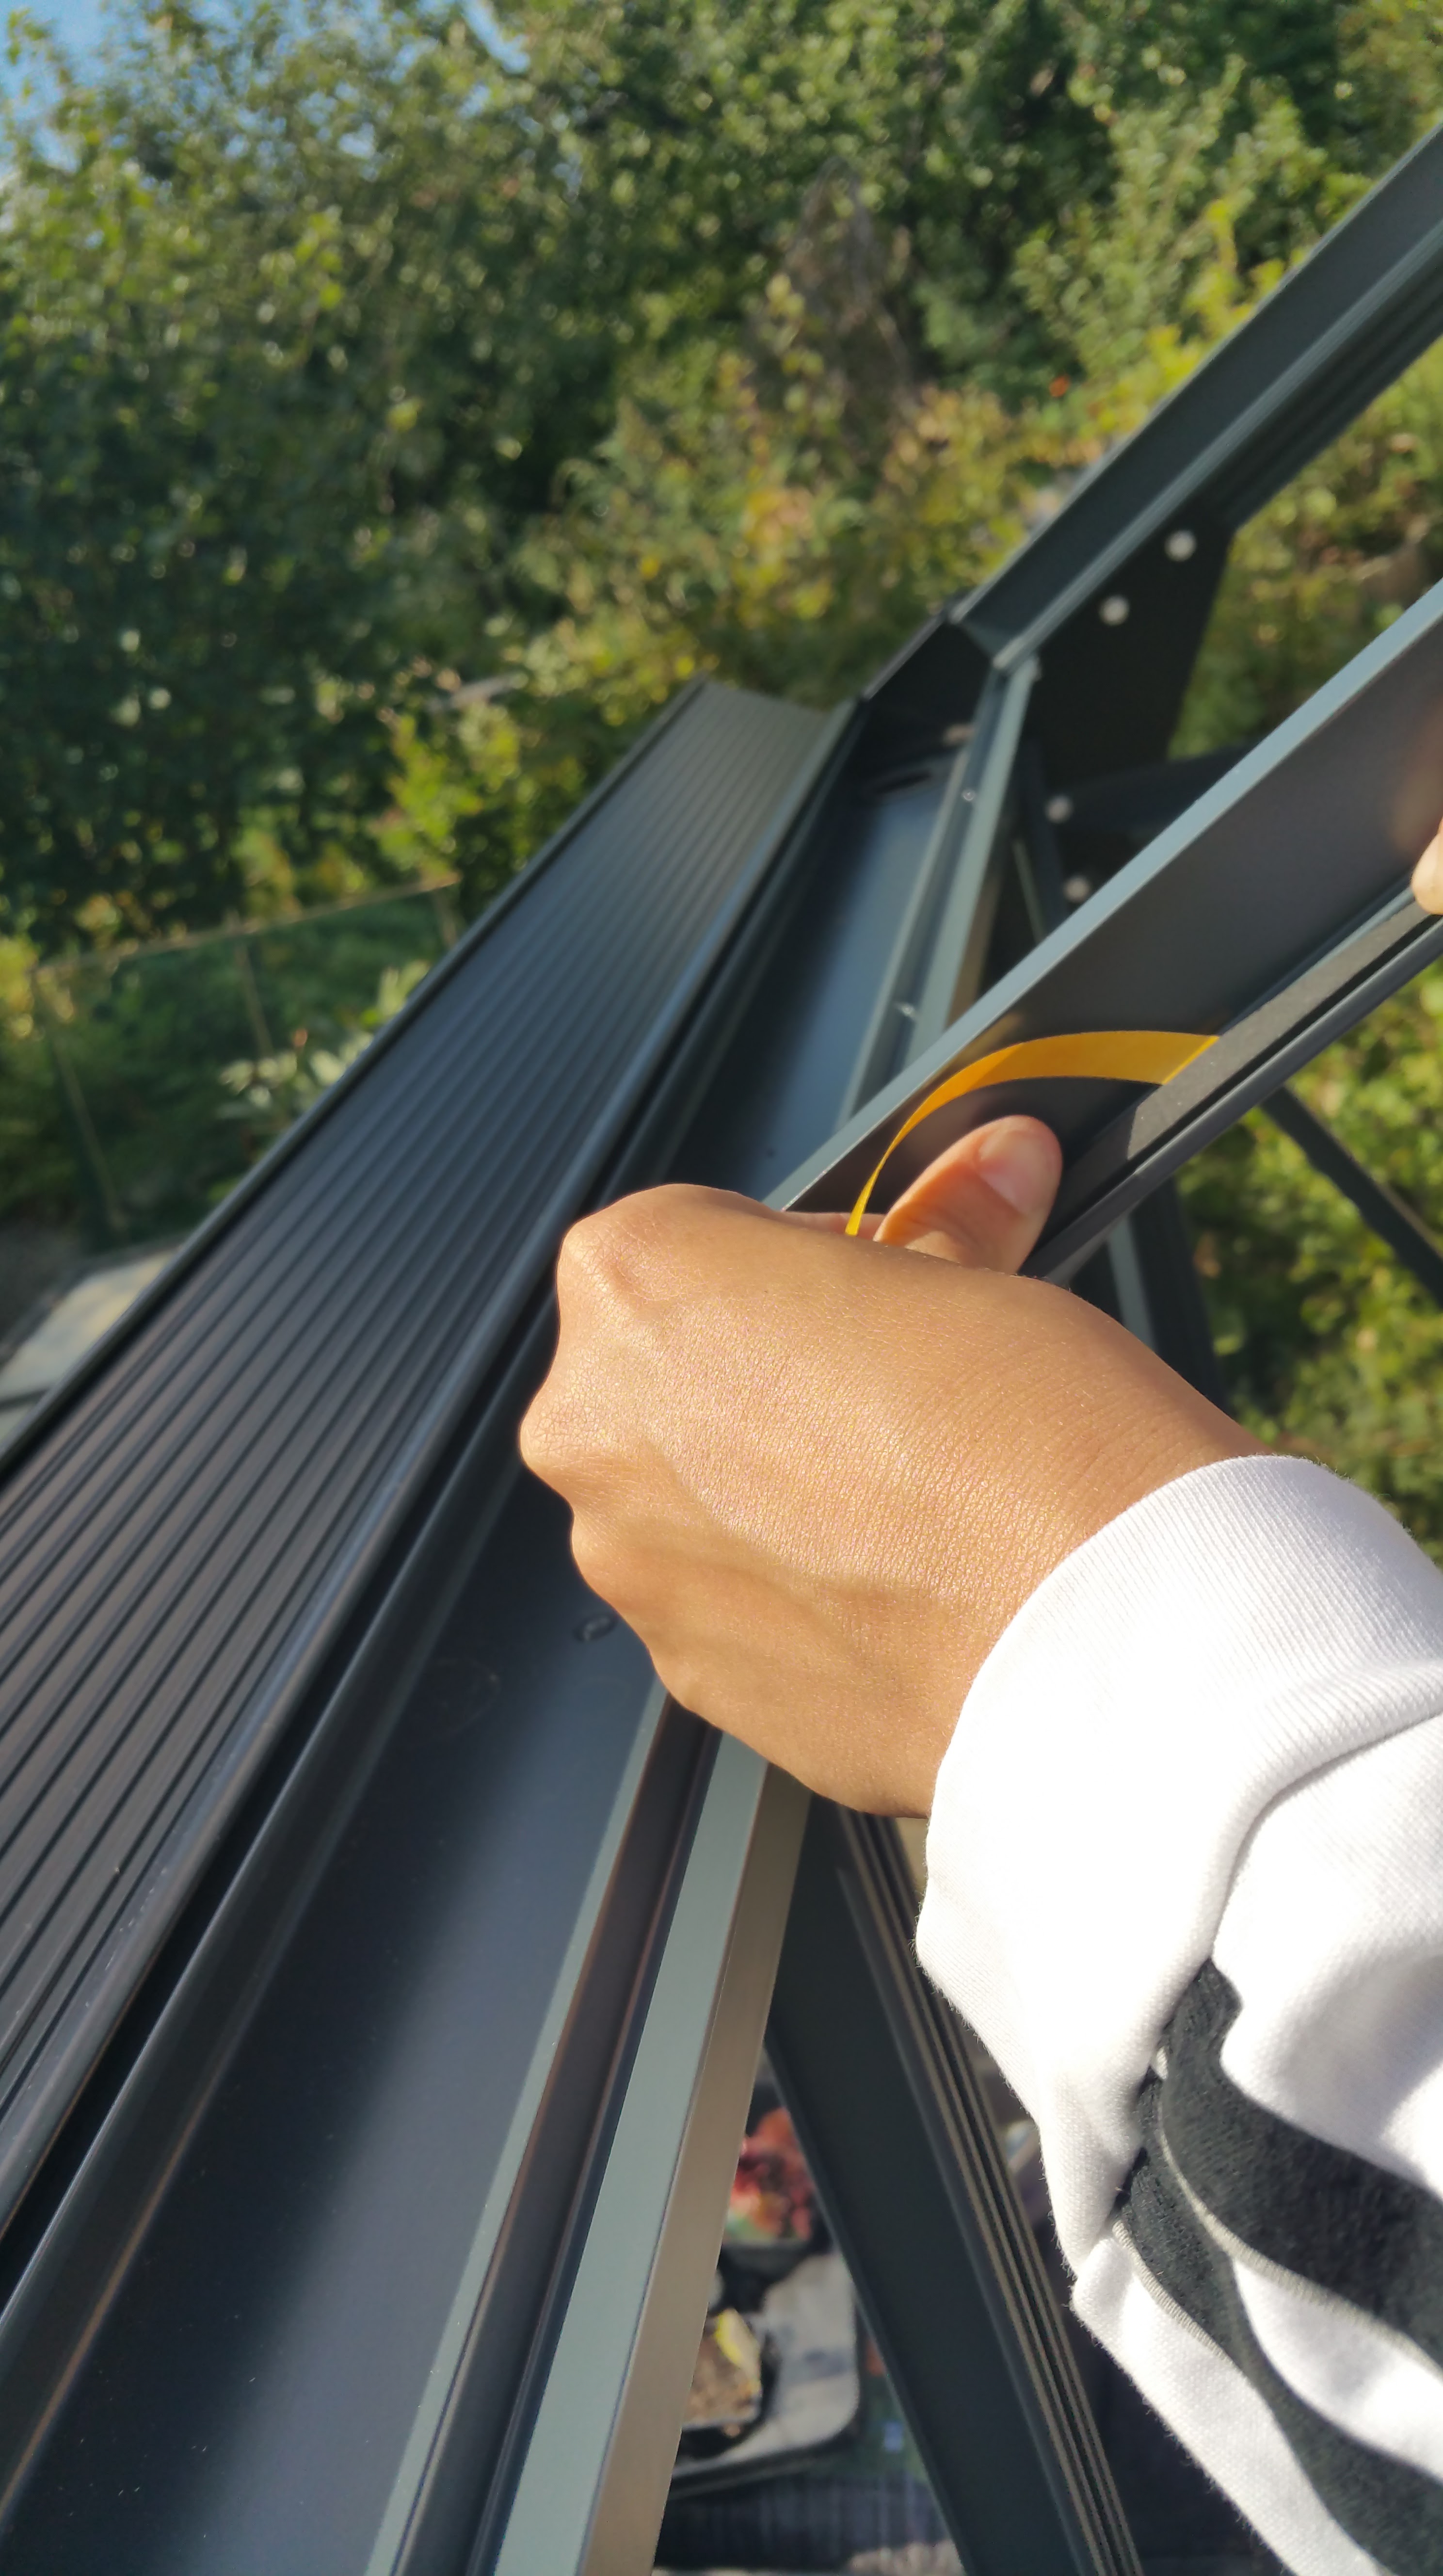
The need for repeated moving and fine-tuning of each glass related to the final precision test required by the Juliana kit: the “M strips” used for locking glasses need suitable, c. 1 mm insets or slots that go down all the way on both sides of each glass sheet, otherwise the M strips do not lock into place. That evenly distributed one millimeter tolerance proved to be rather tough challenge to reach. In our case we got majority of glass sheets installed with only moderate trouble, but in few, last glass installations we had to use tricks like matchsticks as holders that kept glass in place, while two persons – working in sync – both gently twisted and pressed powerfully inwards two M lock strips at both sides of a glass sheet, moving from top towards bottom at even pace, so that the 1 mm gap remained evenly distributed at both sides even while M stips tended to press and move glass sheets sideways. There is a picture below that hopefully illustrates this – there needs to be a suitable gap between the aluminium profile and the edge of glass sheet, while the glass sheet must rest on top of the weatherstipping, that is fixed very close to the inner edge of aluminium profile. At one point we were simultaneously fine-tuning three large sheets of glass, holding them with one hand in place, while pressing the M strips into place. And we did it!
There are so many pitfalls waiting in both printed instruction guidelines and online Juliana guides that it is perhaps surprising that people actually manage to put these things together, in more or less satisfactory manner. Apparently many customers actually end up either calling the importer for help, or order a professional to set things up. Which might be a good idea. But: if you do all this yourself, it will be a real-life 3D spatial and problem-solving challenge and a good way to spend several days (or: weeks) of your precious free time – so why not enjoy it?
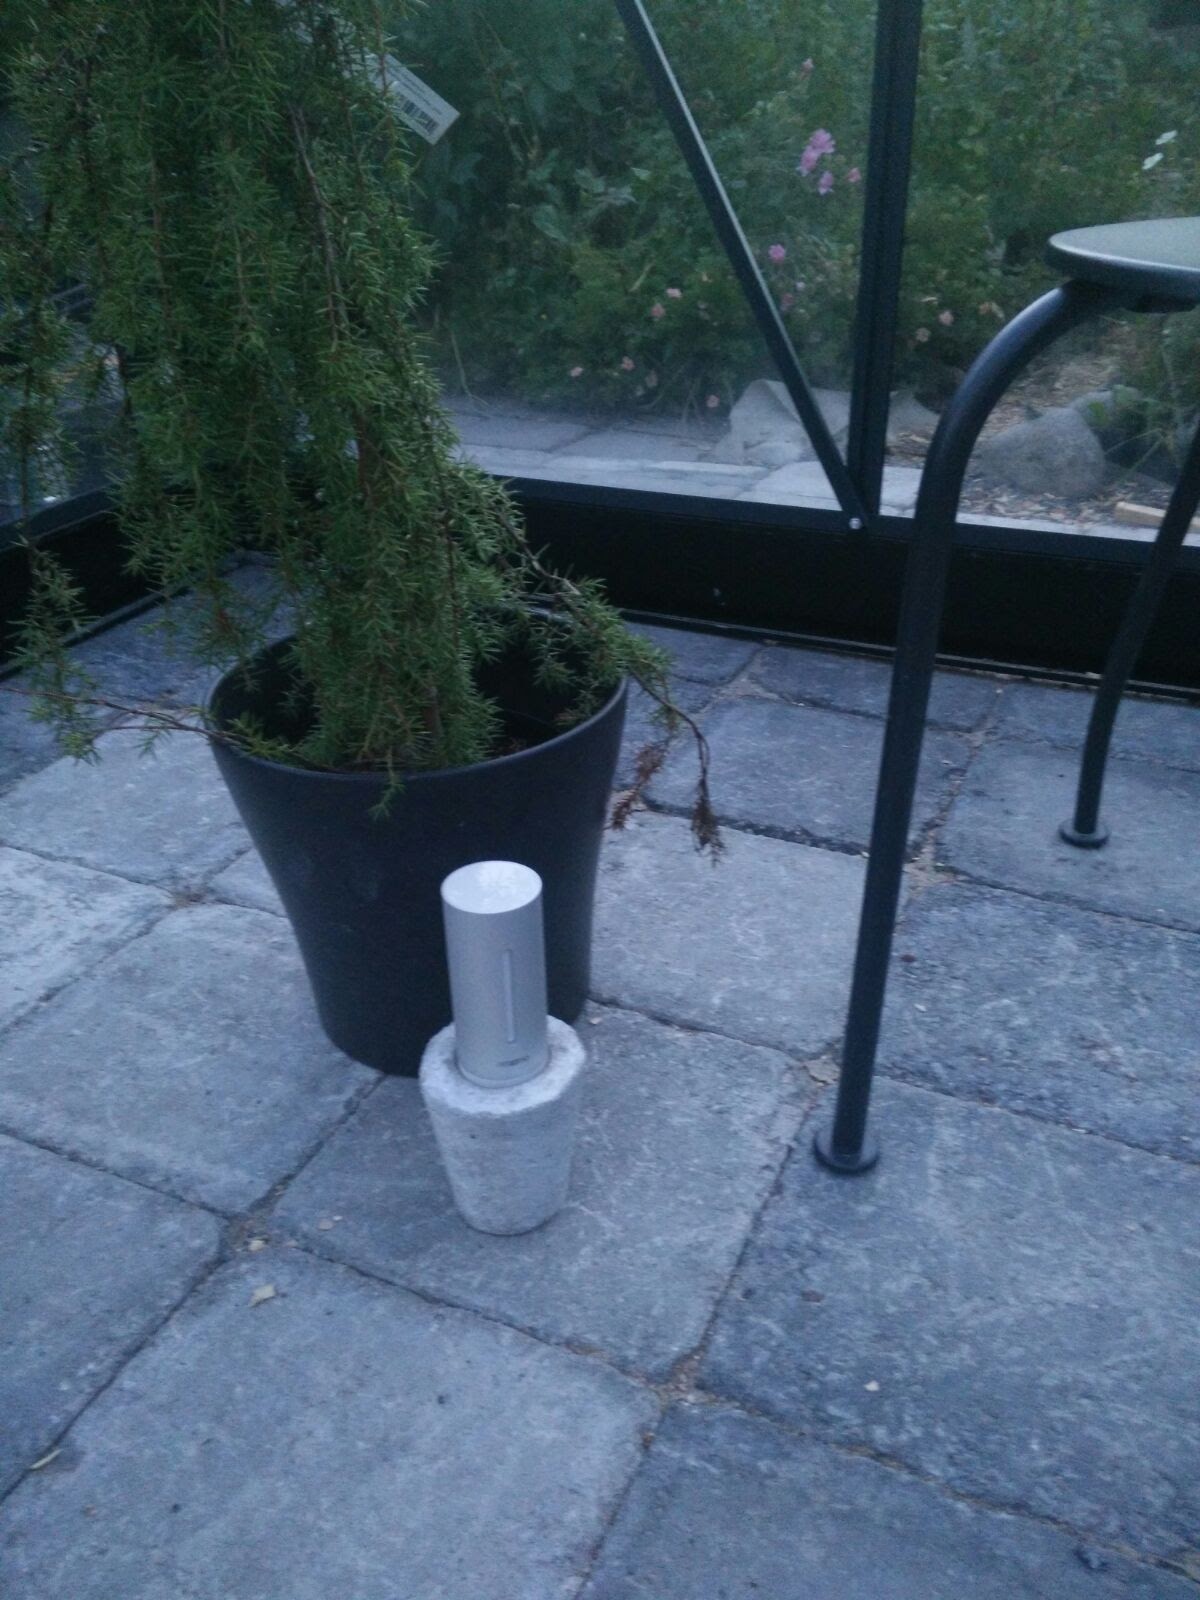
When the final sheet of glass was locked in place, it turned out that the door did not work properly any more (framework had tilted or shifted slightly during the glass installation, so that the door now slightly grinds against its frame when closed). But I do not care so much any more, no doubt we will find some solution to that also, eventually. I am already thinking of the next summer, and how to monitor temperature, humidity, and how to maintain the correct irrigation level in my chili pots. I have already the Blumat automatic watering system, and there is now also an extra wireless Netatmo sensor unit set up in the greenhouse for testing purposes, plus a solar cell powered led lights for some ambience and night time illumination of this “glass box”. – Thanks for reading, and I hope you have enjoyed your garden of summer, too!


You must be logged in to post a comment.