My original plan was to move into full hydroponic gardening setup in our greenhouse early this year. However, during the Easter weekend, we got again a “takatalvi” (a cold spell with snowfall) in Tampere, and the greenhouse will stay closed for a long time, still. Thus, a Plan B.
I had both twelve chili saplings of different varieties, and twelve small “self-watering” plant pots – these are Orthex Eden 12 cm models, meaning that they have only 0.3 L water reservoir, and 0.8 L for the hydroponic substrate (or soil). I had also a 45 L bag of Gold Label HydroCoco 60/40 substrate in my stash, so I proceeded to make a “passive hydroponics” setup using what I got. I washed the pots (they had spent the winter outdoors), then buried the rockwool cubes (with saplings sticking out) into the substrate in each self-watering pot. The nutritient mix is again based on Canna Coco A+B.
I multi-purposed a Bosch workbench from our garage as the growing table, and positioned the Nelson Garden LED growing lights hanging close above the plants.
This system should make do for some time now. The only downside is that small water reservoir in all of those 12 pots. I have no idea how fast the small saplings will drink that amount, so it might be that soon I will be mixing nutritients and filling in 12 pots every day or so. Let’ see: the maximum amount of liquid these pots can take is under 12 L, so if I will prepare a large 10 L bucket of the nutritient solution per each “serving”, this should be pretty straightforward. Canna, the nutritient manufacturer, instructs to use 19 ml of A solution and 19 ml of B solution per 10 L of water in the starting & rooting phase, and then add the dosage into 23 ml + 23 ml, when the plants have entered the early vegetative, growth phase. When we’ll have a bit larger plants (2-4 weeks-old saplings), the recommended nutritient amounts are 27 ml + 27 ml, per 10 L water.
Due to having a lot of other things in my mind and life this Spring, I am rather late in my chili pepper project – but as Juice Leskinen said “Kuule istuta vielä se omenapuu”. I will plant my plants.
As I wrote in January, because hydroponics make chilies grow so fast and tall, it is actually probably good to start a bit later, in any case. That way, the plants should hopefully still be of manageable sizes, when I am able to move them into the proper hydroponic setup in our greenhouse. Handling a full hydroponics system in my small basement “office” is really not that feasible, even under the best of conditions. I hope that this time it will be a warm and early summer (fingers crossed).
As said, I have two themes this year: taste and colour. Into the taste category, I finally decided two chili varieties: Hainan Yellow Lantern and Lemon Drop.
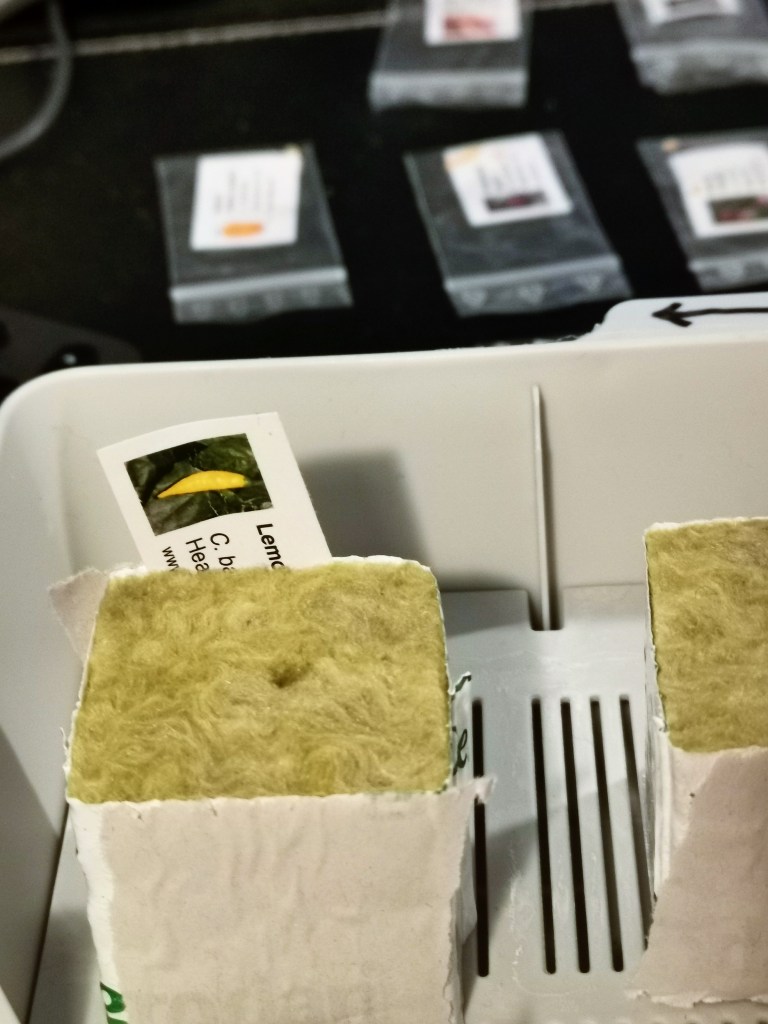
Placing the seeds – handling rock wool with gloves, due to it causing skin irritation when touched.
In the more exotic section, where interesting looks are the main criteria, I chose (finally in a pretty random manner) the following: Buena Mulata, Pimenta da Neyde, Chinese 5 Color, Kanon Pepper F2, Filius Blue, Numex Twilight, Bolivian Rainbow, and Purple Bhut Jolokia.
Since I do not have room to grow into large, fruit-bearing plants nowhere that number of chili peppers, I conceive this as a sort of speedrun style competition: those plants that germinate fastest, and produce promising saplings, will get into my AutoPot 4Pot system. I do not know what to do with the rest – maybe I will just put them into regular flowerpots with soil outdoors, and see if any of them will survive, too.
The germination follows pretty standard procedure again, except that IKEA had stopped selling accessories for their old hydroponic products (shame on them!) So, I picked some standard rock wool cubes from the local hydroponic gardening shop (luckily, I did this long before the coronavirus epidemic), and then just installed them into the covered water-tray system – which is on top of the electric heat mat, and under the LED lights. Let’s see how long it takes before the first plants will appear, this time.
I placed two seeds inside each rock wool cube. Let’s hope that it is enough for the most varieties time time, too.
All my chili seeds are coming from Fatalii this time. Here are some short characterizations of his, about these chili varieties:
Hainan Yellow Lantern: “This variety comes from Hainan island, China, where it’s actually quite commonly used for mainly a tasty hot sauce. Very prolific variety that has a strong chinense aroma, very similar to Harold st. Barts and few other yellow Capsicum chinense varieties.” (Link.)
Lemon Drop: “Lemon Drop represents hot, non-sweet, slightly lemon-flavored types of baccatum peppers (as opposed to sweet, low-heat or only moderately hot Ajis). The plant is relatively compact and produces lots of bright yellow fruit even in non-ideal home conditions.” (Link)
Buena Mulata: “Very old heirloom variety from 1940’s. This plant looks absolutely gorgeous with all great colored pods! The flowers and pods start from purple and ripen to very beautiful colors!” (Link)
Pimenta da Neyde: “One of the strangest chile peppers I’ve ever seen! Mature pods won’t change the color, but stay purple instead.” (Link)
Chinese 5 Color: “Fantastic, very colorful ornamental chili pepper which is also quite hot with a decent taste to be used for cooking.” (Link)
Kanon Pepper F2: “This beauty is still unstable meaning the results growing this one will vary, which is a good thing when you want to find your favorite among them.” (Link)
Filius Blue: “So very pretty ornamental chili pepper which ripens from beautiful blueish purple to red with some fancy color stages in the middle! Quite hot.” (Link)
Numex Twilight: “An ornamental chile pepper that is so insanely pretty you simply can’t miss it. If you like to grow useful chile peppers that are a true eye-candy!” (Link)
Bolivian Rainbow: ” The dark green leaves will turn shiny deep purple, almost black. The cone-shaped, erect pods go through colors of green, purple, pink, yellow and orange before ripening bright red!” (Link)
Purple Bhut Jolokia: “One of the most amazing looking super hot varieties there is! Ripens from green to purple to red. Very heavy producer and the pods taste very good when ripe.” (Link)
Seeds, cubes, water, light, suitable heat – everything should be in place now.
There are already few hours of (dim) sunlight per day, so it is again time to start thinking about the next chili season. There were some lessons to consider from last year (one of new hydroponics approach – you can read more in my garden thread/category of this blog: https://fransmayra.fi/category/garden/).
One of the lessons was that “slow” chilies and the cold Finnish summer do not go together very well. I am not willing to use electric heaters for extended periods just to keep my plants alive in the greenhouse. Thus, I have decided to remove Rocoto varieties from my selection. They are nice, large chili peppers, but many are also too slow to grow and ripen for my approach.
Another lesson from last year was sort of “positive problem”. The hydroponics is almost “too good” cultivation system for me. The plants really grew large in the new AutoPot 4pot system I got year ago. I had trouble last spring when plants were already so large in April that move from my basement into the outdoor greenhouse would have been necessary, but there was a “takatalvi” (cold spell, with more snow), and I was stuck with them. And when it was warm enough in May, the plants were far too large to be safely carried around, and had suffered from lack of direct sunlight. It was a sort of minor disaster. (See my post at: https://fransmayra.fi/2019/05/30/chilies-in-the-greenhouse/.)
Thus, while I can start thinking about the varieties to grow, I will not germinate them yet.
I need to get my priorities sorted out first. As shown in the above image, I have a lot of chili seeds (these are all ordered from the trusty FataliiSeeds.net store, I think). It makes no sense to try growing too many varieties at the same time, when in reality I have room for maybe 4-6 fully grown plants in the greenhouse.
My initial idea for this year is try to find more compact varieties – so I dropped any chili which says “Mammoth” in its name, for example. After that, there are just two main principles this year:
one or two chilies that are just of right strength and taste for actually eating
one or two chilies that are beatiful and interesting.
My current “shortlist” of chili seeds of different kinds is shown in the image below. In terms of taste, I really like both Lemon Drop (C. baccatum), and then yellow habanero style chilies (e.g. Hainan Yellow Lantern – the Chinese “Emperor Chili”, and Madame Jeanette, which is probably a related, Habanero style yellow chili but which originates from Surinam – these are all C. chinense chilies).
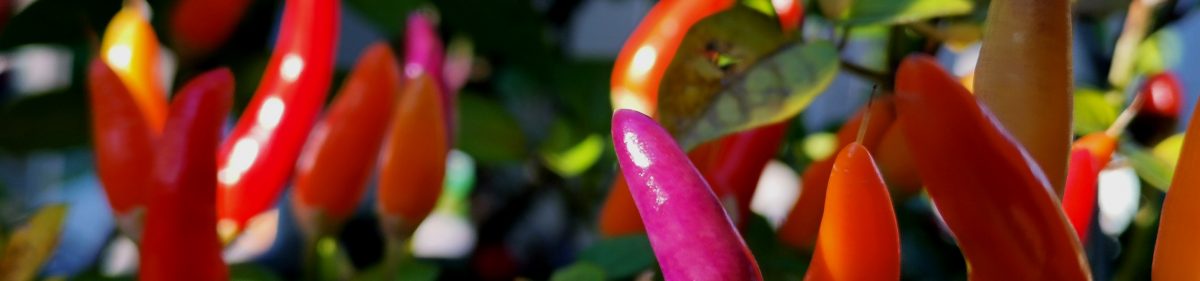
The “visual chili” department is much larger and difficult to sort out at this point. I am considering of trying out some new, multi-coloured varieties. I have experience from Bolivian Rainbow (C. annuum) and Numex Twilight (C. annuum) already. Both are nice, but there are just so many interesting plants out there! If you have any recommendations, please feel free to drop a comment below.
The current, “shortlist” selection of varieties to consider for the Chili Season 2020.
Since mid-January, when I did my chili planting this year, there has been some nice progress. All five varieties that focused on have made it to the stage where they are soon ready to move into bigger, mid-sized pots. Particularly when the small seedlings were moved from the tiny, Ikea cultivation pots into larger ones, and provided some fresh soil for their roots, they really started growing. (I think that I have been using both “Biolan Kylvö- ja Taimimulta” and “Kekkilä Taimimulta” this year.) The hydroponics is no doubt better for larger, production oriented growing of chilies, but for me at least the traditional soil-based growing has proved much easier to handle.
Here are a couple of photos from this stage. The bigger of two Naga Morich plants is already over 15 cm mark, and has been moved into a bigger pot: this one is one from Finnish Orthex, and is called “Eden bioplastic herb pot” (there is a small water storage at the bottom, and the pot also comes with a felt mat, that can be used if this pot is applied to keep store-bought herbs alive).
Naga Morich (C. chinense), mid-April 2018
Most of the other plants are in the c. 10 cm range, below is pictured 7pot Primo Orange:
7pot Primo Orange (C. chinense), mid-April 2018
It will be interesting to see how the plants take the change, first into the windowsill with bright sunlight (they have grown under the Ikea Växer led lights), then into the greenhouse. The spring has been very late this year, and there is still snow and ice everywhere, and nights go well below freezing. But I’d think in May, latest, these will move into the greenhouse.
Time to start preparing for the next summer’s chili season. This time I have promised myself that I will not fool around with any silly Ikea “passive hydroponics” system or similar. Just old-fashioned soil, some peat, water and a light. But I will make use of the Ikea cultivation pots and led lights, as much as possible.
I will also try to radically cut down the number of plants that I’ll grow this time. Last summer was cold, damp, dark and bad in so many ways, but one part of the problem was that I had just too many plants in the end. Packing plants too densely into a small greenhouse will just predispose all plants to pests and diseases. Smaller number is also good for getting enough sunshine and good airflow around all plants.
I am again putting my trust in Finnish chili seeds from Fatalii.net (Jukka Kilpinen’s “Chile Pepper Empire”). I am trying to grow five plants:
Naga Morich (C. chinense)
Carolina Reaper x 7pot Douglah (C. Chinense hybrid, F2 generation)
7pot Primo Orange (C. chinense)
Moruga Scorpion (C. chinense)
Rocoto Riesen, Yellow (C. pubescens)
You might spot a pattern here: this is apparently the year of superhots for me (the Rocoto Riesen is the odd one out – thanks to Fatalii for dropping it into my order as a “surprise extra”). Originally I was planning on focusing on just my regular kitchen varieties (Lemon Drop, etc.), but losing all my hot chilies last summer left some kind of craving for retribution. If all these grow into proper plants, and yield proper crops, I will be in trouble. But: let’s see!
My experiment with the Ikea hydroponics system has now produced a nice selection of small chili seedlings. The next step is moving them from the nursery box into the cultivation kit. Below are some photos: the idea is to completely bury the stone wool “starter plug” (now penetrated by chili roots) into coarse pumice stone pieces, within perforated cultivation pots. After those are placed into the cultivation kit, one just needs to fix the kit with a mix of fertilizer and water in suitable ratio (half capful into 4 liters of water is Ikea’s own Växer recommendated ratio, I did put in a bit more). Those pots which are not in use should be covered with provided lids, as this prevents algae growth in the kit. The pumice stone gravel absorbs the liquid, providing chili seedlings with both water, nutritients, and access to air. Let’s see how this goes on from this…
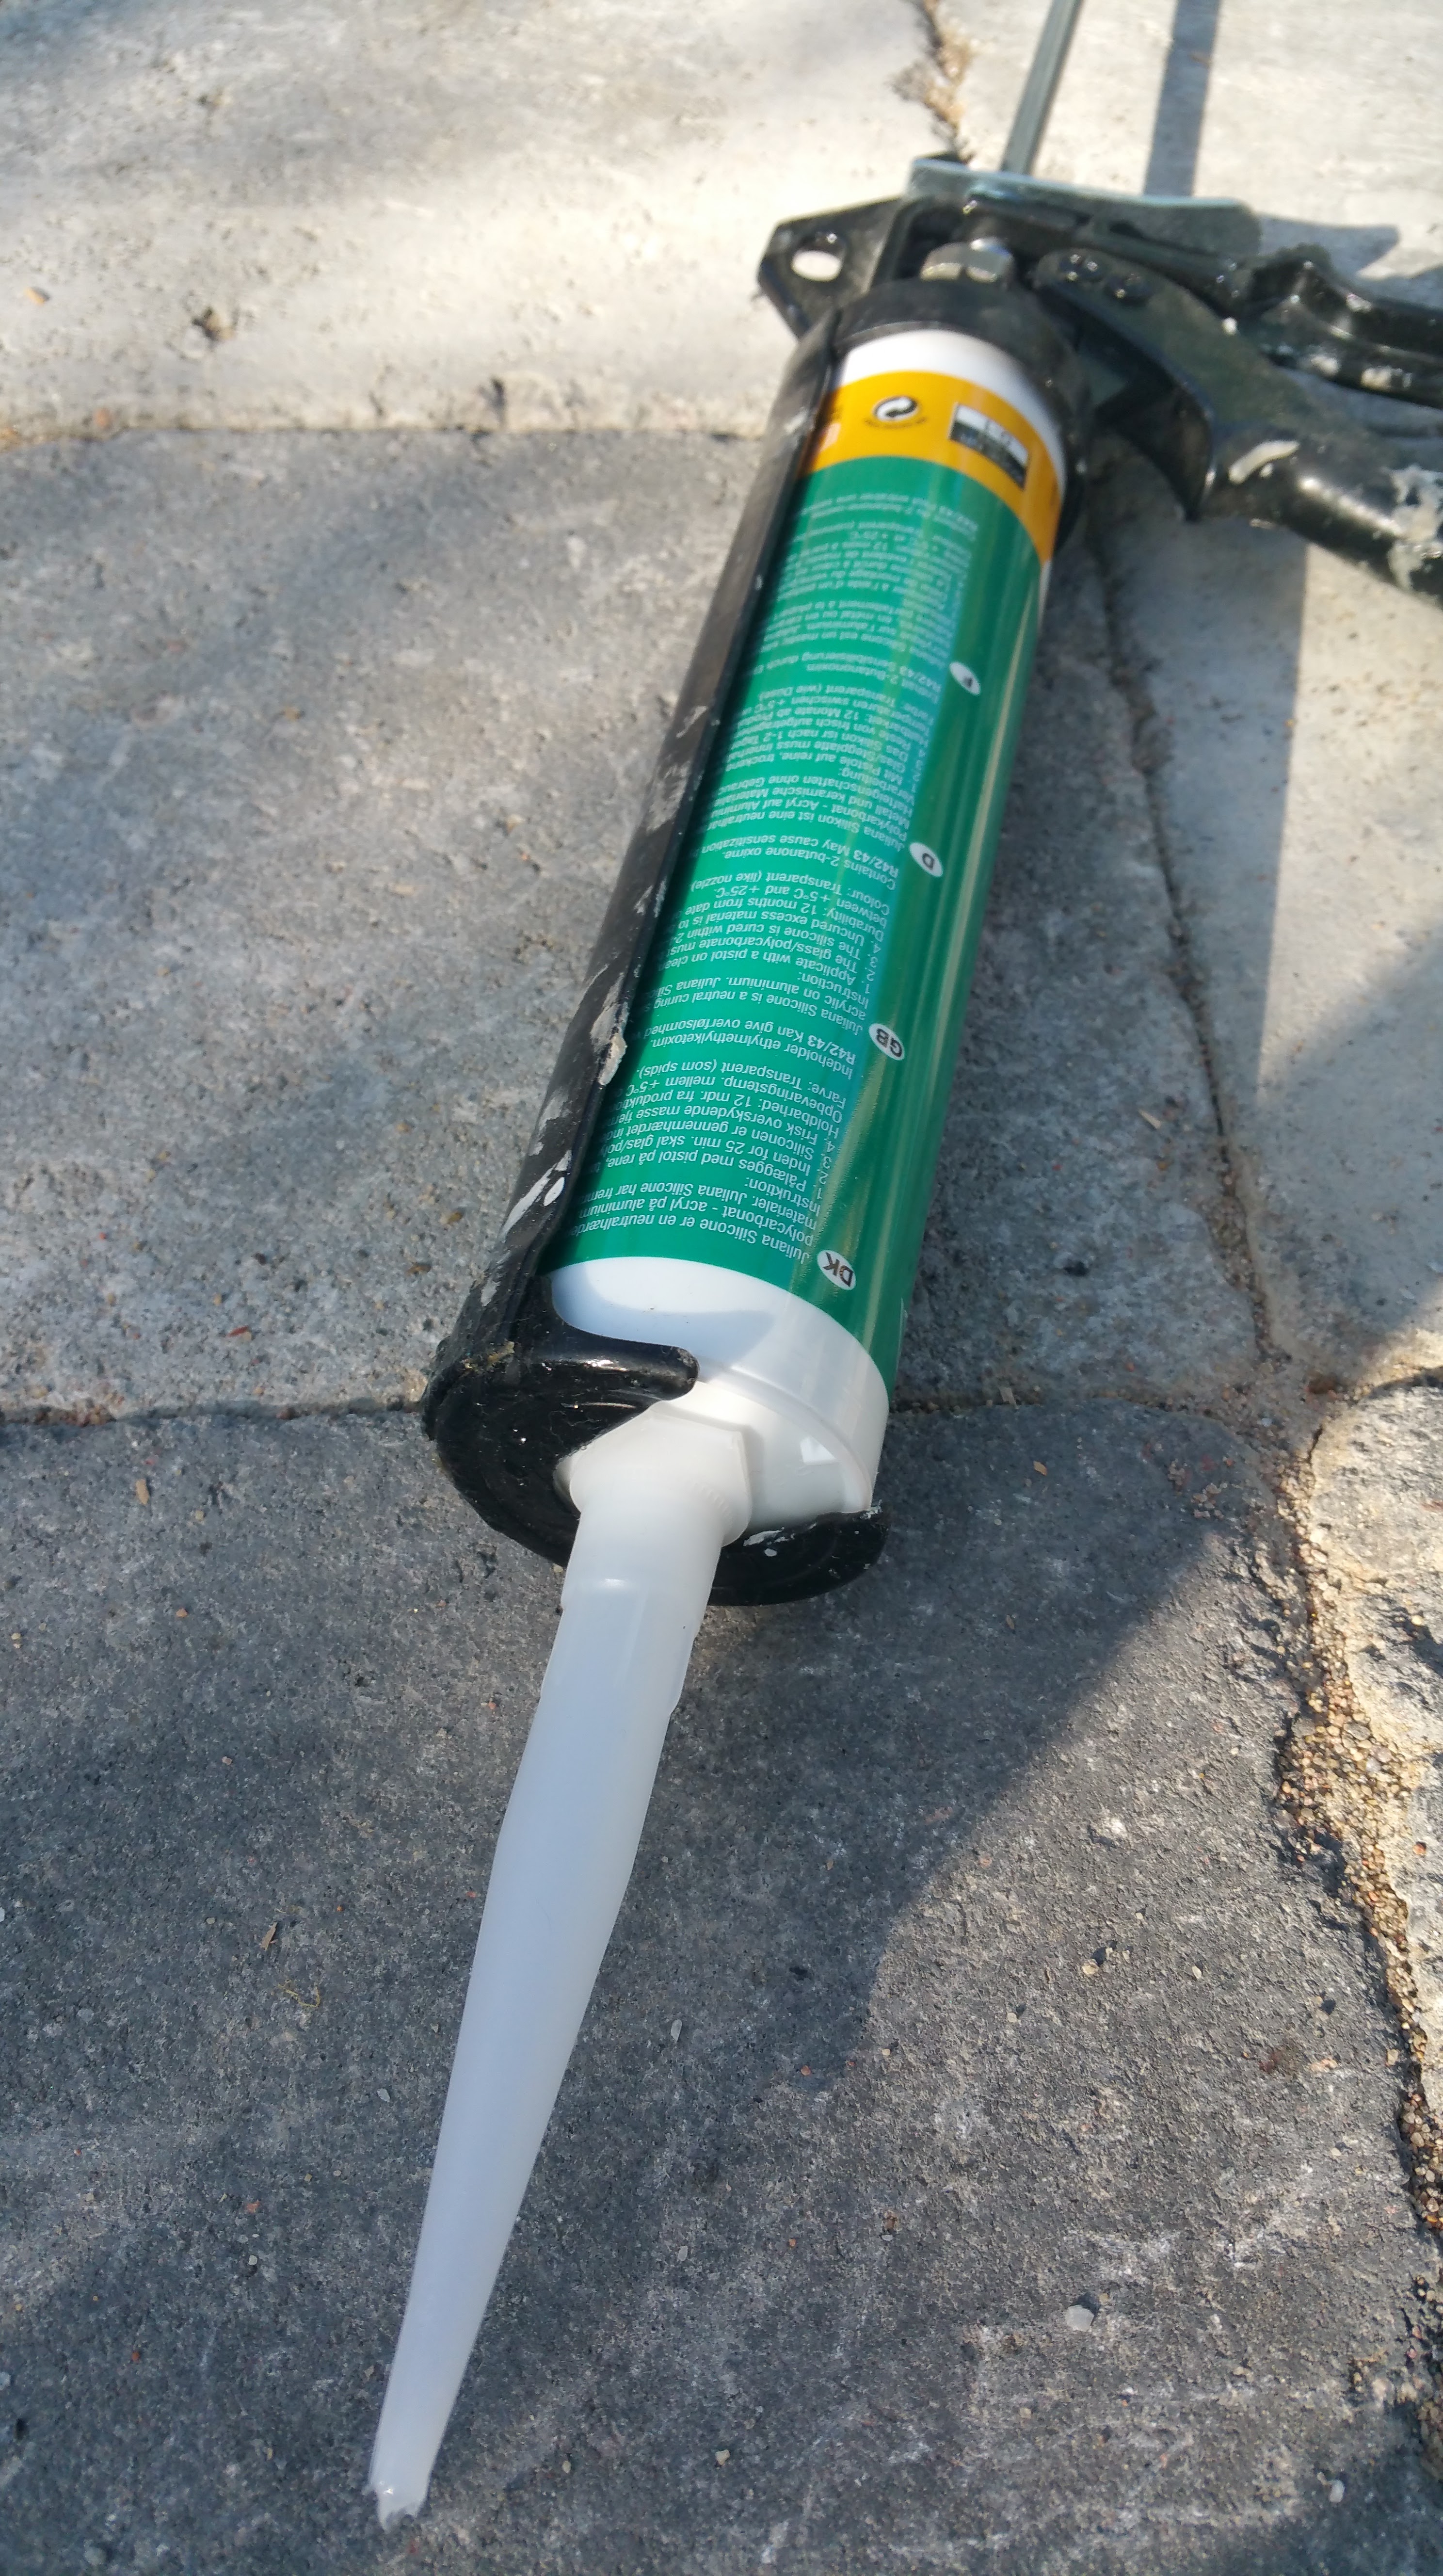
The final part of setting up the Juliana Compact greenhouse kit involved fitting and fixing the actual glass parts. This was pretty simple and straightforward in theory: if the base structure is correct in every regard, then one just needs to place the tempered glass pieces into the right holes at the aluminium frame and lock them into place. In practice this was not quite so easy, of course. The sealing of glass into the frame requires using either silicone gun or weatherstripping (stips of soft thermoplastic rubber) to provide an elastic base, and then applying the plastic lock strips (“M strips”) to lock glass sheets into place. (The lock strip plastic hardens in low temperatures, so this was a rush against time – setting sun and dropping temperatures would make the installation impossible.) We decided to use the weatherstripping option, which proved to be a good choice – even while the base and aluminium frame appeared to be pretty straight, there was still need to carefully move each sheet of glass several times during their installation attempts, and this would have been really difficult to do with messy silicone hardening and complicating things up. We decided also not to use acetone or any other strong solvent to clean the aluminium strips of grease, even while Juliana’s instructions told so (we were tipped by an expert that acetone actually ruins the cover paint from the frame, so using it would be a bad idea).
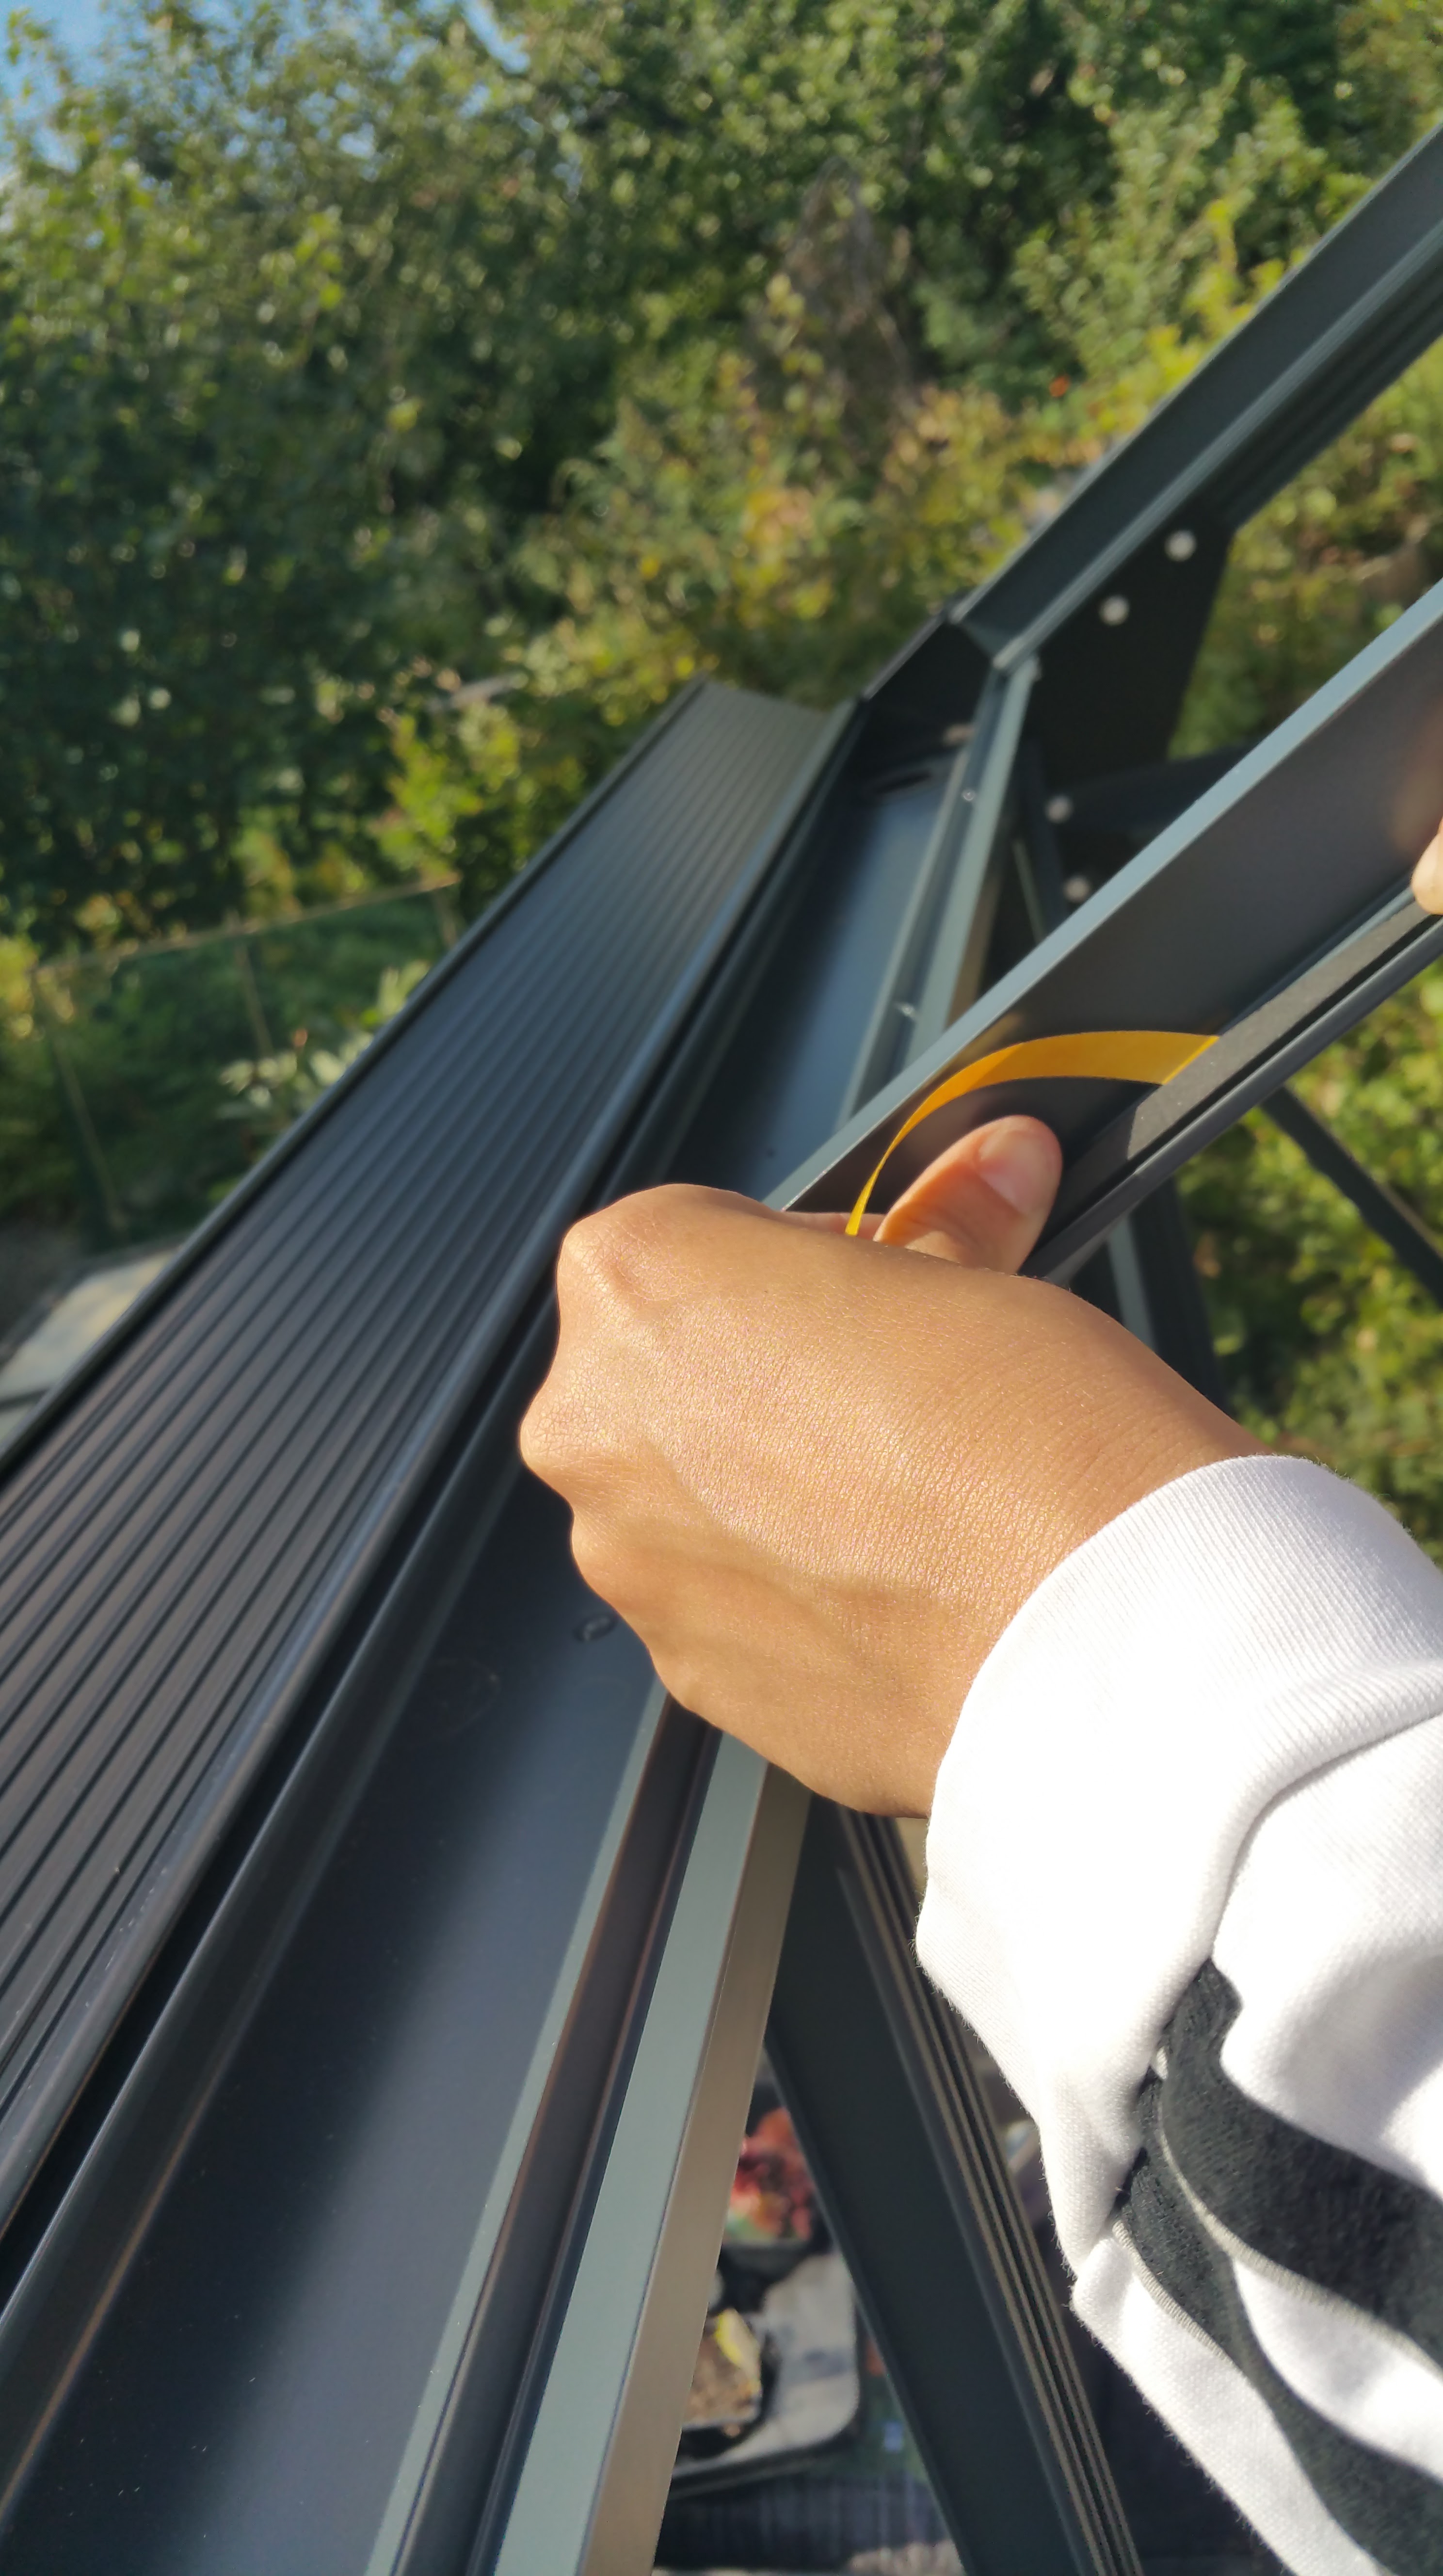
The need for repeated moving and fine-tuning of each glass related to the final precision test required by the Juliana kit: the “M strips” used for locking glasses need suitable, c. 1 mm insets or slots that go down all the way on both sides of each glass sheet, otherwise the M strips do not lock into place. That evenly distributed one millimeter tolerance proved to be rather tough challenge to reach. In our case we got majority of glass sheets installed with only moderate trouble, but in few, last glass installations we had to use tricks like matchsticks as holders that kept glass in place, while two persons – working in sync – both gently twisted and pressed powerfully inwards two M lock strips at both sides of a glass sheet, moving from top towards bottom at even pace, so that the 1 mm gap remained evenly distributed at both sides even while M stips tended to press and move glass sheets sideways. There is a picture below that hopefully illustrates this – there needs to be a suitable gap between the aluminium profile and the edge of glass sheet, while the glass sheet must rest on top of the weatherstipping, that is fixed very close to the inner edge of aluminium profile. At one point we were simultaneously fine-tuning three large sheets of glass, holding them with one hand in place, while pressing the M strips into place. And we did it!
There are so many pitfalls waiting in both printed instruction guidelines and online Juliana guides that it is perhaps surprising that people actually manage to put these things together, in more or less satisfactory manner. Apparently many customers actually end up either calling the importer for help, or order a professional to set things up. Which might be a good idea. But: if you do all this yourself, it will be a real-life 3D spatial and problem-solving challenge and a good way to spend several days (or: weeks) of your precious free time – so why not enjoy it?
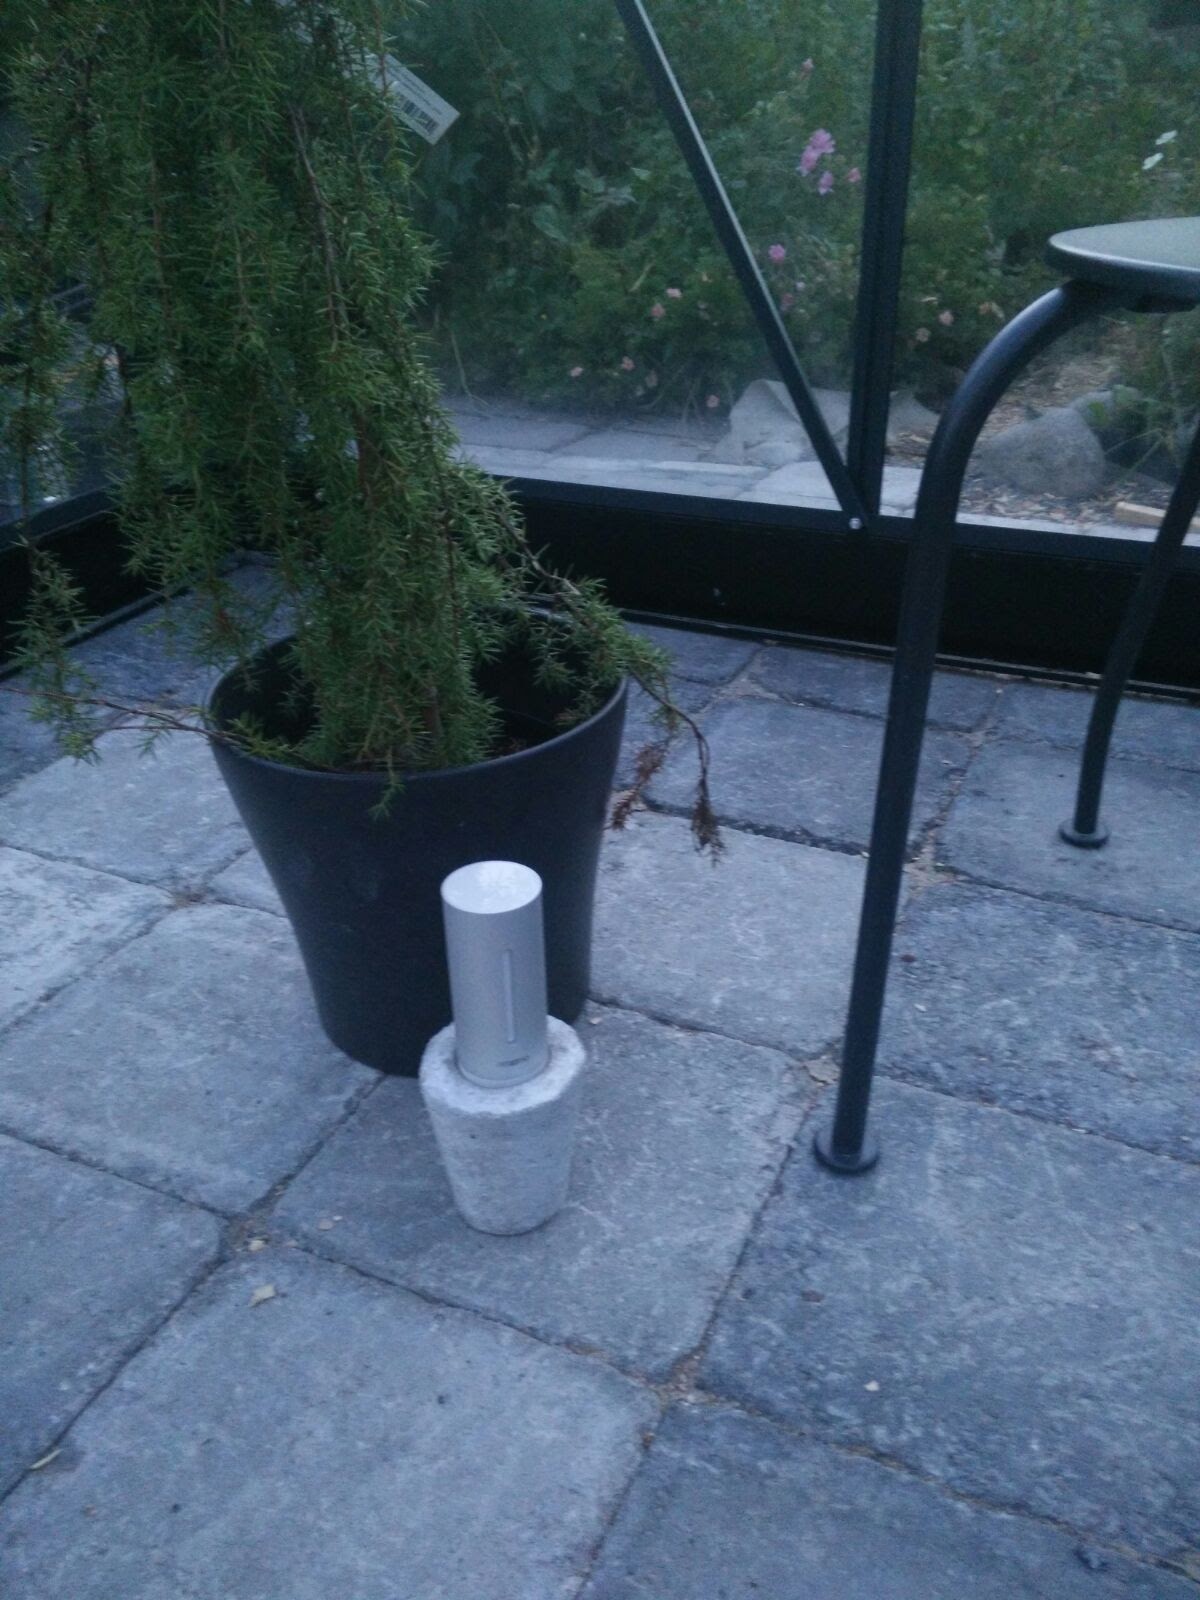
When the final sheet of glass was locked in place, it turned out that the door did not work properly any more (framework had tilted or shifted slightly during the glass installation, so that the door now slightly grinds against its frame when closed). But I do not care so much any more, no doubt we will find some solution to that also, eventually. I am already thinking of the next summer, and how to monitor temperature, humidity, and how to maintain the correct irrigation level in my chili pots. I have already the Blumat automatic watering system, and there is now also an extra wireless Netatmo sensor unit set up in the greenhouse for testing purposes, plus a solar cell powered led lights for some ambience and night time illumination of this “glass box”. – Thanks for reading, and I hope you have enjoyed your garden of summer, too!
 My original plan was to move into full hydroponic gardening setup in our greenhouse early this year. However, during the Easter weekend, we got again a “takatalvi” (a cold spell with snowfall) in Tampere, and the greenhouse will stay closed for a long time, still. Thus, a Plan B.
 This system should make do for some time now. The only downside is that small water reservoir in all of those 12 pots. I have no idea how fast the small saplings will drink that amount, so it might be that soon I will be mixing nutritients and filling in 12 pots every day or so. Let’ see: the maximum amount of liquid these pots can take is under 12 L, so if I will prepare a large 10 L bucket of the nutritient solution per each “serving”, this should be pretty straightforward. Canna, the nutritient manufacturer, instructs to use 19 ml of A solution and 19 ml of B solution per 10 L of water in the starting & rooting phase, and then add the dosage into 23 ml + 23 ml, when the plants have entered the early vegetative, growth phase. When we’ll have a bit larger plants (2-4 weeks-old saplings), the recommended nutritient amounts are 27 ml + 27 ml, per 10 L water.


You must be logged in to post a comment.