Chilies in the greenhouse

First flowers: chilies, 2019 season.

My first hydroponics chili pepper growing season has been bit of a mixed experience so far. On the one hand, the passive hydroponic setup that I installed (based on the AutoPot 4pot system, HydroCoco, and Canna Coco A+B) was a great success. The plats really grew fast.

So fast actually, that I was soon in trouble with them. My planting schedule was based on my earlier experiences with soil-based gardening, but the growth speed in hydroponics is much faster. I germinated the seeds in early February, moved selected seedlings into the AutoPot system in 25th February, and already in early April the plants were so tall they should had been moved to the greenhouse already. My LED plant light system was particularly a bottleneck – the fast-growing chili plants grew quickly up to the maximum height that I could adjust the LED strips into, and I needed to cut them down quite a bit. Even then, the plant growth would have needed better light, and real, strong sunlight that would had been coming from multiple angles, not just from those narrow LED strips.

But we got snow and “takatalvi” (cold spell & wintry weather) in April, and I could not move the plants into the greenhouse. I just kept growing them, cutting them down, growing more – and waiting for the weather to get warmer.

It was only in late May (18th May, to be exact), when the weather forecast told that further snow was now highly unlikely. I started moving the overgrown plants to the greenhouse, but lost maybe half of their branches. The weak, big plants were just not made for punishing physical handling. The hydroponics setup is not designed to be moved around, either.

Poor chilies, moved too late to the greenhouse.

But, I got the plants out, set up the AutoPot system again, this time into the greenhouse, filled it in with water and Canna Coco, and hoped for the best.

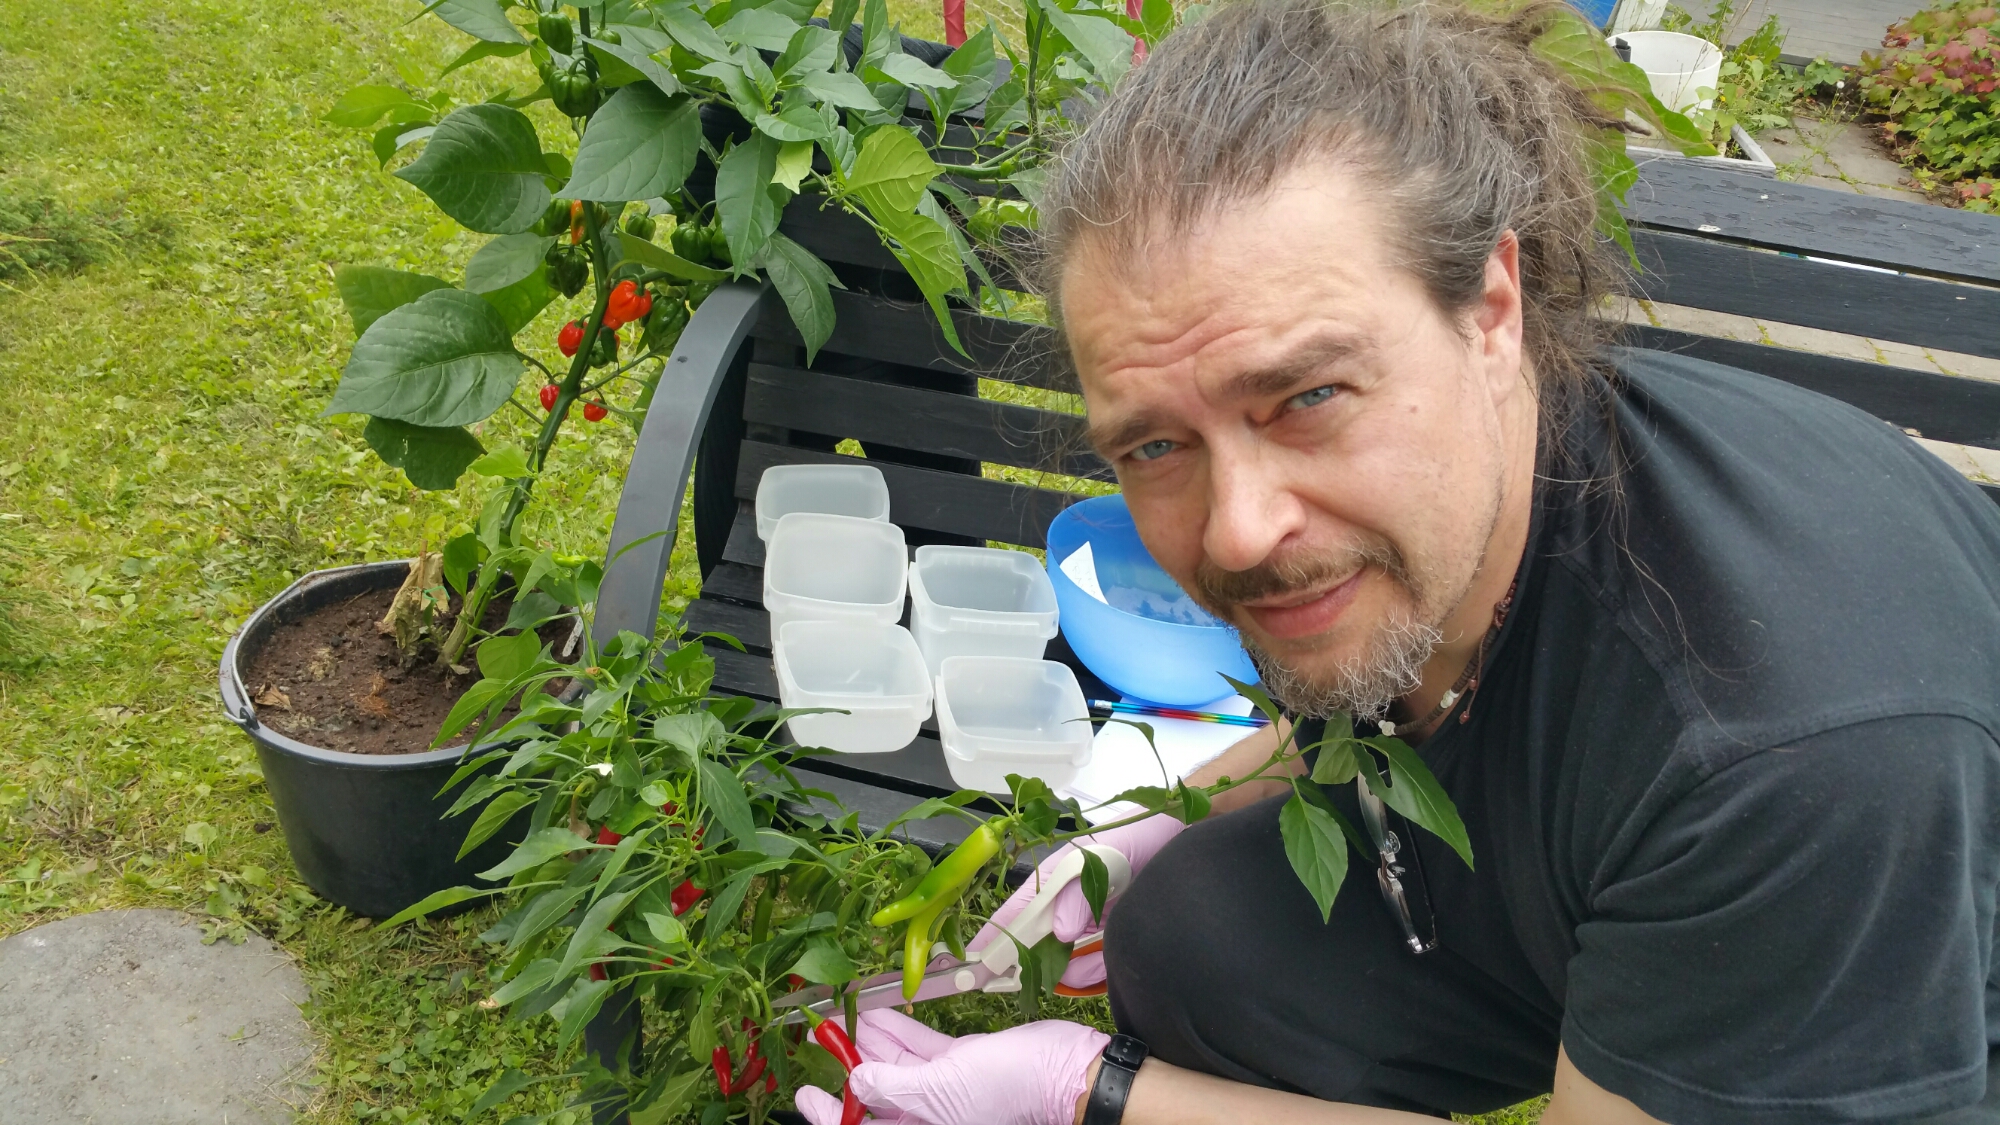
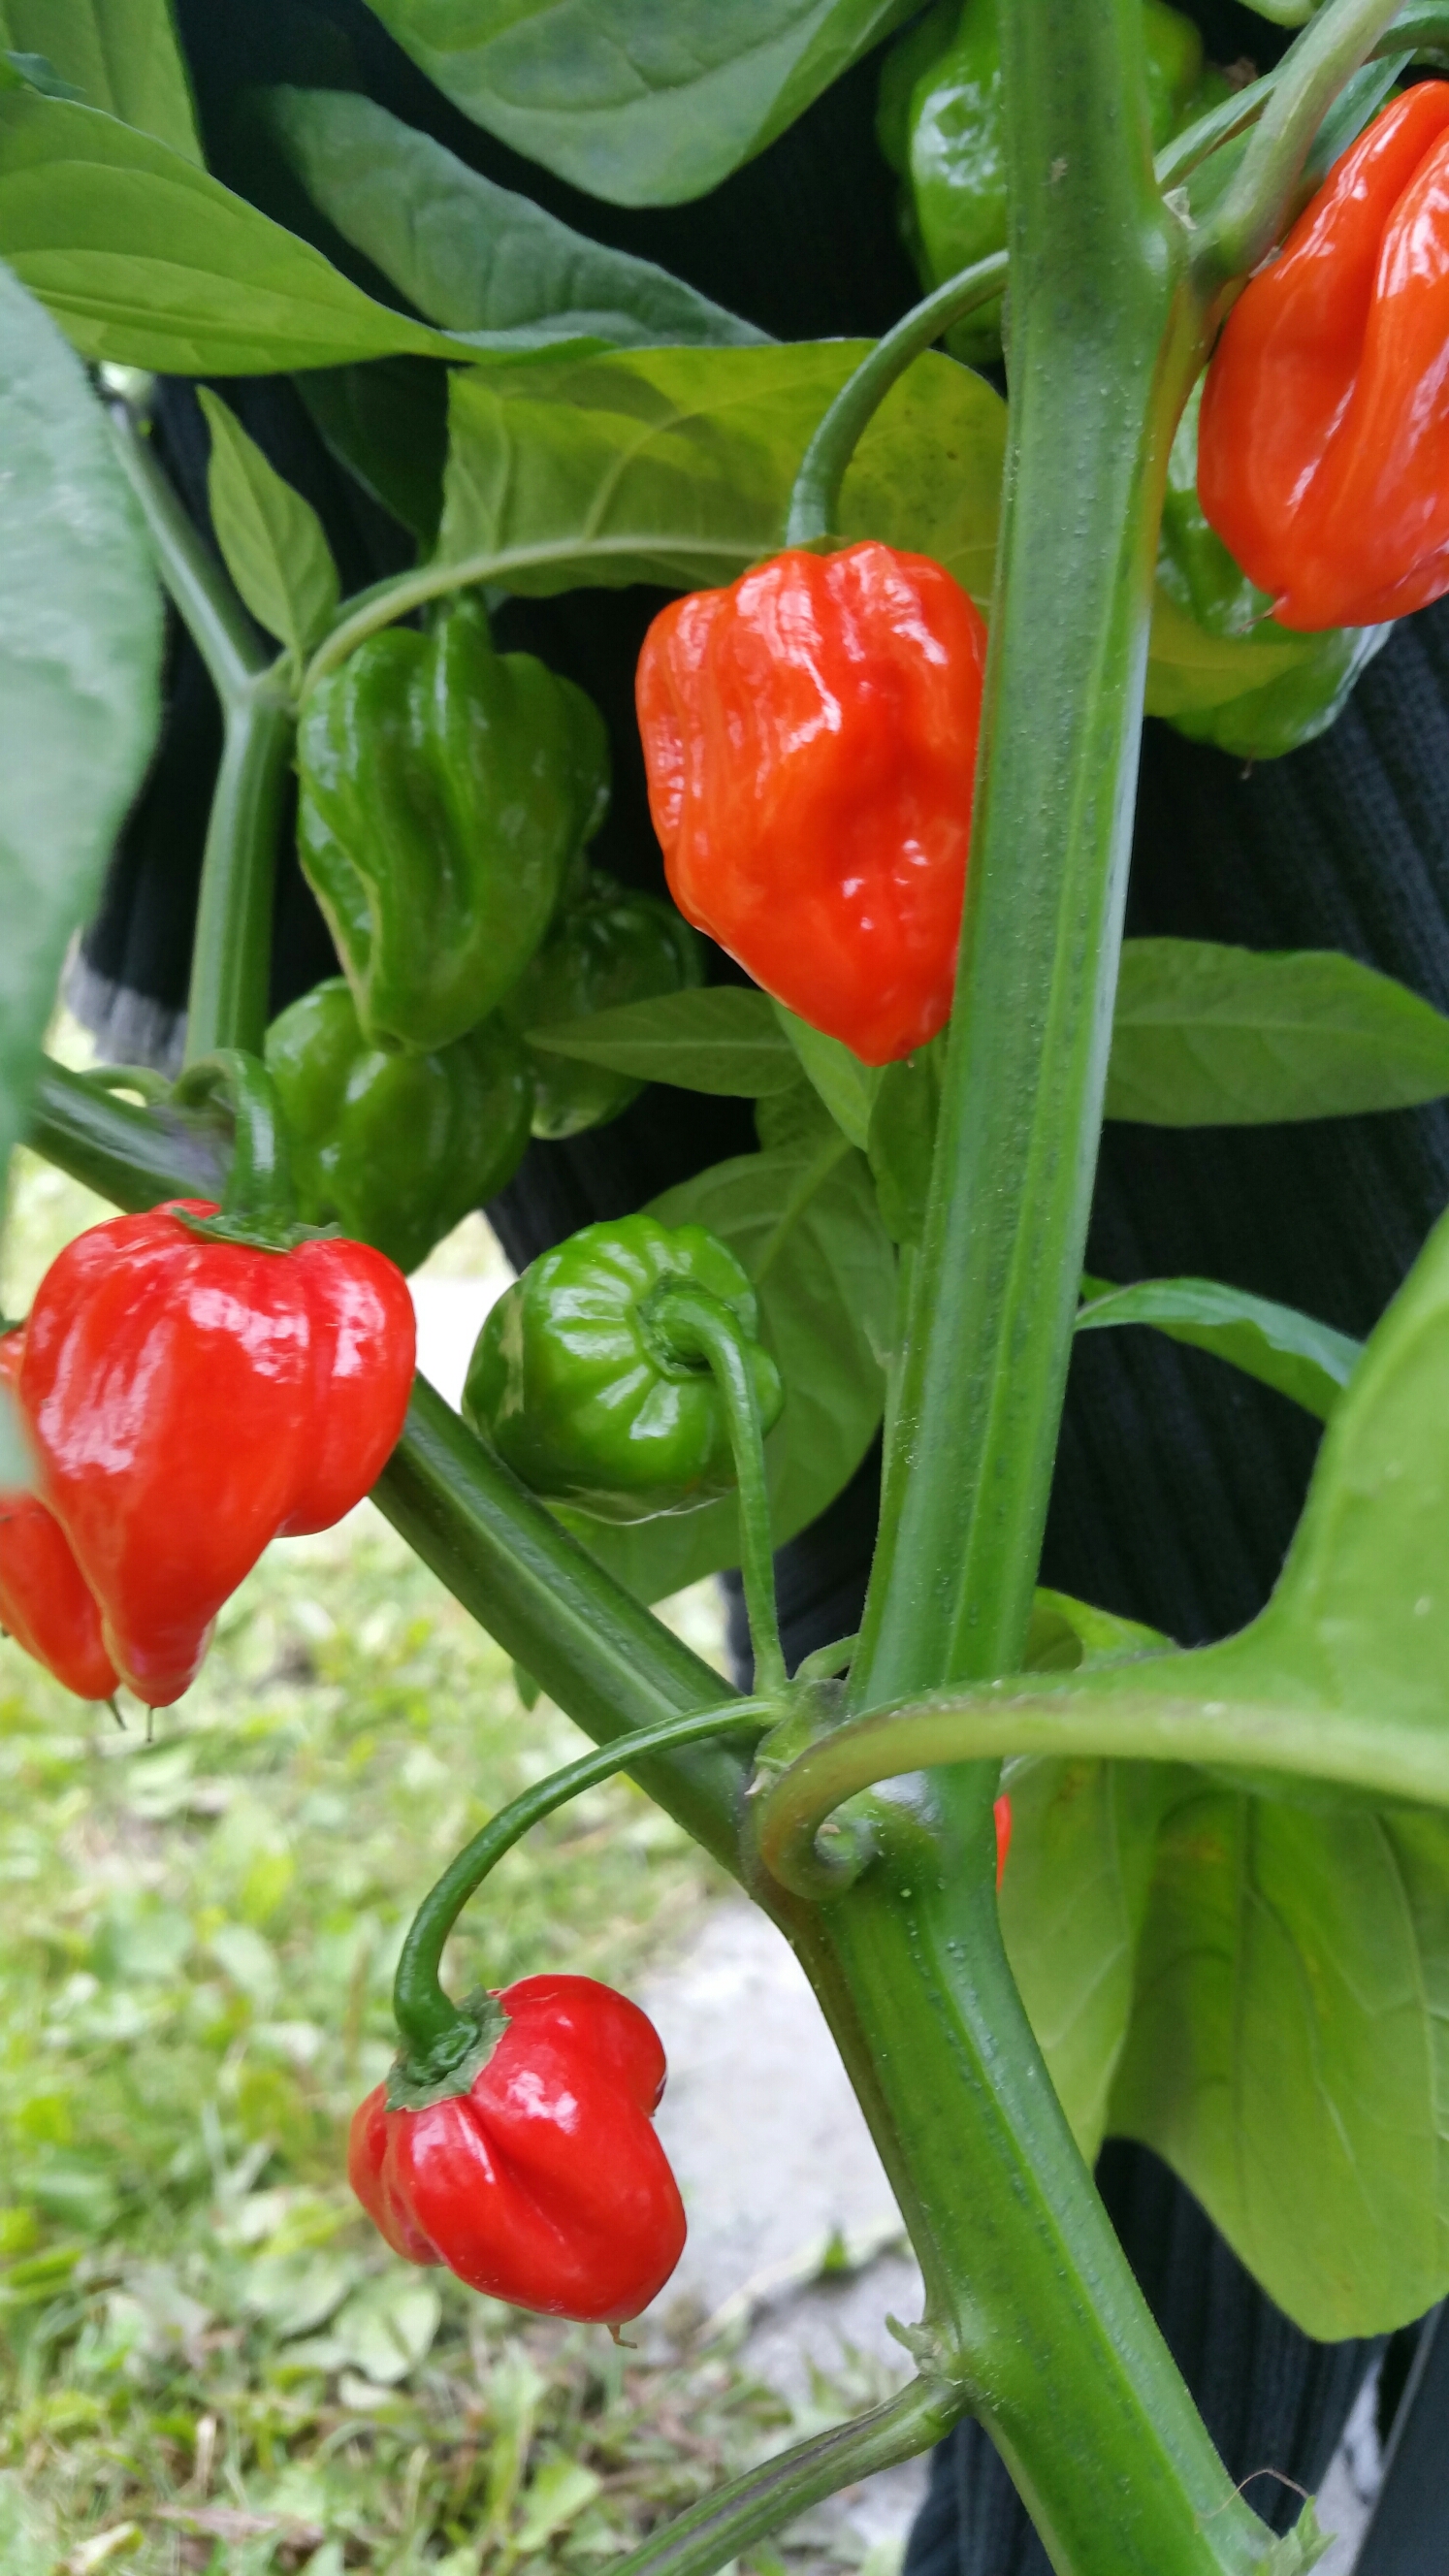
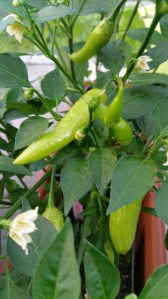
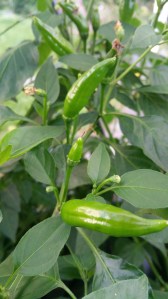
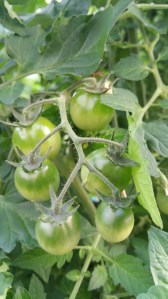
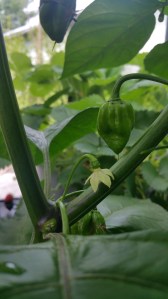
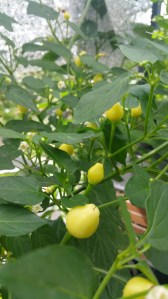
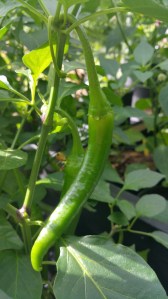
All four plants are still alive, which is nice. CAP 270 is in bloom, and is bearing the first fruit even now. But the plants are not that nice looking, as they lost much of their branches in the move, and the growth patterns are not that good, thinking about the future crop. The branches should be stronger, thicker and more symmetrical, to support decent amount of chili pods. Well, we’ll see what the final outcome will be.

The lesson? Maybe I need to carefully think about my cultivation schedules: the plants should be much smaller at the point when they still can safely be moved from indoors to the greenhouse. They should be pruned, so that the powerful growth can be controlled. But otherwise: hydroponic gardening seems like a really interesting option!

The first fruit (C. baccatum, “CAP 270”).

Selection of chilies, Spring 2019

Some of the chili crop, 2018.

I have been growing my own crops of chili peppers for few years now, and every year it feels like I am a bit late in starting the germination period. This time, it is already late January, and I am still just selecting the seeds and species to grow. These are the varieties I have narrowed down the selection this time – I have also attached links to Fatalii Seeds, who provide a bit more information about each:

Taken together, all these species and varieties capture quite nicely the enormous range of options that chili cultivation provides. In some, my main interest is in the taste and productivity of chilies, in some, the exotic and interesting looks would provide joy to the hobbyist chili farmer. In some, it the main interest would lie in understanding more about some of the more exotic, alternative options that the chili universe provides. But I think that all of these should be relatively easy to grow, so in that sense they all could be realistic options. Let’s see how this goes; it is clear that I cannot grow as many as I am interested in, and also the number of plants need to be kept to the mininum, considering the small greenhouse and our other spaces.

Chilli crops, preparing and dehydrating, greenhouse project

My chillies are producing chillies – of many varieties, and enough for any reasonable uses I can personally come up with. Here are again some photos, both of ripe and fresh chillies, and also about the preparation for preservation. I have decided to dry and make rough, spicy powders of two most high-yielding chilli varieties, Fire Flame and Thai Rawit. Those should be good for hot pots, curries and other similar uses. Those selected chillies that have provided only small number of fruit, I decided to freeze as whole. Dropping a thawed chilli into a meal is an optional use for those. My dehydrator is a cheap “House” model from local Prisma department store, but it has quiet operation, nice temperature controls and appears to do it job well enough. Slicing chillies for dryer takes its time, but has also somewhat meditative character.

Chili harvesting, greenhouse project 

It is late August and the first batch of chillies is getting ready for harvesting. The first ones to produce good yield were Fire Flame and Thai Rawit. Others that also had produced some ripe chillies at this point were: Habanero Hot Lemon, Madame Jeannette, Lemon Drop, Fatalii, Trepadeira da Werner and Moruga Scorpion. There are also Aji Cristal and Aji Fantasy crops coming along, bit later. The giant of them all was Moruga Scorpion, which really flourished in the heat of this summer. Most habaneros and thai chillies remained small in contrast, but still producing nice pods. The only real failure this summer was my excess watering almost killing the sole Trepadeira da Werner. Next summer, the automatic irrigation with the Blumat system is probably in order. This summer it was all manual, since we were close at home  whole summer. 

Greenhouse: Waiting for the harvest

This is the first summer when our greenhouse is in use. So far everything seems to have gone just fine, even while we have been so busy in other areas that we have not really got so much time for the garden or the greenhouse. Even with just minimal care, most greenhouse plants seem to do well – Laura’s tomatoes exceedingly so, they have grown into real giants. My chillies would had profited from earlier change to the greenhouse and to larger pots, but I did not have the electric heater at that time. So my plants are mostly small to medium in size, but on the other hand the idea of this first summer was not so much to maximise the crop, but to test a wide variety of plants, and then see where to specialize in the future. For that purspose, my small but fruit-filled plants suit very well. Here are some photos taken from the greenhouse today.

Garden photos, 11.7.2016Garden photos, 11.7.2016Garden photos, 11.7.2016Garden photos, 11.7.2016Garden photos, 11.7.2016Garden photos, 11.7.2016Garden photos, 11.7.2016Garden photos, 11.7.2016Garden photos, 11.7.2016

Greenhouse: container for growing bags

Today another key element for our greenhouse was completed. Tomatoes will be cultivated in Biolan brand growing bags (“kasvusäkki”), and our DIY version involves preparing containers that include water tanks and soil-filled pipes that connect the growing bags with the water reservoir. The setup is completed with spiral-shaped, aluminium supports of Juliana that help tomatoes to grow upwards.
image

image

image

image

image

image

image

image

image

image

Greenhouse: the heater

Yesterday, the heater for our greenhouse finally arrived and we can now actually keep the plants in the greenhouse, around the clock. As you can see from the Netatmo screenshots from below, the morning temperature outside was 1,7°C, but with the help of our heater (BioGreen Palma Digit, including Thermo 1 digital thermostat), the temperature inside greenhouse remained comfortable 12-13 degrees. The safety instructions for the heater say that there should be 40-50 cm empty space between the heater and our wooden plant crates, plus c. 1,5 meters empty space ahead, where the heater directs the hot air flow – this proved to be bit of a challenge in our small Juliana, but putting the heater on top of a metal chair for the night also the safety considerations have now worked out fine, I think. And chillies seem to like the move to outdoors, they get more light and the moist air of greenhouse is good for them, too. (Got an extra sapling from our kid’s school rummage sale – a Trinidad Scorpion Moruga Red; let’s see how that one turns out…)

image

image

image

image

image

image

Greenhouse: the water pipes

Today  the watering system of our greenhouse took some nice steps towards completion – the photos below pretty much tell the story, but: we installed a (Bauhaus) black plastic water barrel for temperature control purposes as well, a (Gardena) water tube system to deliver the water below greenhouse structures, and drilled couple of holes for the automatic Blumat watering system – This is still in “closed loop” mode, until the temperature is high enough for leaving plants permanently into the greenhouse. We tried to find a suitable electric heater from Tampere  but it seems no-one has such available.

image

image

image

image

image

image

image

Building a greenhouse, pt. 6. Ready?

The final part of setting up the Juliana Compact greenhouse kit involved fitting and fixing the actual glass parts. This was pretty simple and straightforward in theory: if the base structure is correct in every regard, then one just needs to place the tempered glass pieces into the right holes at the aluminium frame and lock them into place. In practice this was not quite so easy, of course. The sealing of glass into the frame requires using either silicone gun or weatherstripping (stips of soft thermoplastic rubber) to provide an elastic base, and then applying the plastic lock strips (“M strips”) to lock glass sheets into place. (The lock strip plastic hardens in low temperatures, so this was a rush against time – setting sun and dropping temperatures would make the installation impossible.) We decided to use the weatherstripping option, which proved to be a good choice – even while the base and aluminium frame appeared to be pretty straight, there was still need to carefully move each sheet of glass several times during their installation attempts, and this would have been really difficult to do with messy silicone hardening and complicating things up. We decided also not to use acetone or any other strong solvent to clean the aluminium strips of grease, even while Juliana’s instructions told so (we were tipped by an expert that acetone actually ruins the cover paint from the frame, so using it would be a bad idea).

The need for repeated moving and fine-tuning of each glass related to the final precision test required by the Juliana kit: the “M strips” used for locking glasses need suitable, c. 1 mm insets or slots that go down all the way on both sides of each glass sheet, otherwise the M strips do not lock into place. That evenly distributed one millimeter tolerance proved to be rather tough challenge to reach. In our case we got majority of glass sheets installed with only moderate trouble, but in few, last glass installations we had to use tricks like matchsticks as holders that kept glass in place, while two persons – working in sync – both gently twisted and pressed powerfully inwards two M lock strips at both sides of a glass sheet, moving from top towards bottom at even pace, so that the 1 mm gap remained evenly distributed at both sides even while M stips tended to press and move glass sheets sideways. There is a picture below that hopefully illustrates this – there needs to be a suitable gap between the aluminium profile and the edge of glass sheet, while the glass sheet must rest on top of the weatherstipping, that is fixed very close to the inner edge of aluminium profile. At one point we were simultaneously fine-tuning three large sheets of glass, holding them with one hand in place, while pressing the M strips into place. And we did it!

There are so many pitfalls waiting in both printed instruction guidelines and online Juliana guides that it is perhaps surprising that people actually manage to put these things together, in more or less satisfactory manner. Apparently many customers actually end up either calling the importer for help, or order a professional to set things up. Which might be a good idea. But: if you do all this yourself, it will be a real-life 3D spatial and problem-solving challenge and a good way to spend several days (or: weeks) of your precious free time – so why not enjoy it?

When the final sheet of glass was locked in place, it turned out that the door did not work properly any more (framework had tilted or shifted slightly during the glass installation, so that the door now slightly grinds against its frame when closed). But I do not care so much any more, no doubt we will find some solution to that also, eventually. I am already thinking of the next summer, and how to monitor temperature, humidity, and how to maintain the correct irrigation level in my chili pots. I have already the Blumat automatic watering system, and there is now also an extra wireless Netatmo sensor unit set up in the greenhouse for testing purposes, plus a solar cell powered led lights for some ambience and night time illumination of this “glass box”. – Thanks for reading, and I hope you have enjoyed your garden of summer, too!

20150912_162301

20150912_155711

20150912_153823

20150912_131936

20150912_131919

20150912_164850

20150912_180539

IMG_7204

IMG_7207

20150912_184705

20150912_190616

20150912_195023

20150912_205527

IMG_7209

Building a greenhouse, pt. 5

The actual greenhouse construction has been going on for some time now (myself again more in the assistant roles). I must admit that there are times when I am getting tired of the entire project, even if I am not even carrying the main burden. There are several issues in the Juliana greenhouse kit that make things more complex, confusing and difficult than they need to be. The instructions leaflet is one thing: it might be that all the aluminum parts are indeed painted black, but it is not optimal to print everything as black in the instructions with small details and bars with complex profiles. There is too much guesswork in the construction now. There are mysterious gaps in the instructions, where you just need to make a guess how to get from phase A to C,  and trial and error is not good in system that is put together with soft, aluminium nuts and bolts – fastening and loosening them just a couple of times can lead to threads of nuts breaking and bolts getting stuck. Also, if there is a gap between parts in one part of the aluminium framework, it is often very hard to figure out where the source of problem is, when there are dozens of parts that connect to each other like a giant ‘himmeli’. – But, we are making slow progress, pictures below.

image

image

image

image

image

image

image

image

image

image

image

image

image

image

image

image

image