My experiment with the Ikea hydroponics system has now produced a nice selection of small chili seedlings. The next step is moving them from the nursery box into the cultivation kit. Below are some photos: the idea is to completely bury the stone wool “starter plug” (now penetrated by chili roots) into coarse pumice stone pieces, within perforated cultivation pots. After those are placed into the cultivation kit, one just needs to fix the kit with a mix of fertilizer and water in suitable ratio (half capful into 4 liters of water is Ikea’s own Växer recommendated ratio, I did put in a bit more). Those pots which are not in use should be covered with provided lids, as this prevents algae growth in the kit. The pumice stone gravel absorbs the liquid, providing chili seedlings with both water, nutritients, and access to air. Let’s see how this goes on from this…
My chillies are producing chillies – of many varieties, and enough for any reasonable uses I can personally come up with. Here are again some photos, both of ripe and fresh chillies, and also about the preparation for preservation. I have decided to dry and make rough, spicy powders of two most high-yielding chilli varieties, Fire Flame and Thai Rawit. Those should be good for hot pots, curries and other similar uses. Those selected chillies that have provided only small number of fruit, I decided to freeze as whole. Dropping a thawed chilli into a meal is an optional use for those. My dehydrator is a cheap “House” model from local Prisma department store, but it has quiet operation, nice temperature controls and appears to do it job well enough. Slicing chillies for dryer takes its time, but has also somewhat meditative character.
Today another key element for our greenhouse was completed. Tomatoes will be cultivated in Biolan brand growing bags (“kasvusäkki”), and our DIY version involves preparing containers that include water tanks and soil-filled pipes that connect the growing bags with the water reservoir. The setup is completed with spiral-shaped, aluminium supports of Juliana that help tomatoes to grow upwards.
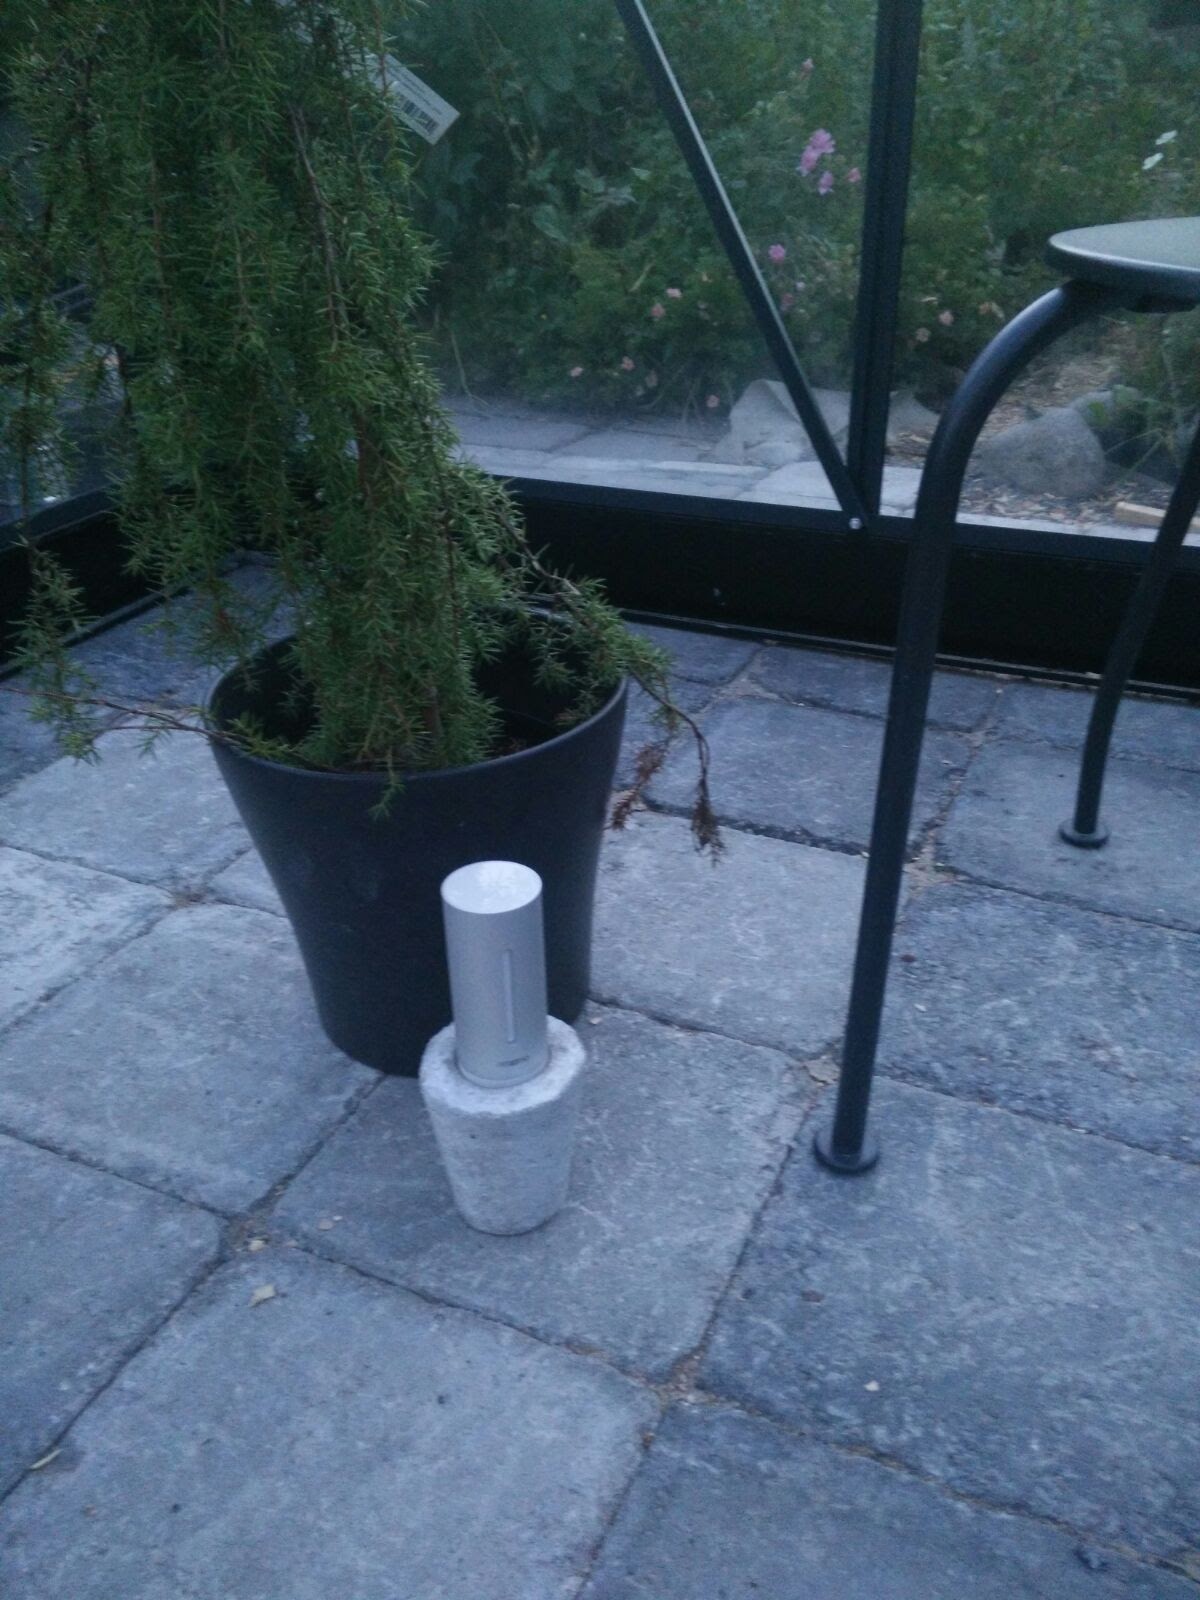
Yesterday, the heater for our greenhouse finally arrived and we can now actually keep the plants in the greenhouse, around the clock. As you can see from the Netatmo screenshots from below, the morning temperature outside was 1,7°C, but with the help of our heater (BioGreen Palma Digit, including Thermo 1 digital thermostat), the temperature inside greenhouse remained comfortable 12-13 degrees. The safety instructions for the heater say that there should be 40-50 cm empty space between the heater and our wooden plant crates, plus c. 1,5 meters empty space ahead, where the heater directs the hot air flow – this proved to be bit of a challenge in our small Juliana, but putting the heater on top of a metal chair for the night also the safety considerations have now worked out fine, I think. And chillies seem to like the move to outdoors, they get more light and the moist air of greenhouse is good for them, too. (Got an extra sapling from our kid’s school rummage sale – a Trinidad Scorpion Moruga Red; let’s see how that one turns out…)
Today the watering system of our greenhouse took some nice steps towards completion – the photos below pretty much tell the story, but: we installed a (Bauhaus) black plastic water barrel for temperature control purposes as well, a (Gardena) water tube system to deliver the water below greenhouse structures, and drilled couple of holes for the automatic Blumat watering system – This is still in “closed loop” mode, until the temperature is high enough for leaving plants permanently into the greenhouse. We tried to find a suitable electric heater from Tampere but it seems no-one has such available.
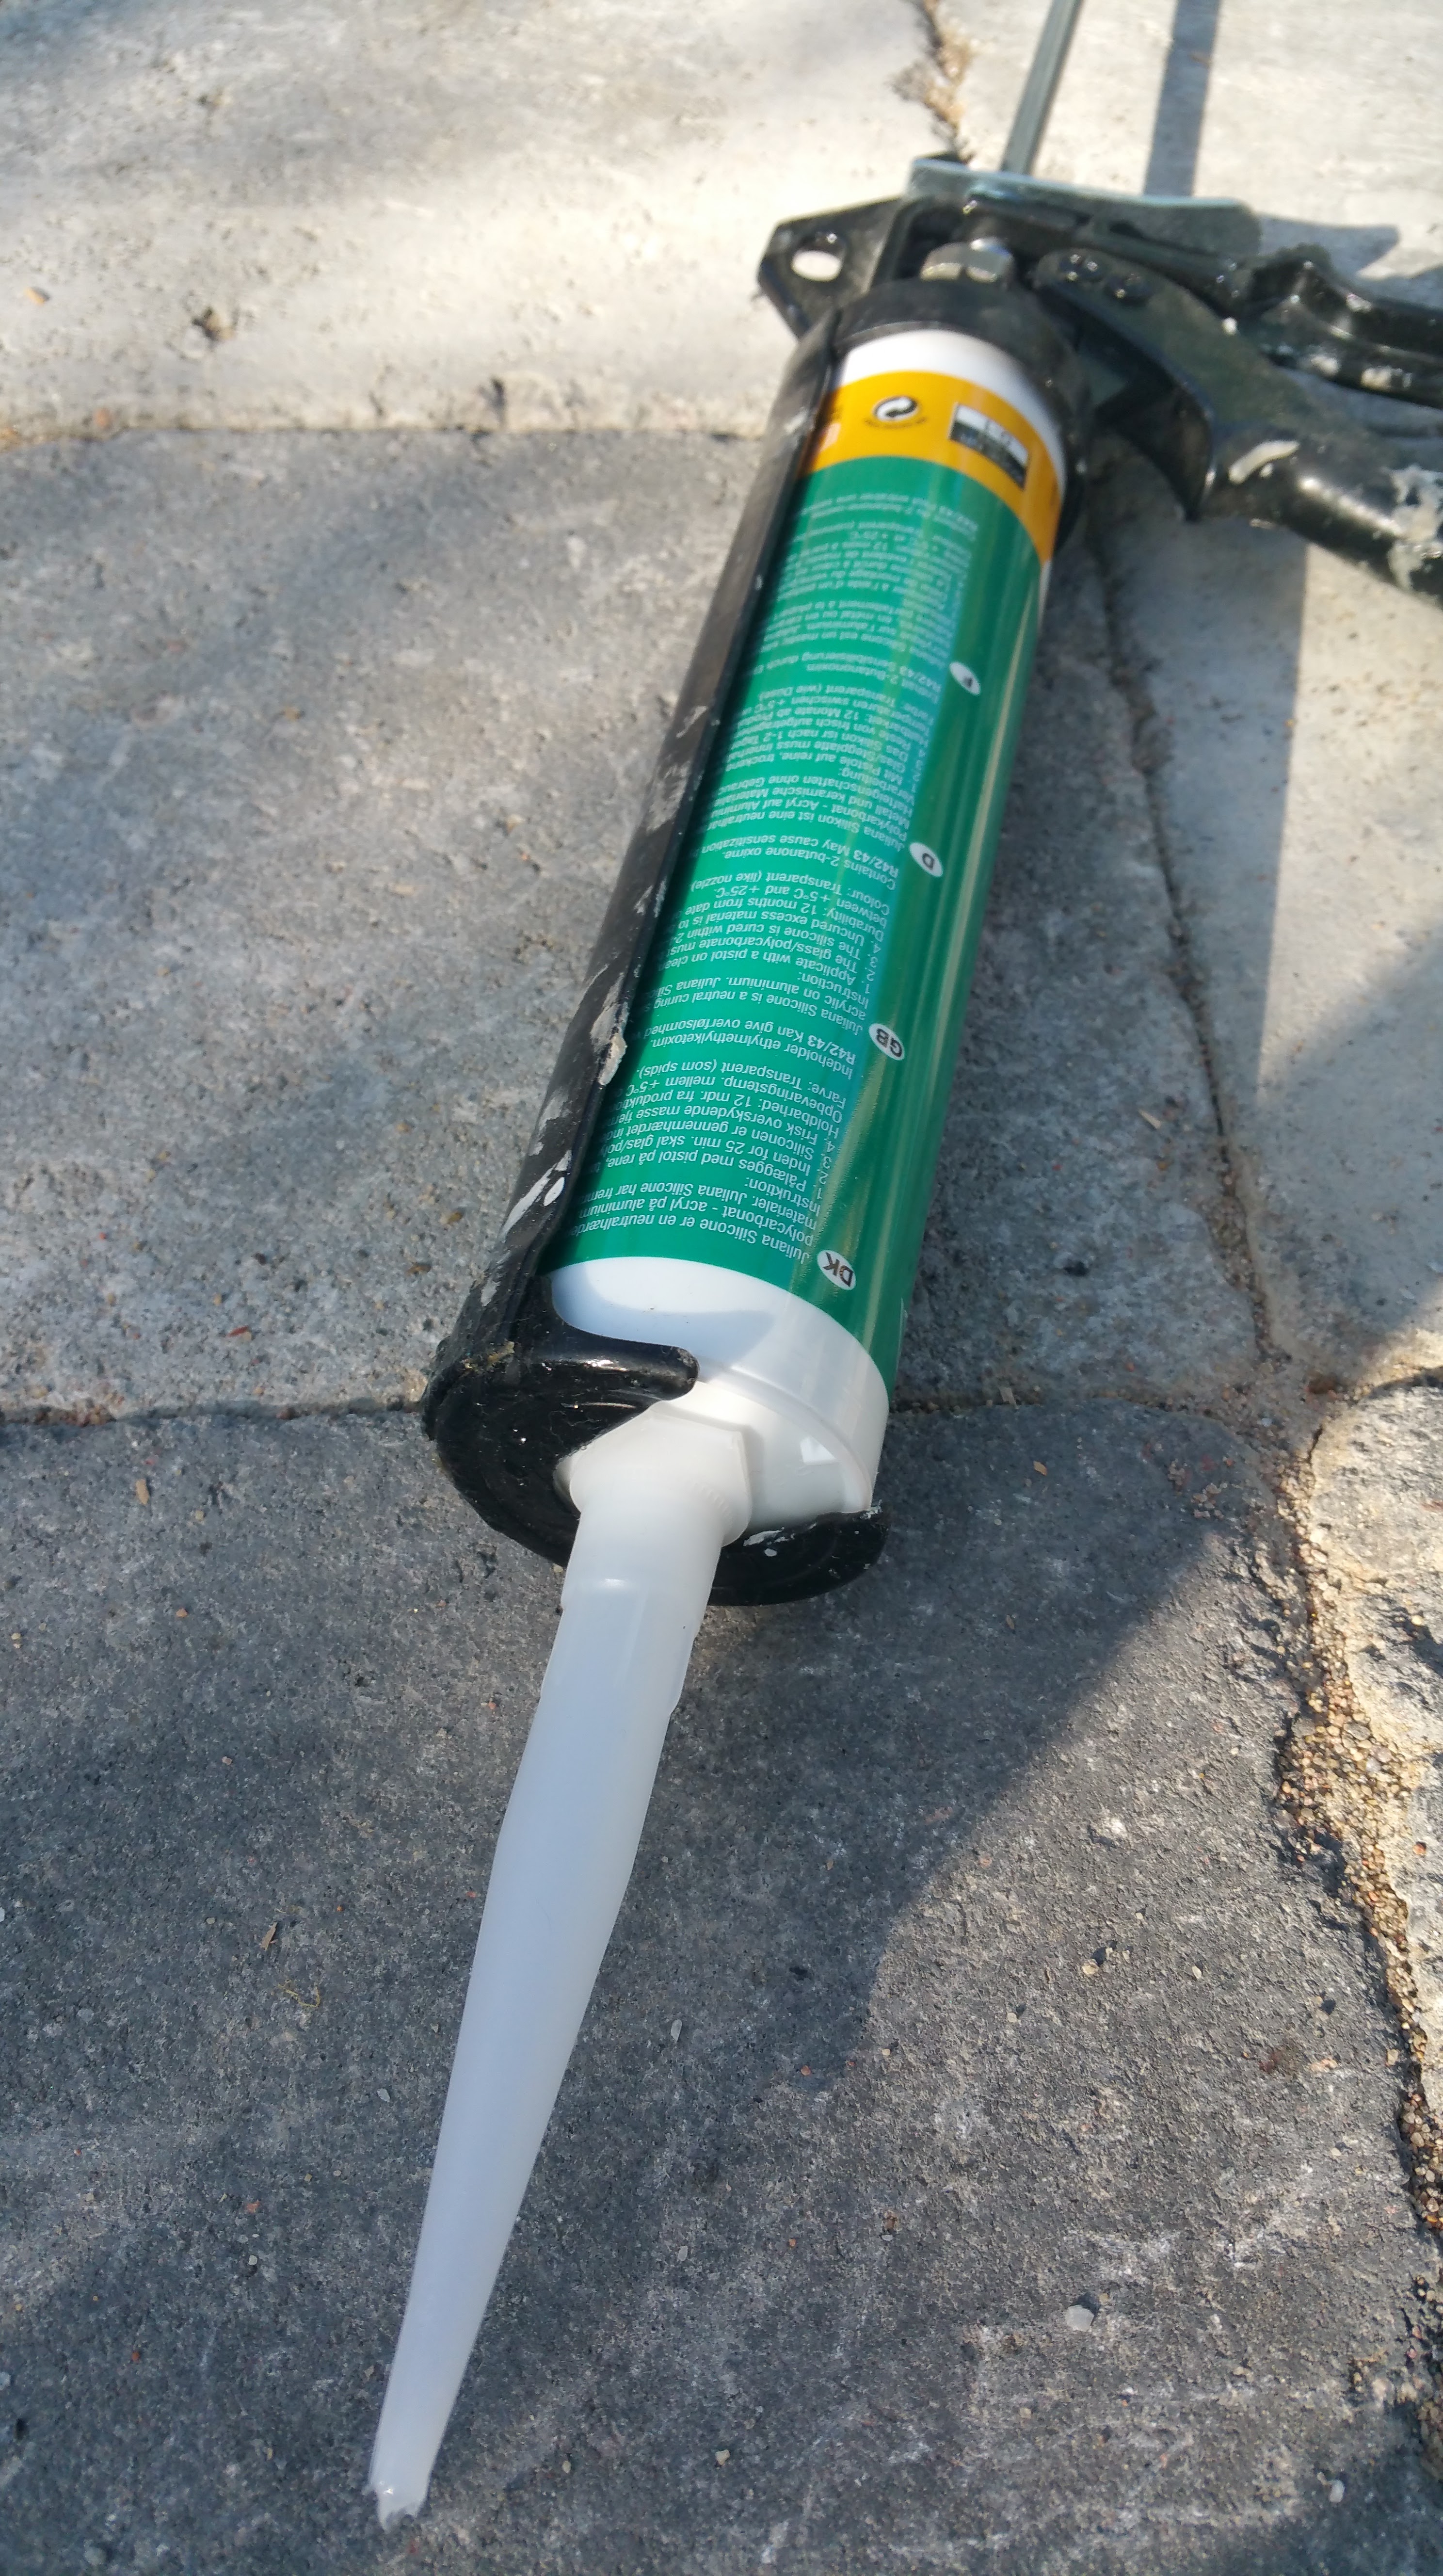
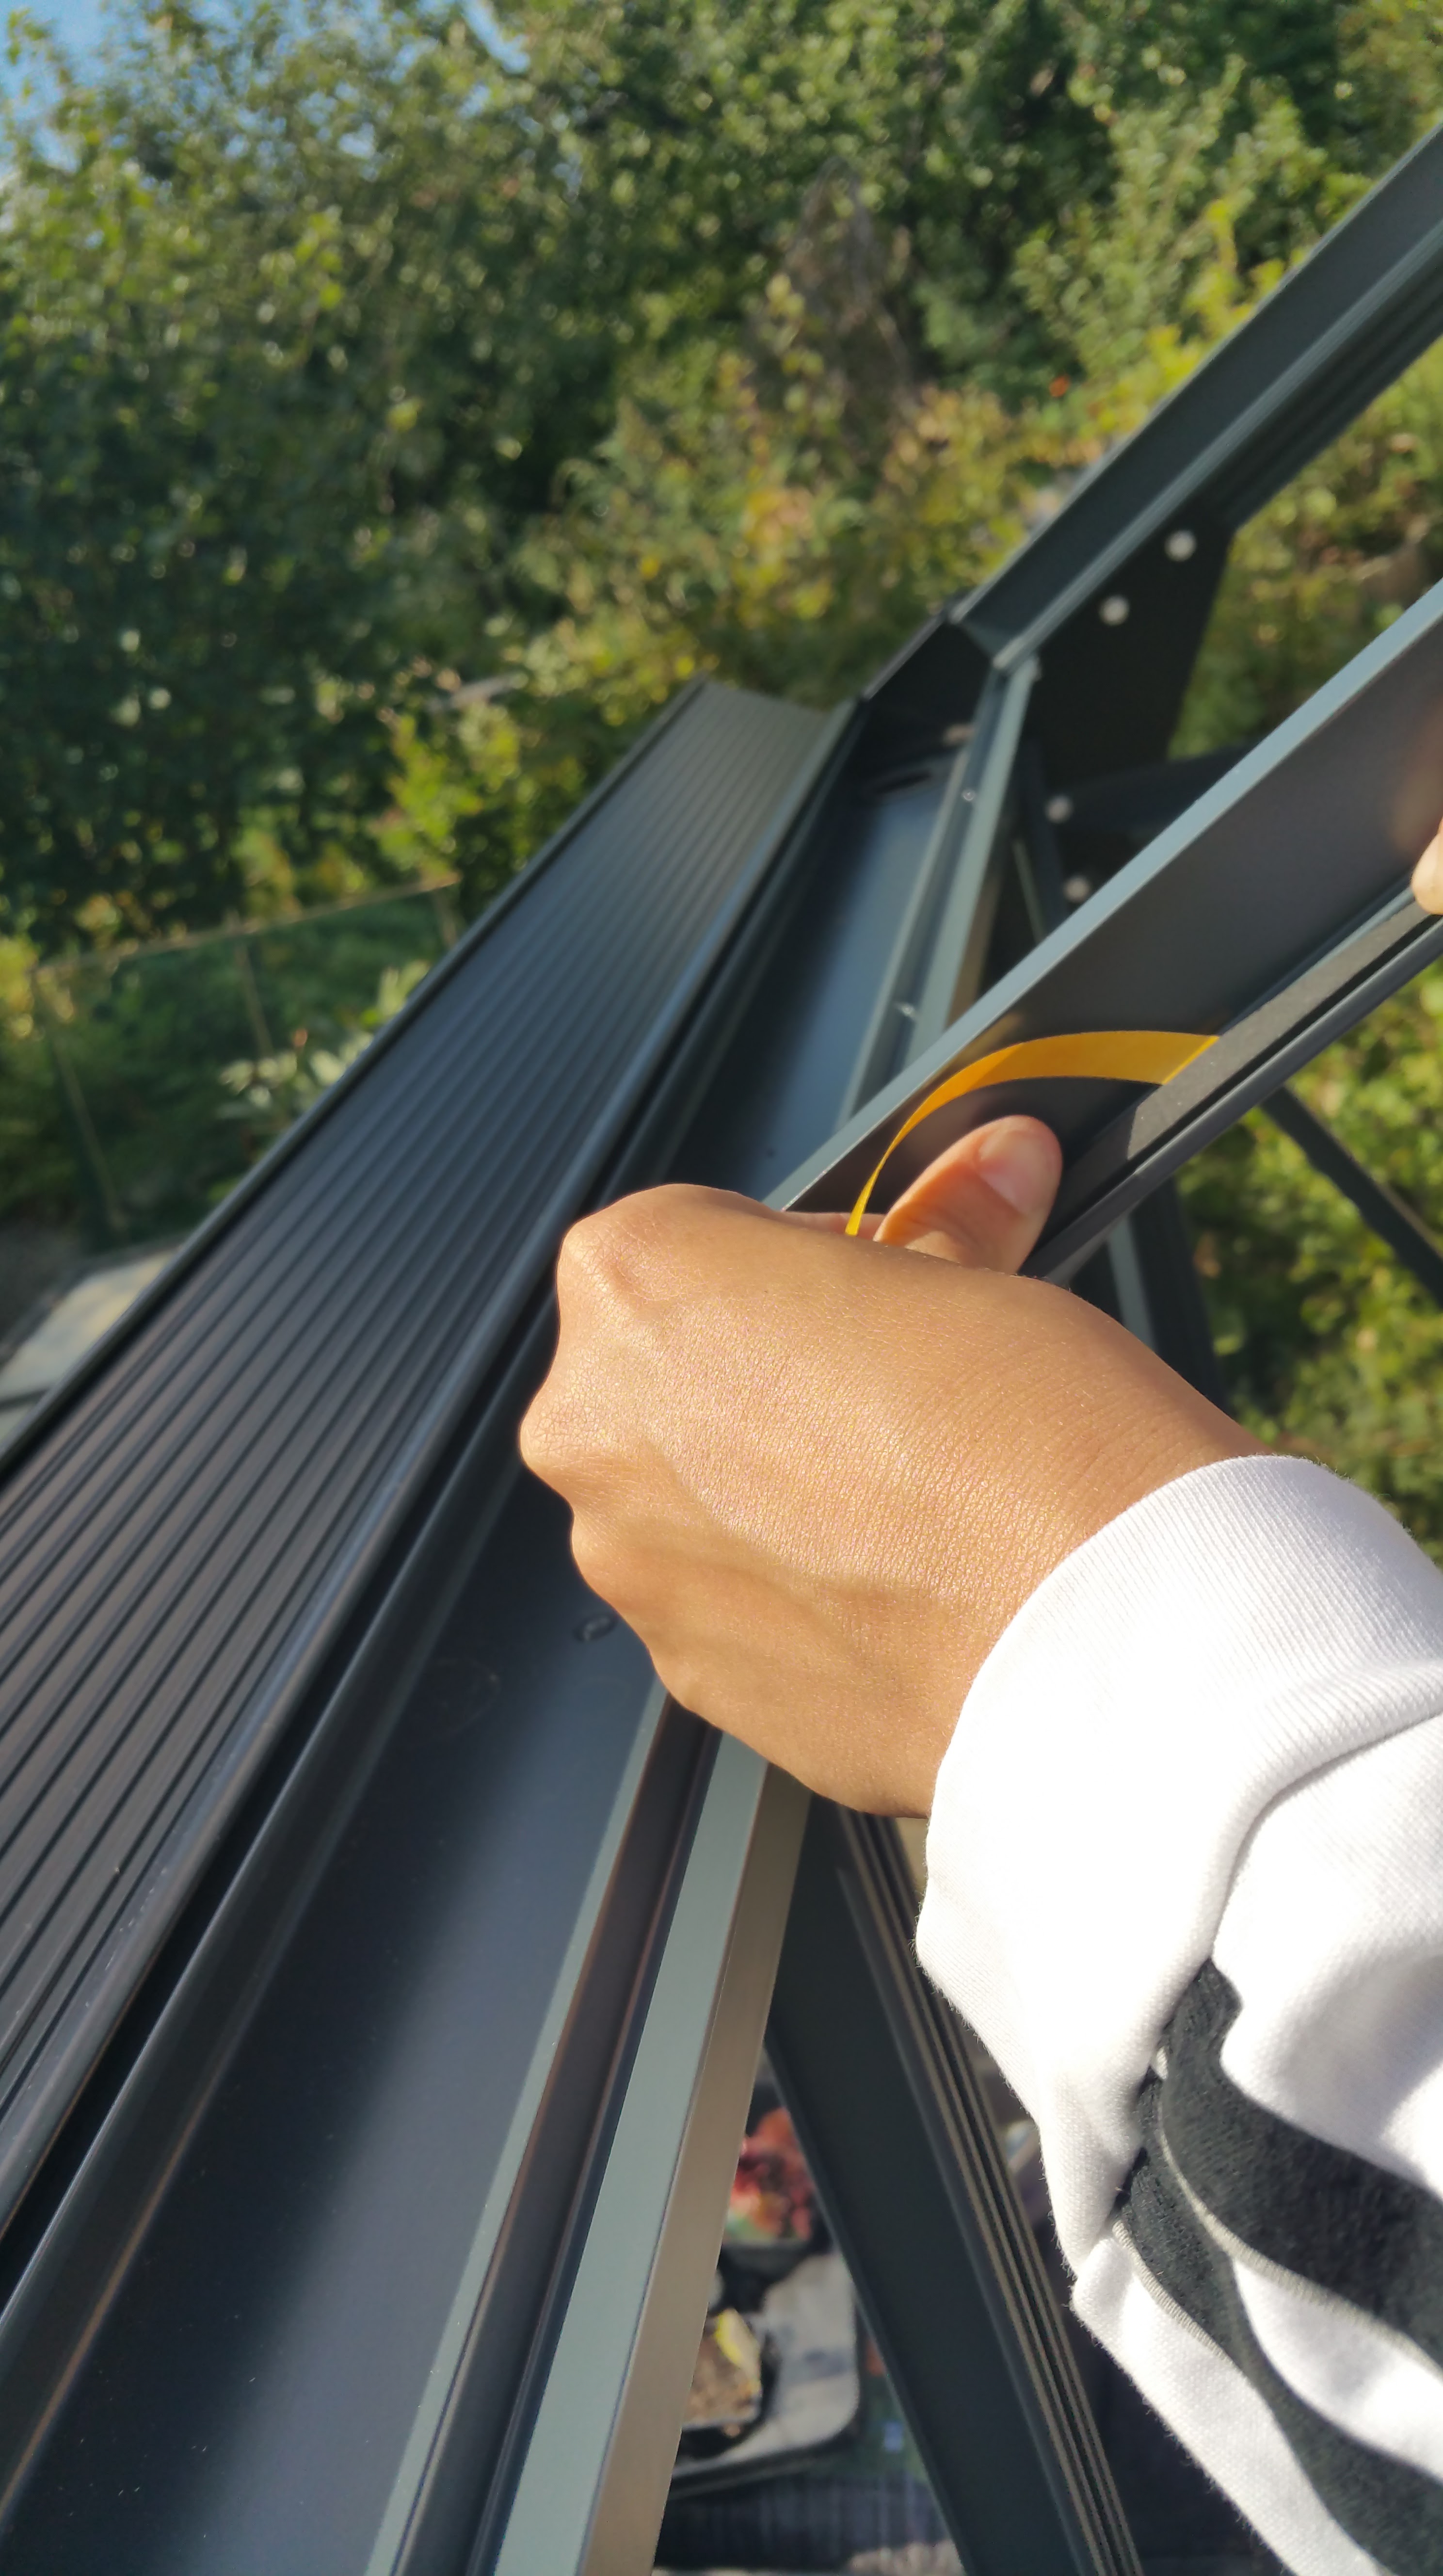
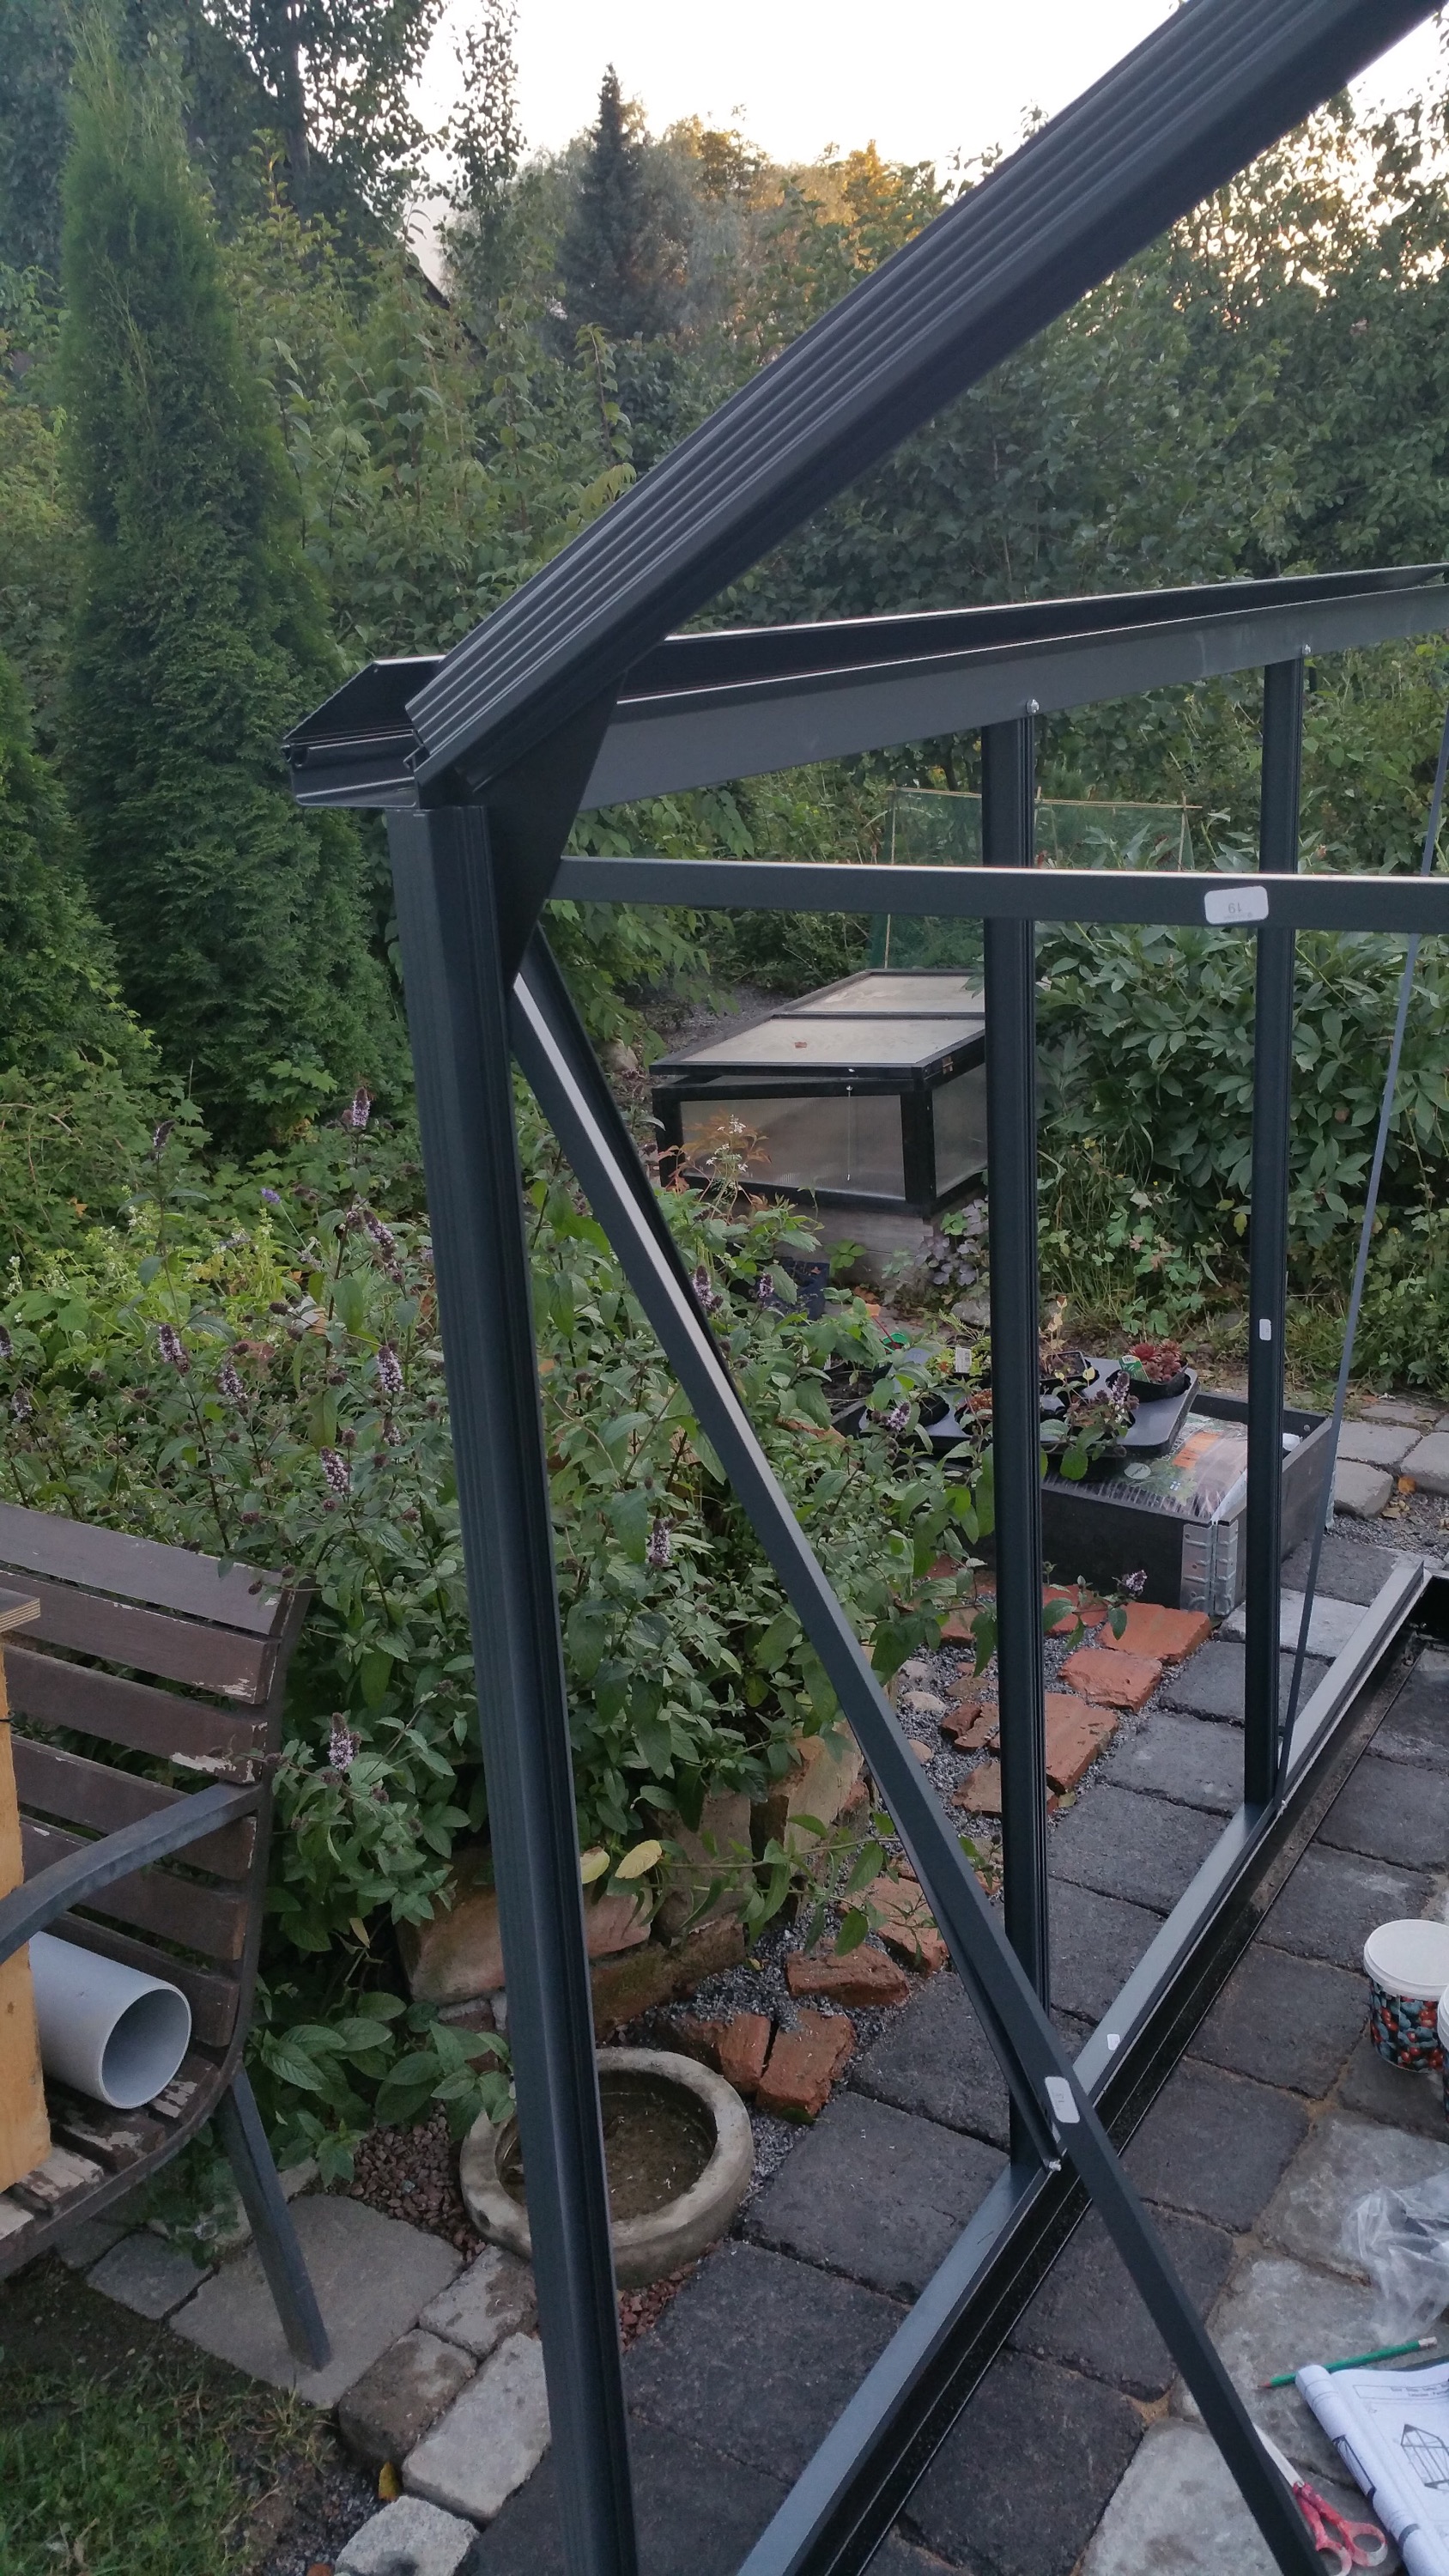
The final part of setting up the Juliana Compact greenhouse kit involved fitting and fixing the actual glass parts. This was pretty simple and straightforward in theory: if the base structure is correct in every regard, then one just needs to place the tempered glass pieces into the right holes at the aluminium frame and lock them into place. In practice this was not quite so easy, of course. The sealing of glass into the frame requires using either silicone gun or weatherstripping (stips of soft thermoplastic rubber) to provide an elastic base, and then applying the plastic lock strips (“M strips”) to lock glass sheets into place. (The lock strip plastic hardens in low temperatures, so this was a rush against time – setting sun and dropping temperatures would make the installation impossible.) We decided to use the weatherstripping option, which proved to be a good choice – even while the base and aluminium frame appeared to be pretty straight, there was still need to carefully move each sheet of glass several times during their installation attempts, and this would have been really difficult to do with messy silicone hardening and complicating things up. We decided also not to use acetone or any other strong solvent to clean the aluminium strips of grease, even while Juliana’s instructions told so (we were tipped by an expert that acetone actually ruins the cover paint from the frame, so using it would be a bad idea).
The need for repeated moving and fine-tuning of each glass related to the final precision test required by the Juliana kit: the “M strips” used for locking glasses need suitable, c. 1 mm insets or slots that go down all the way on both sides of each glass sheet, otherwise the M strips do not lock into place. That evenly distributed one millimeter tolerance proved to be rather tough challenge to reach. In our case we got majority of glass sheets installed with only moderate trouble, but in few, last glass installations we had to use tricks like matchsticks as holders that kept glass in place, while two persons – working in sync – both gently twisted and pressed powerfully inwards two M lock strips at both sides of a glass sheet, moving from top towards bottom at even pace, so that the 1 mm gap remained evenly distributed at both sides even while M stips tended to press and move glass sheets sideways. There is a picture below that hopefully illustrates this – there needs to be a suitable gap between the aluminium profile and the edge of glass sheet, while the glass sheet must rest on top of the weatherstipping, that is fixed very close to the inner edge of aluminium profile. At one point we were simultaneously fine-tuning three large sheets of glass, holding them with one hand in place, while pressing the M strips into place. And we did it!
There are so many pitfalls waiting in both printed instruction guidelines and online Juliana guides that it is perhaps surprising that people actually manage to put these things together, in more or less satisfactory manner. Apparently many customers actually end up either calling the importer for help, or order a professional to set things up. Which might be a good idea. But: if you do all this yourself, it will be a real-life 3D spatial and problem-solving challenge and a good way to spend several days (or: weeks) of your precious free time – so why not enjoy it?
When the final sheet of glass was locked in place, it turned out that the door did not work properly any more (framework had tilted or shifted slightly during the glass installation, so that the door now slightly grinds against its frame when closed). But I do not care so much any more, no doubt we will find some solution to that also, eventually. I am already thinking of the next summer, and how to monitor temperature, humidity, and how to maintain the correct irrigation level in my chili pots. I have already the Blumat automatic watering system, and there is now also an extra wireless Netatmo sensor unit set up in the greenhouse for testing purposes, plus a solar cell powered led lights for some ambience and night time illumination of this “glass box”. – Thanks for reading, and I hope you have enjoyed your garden of summer, too!
The actual greenhouse construction has been going on for some time now (myself again more in the assistant roles). I must admit that there are times when I am getting tired of the entire project, even if I am not even carrying the main burden. There are several issues in the Juliana greenhouse kit that make things more complex, confusing and difficult than they need to be. The instructions leaflet is one thing: it might be that all the aluminum parts are indeed painted black, but it is not optimal to print everything as black in the instructions with small details and bars with complex profiles. There is too much guesswork in the construction now. There are mysterious gaps in the instructions, where you just need to make a guess how to get from phase A to C, and trial and error is not good in system that is put together with soft, aluminium nuts and bolts – fastening and loosening them just a couple of times can lead to threads of nuts breaking and bolts getting stuck. Also, if there is a gap between parts in one part of the aluminium framework, it is often very hard to figure out where the source of problem is, when there are dozens of parts that connect to each other like a giant ‘himmeli’. – But, we are making slow progress, pictures below.
Today my role was more as an assistant – Laura is our resident IKEA construction expert, and even while there apparently was some unclear (or plain wrong) instructions in the Juliana guide sheet, the aluminium frame of our greenhouse was built in one day.
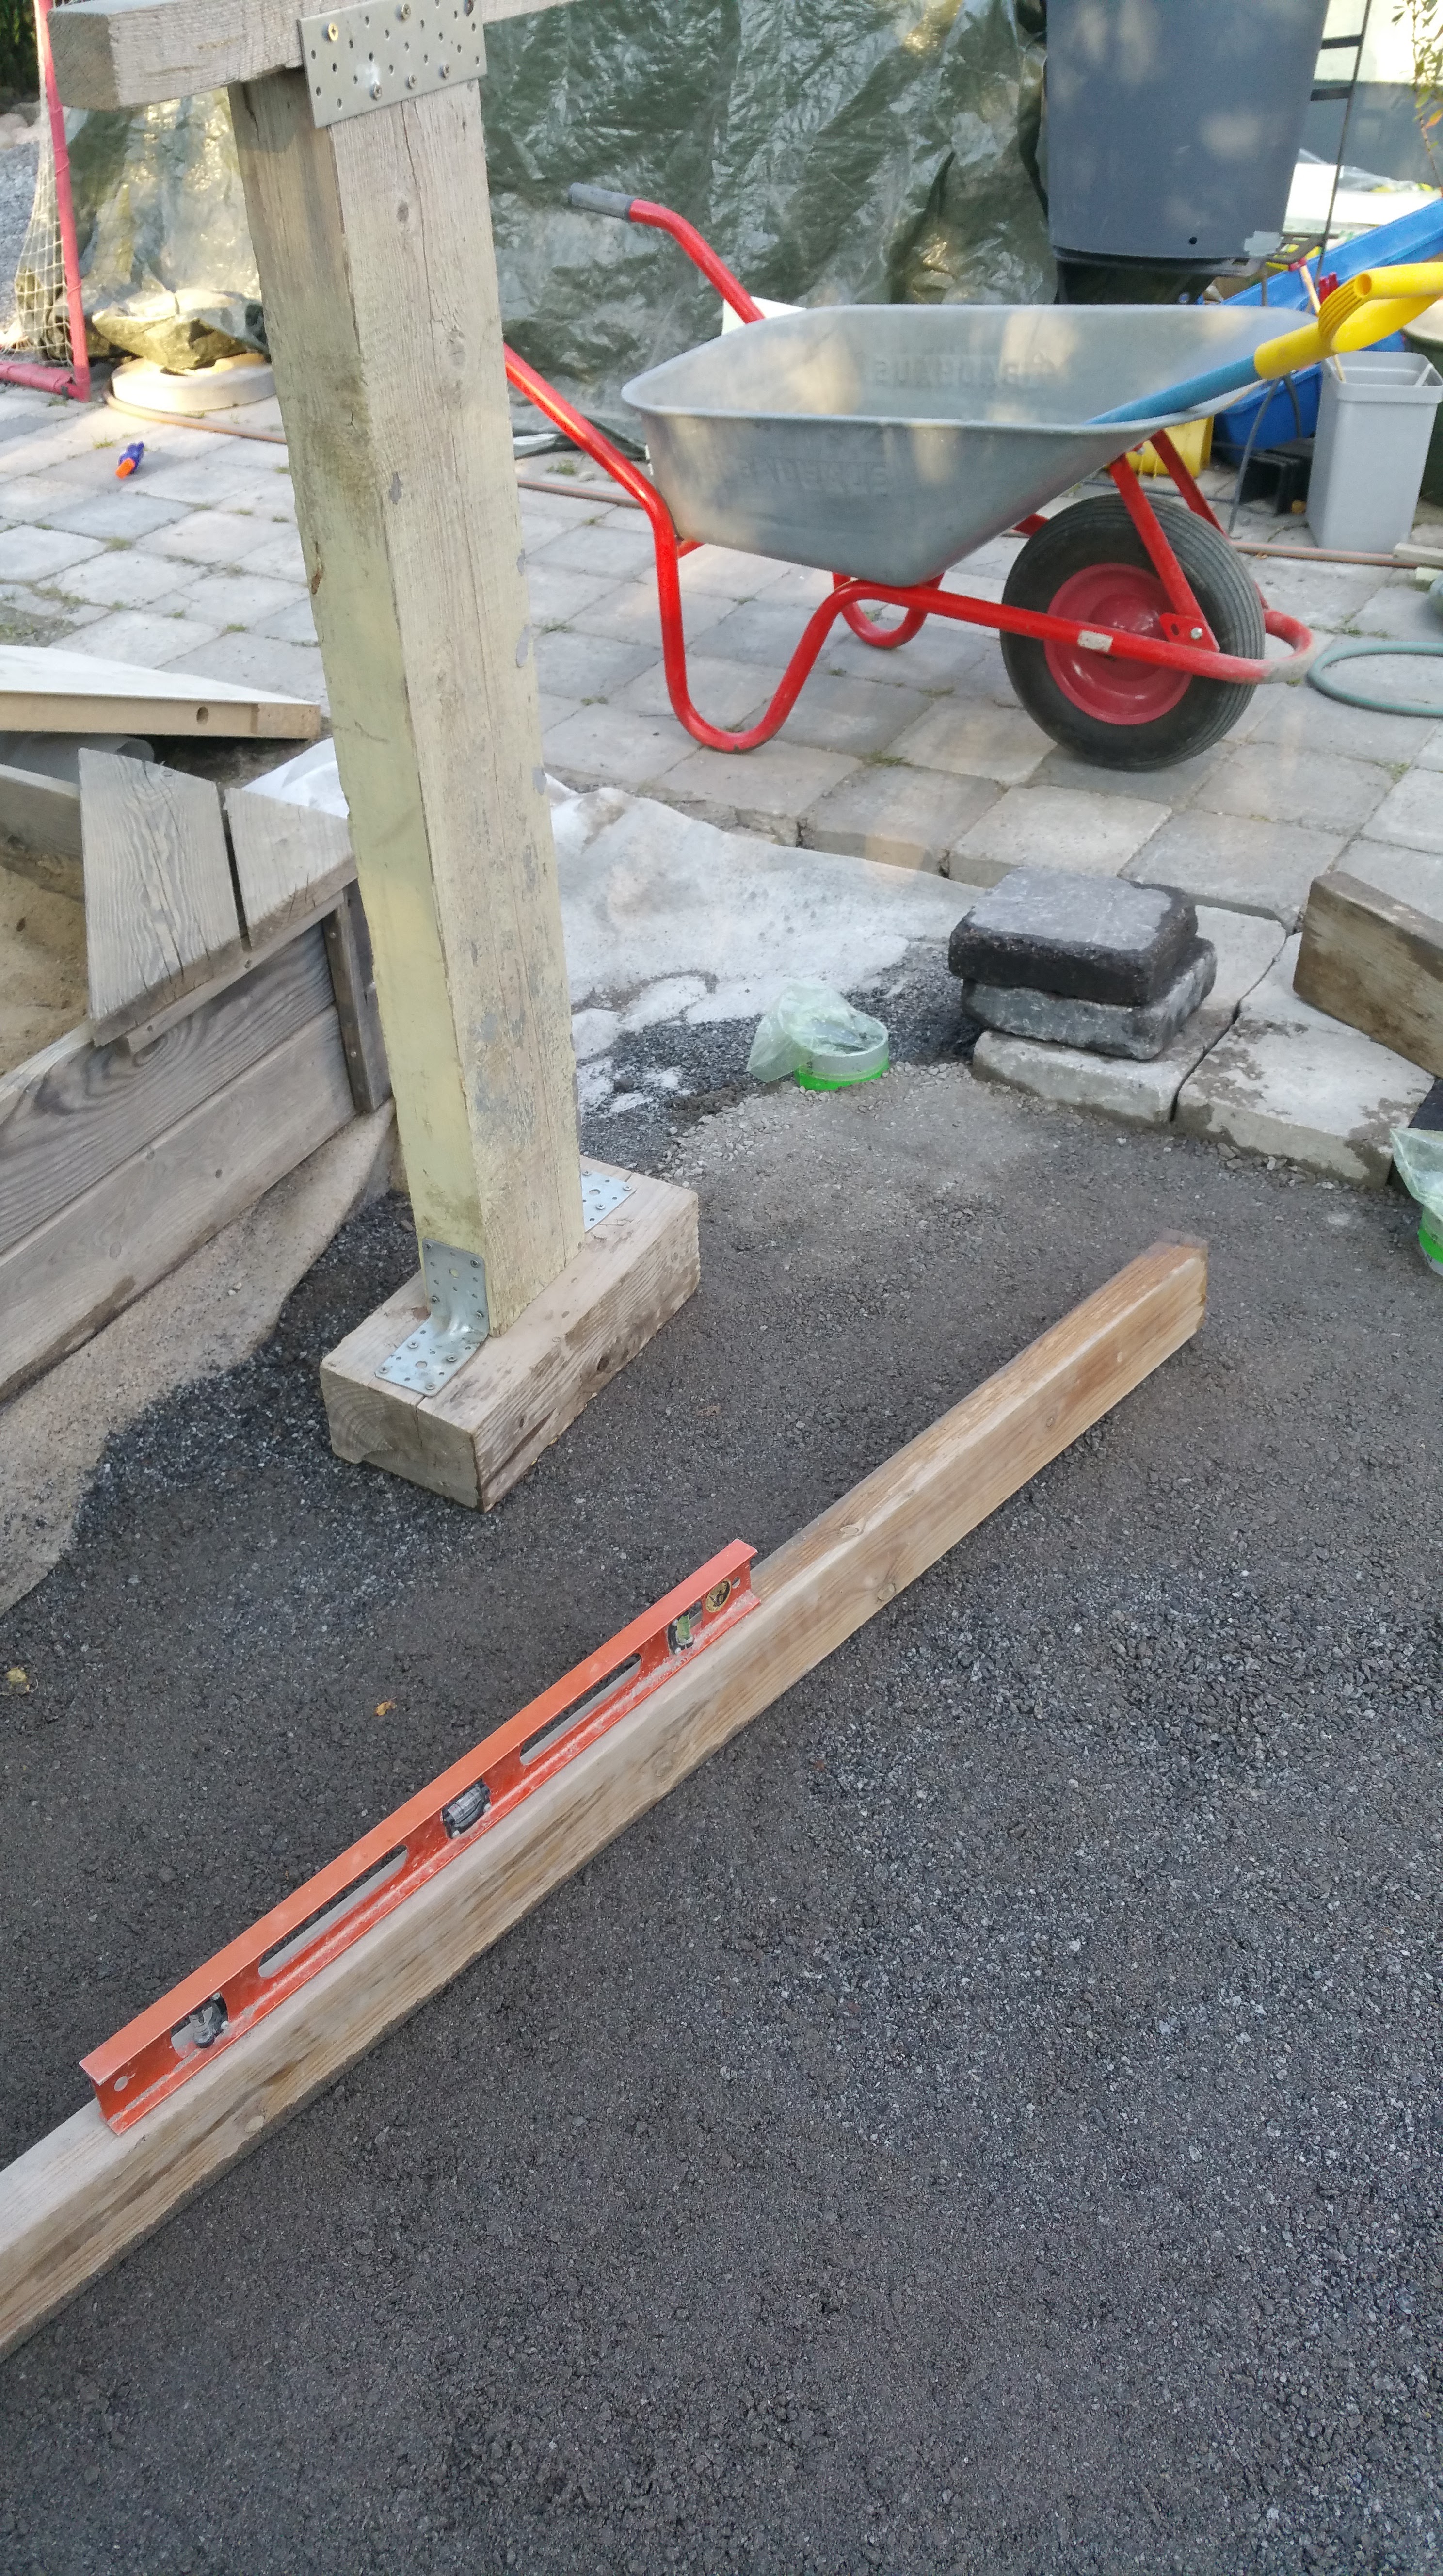
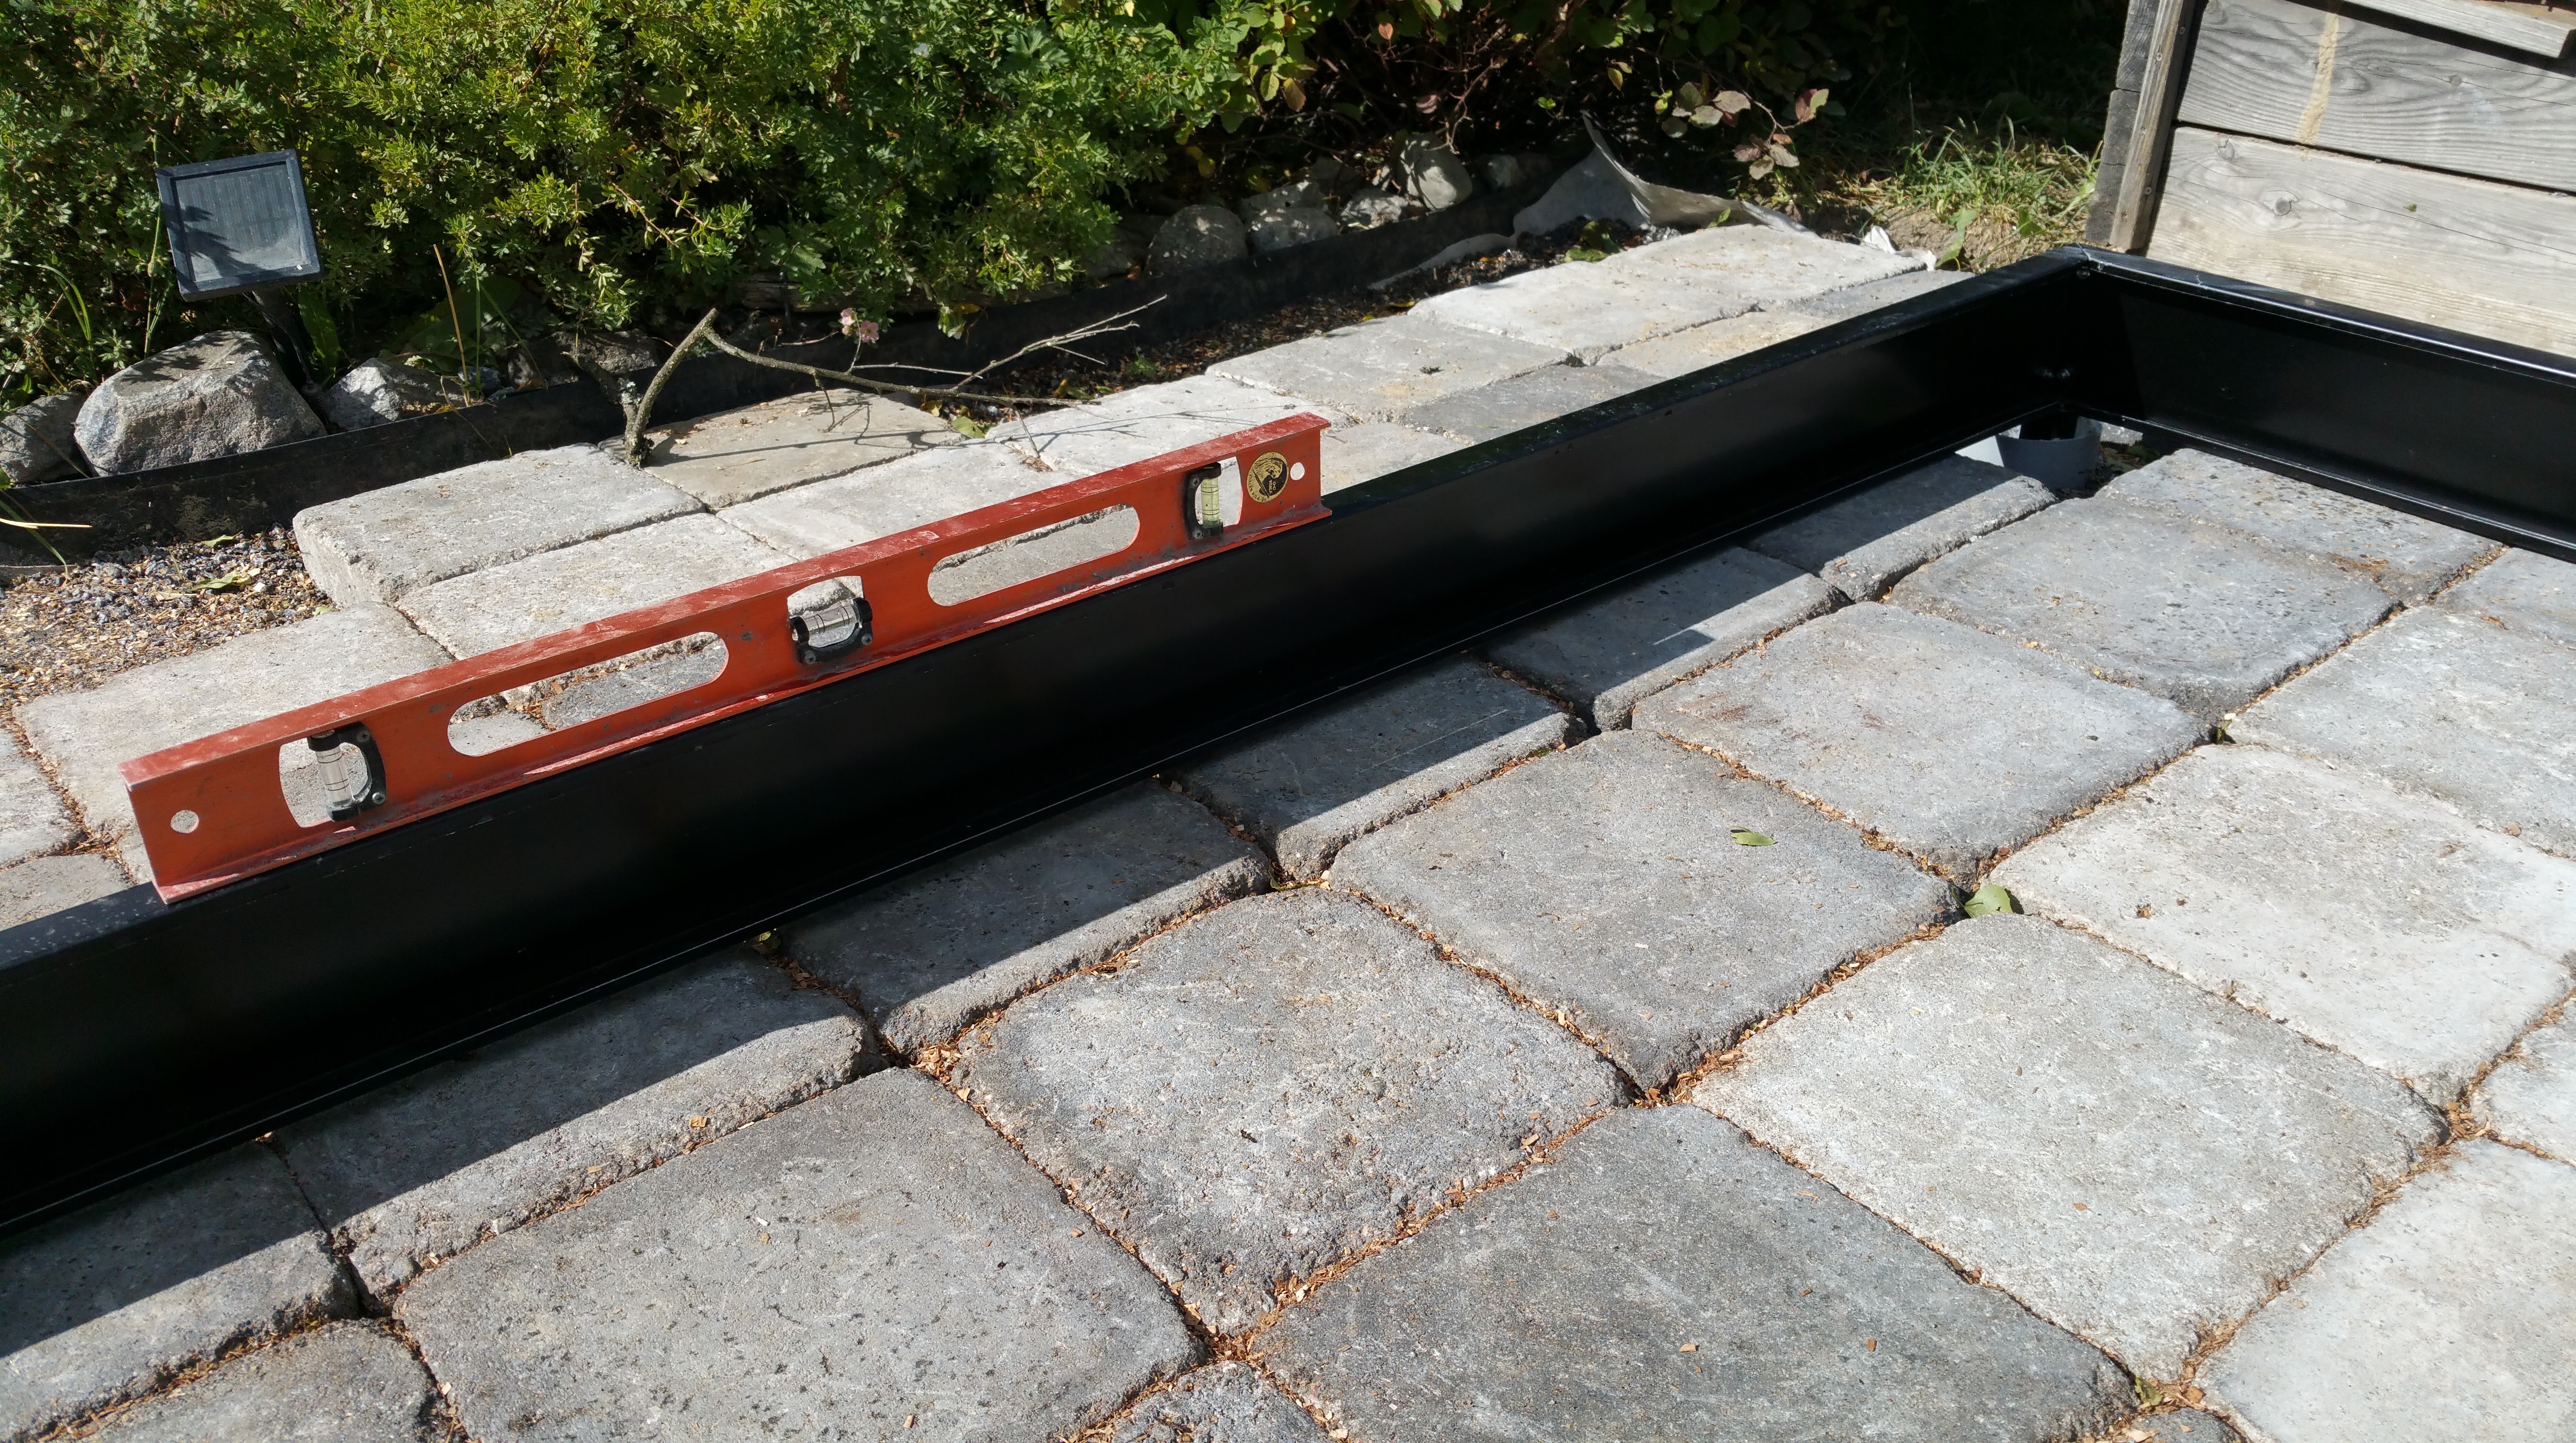
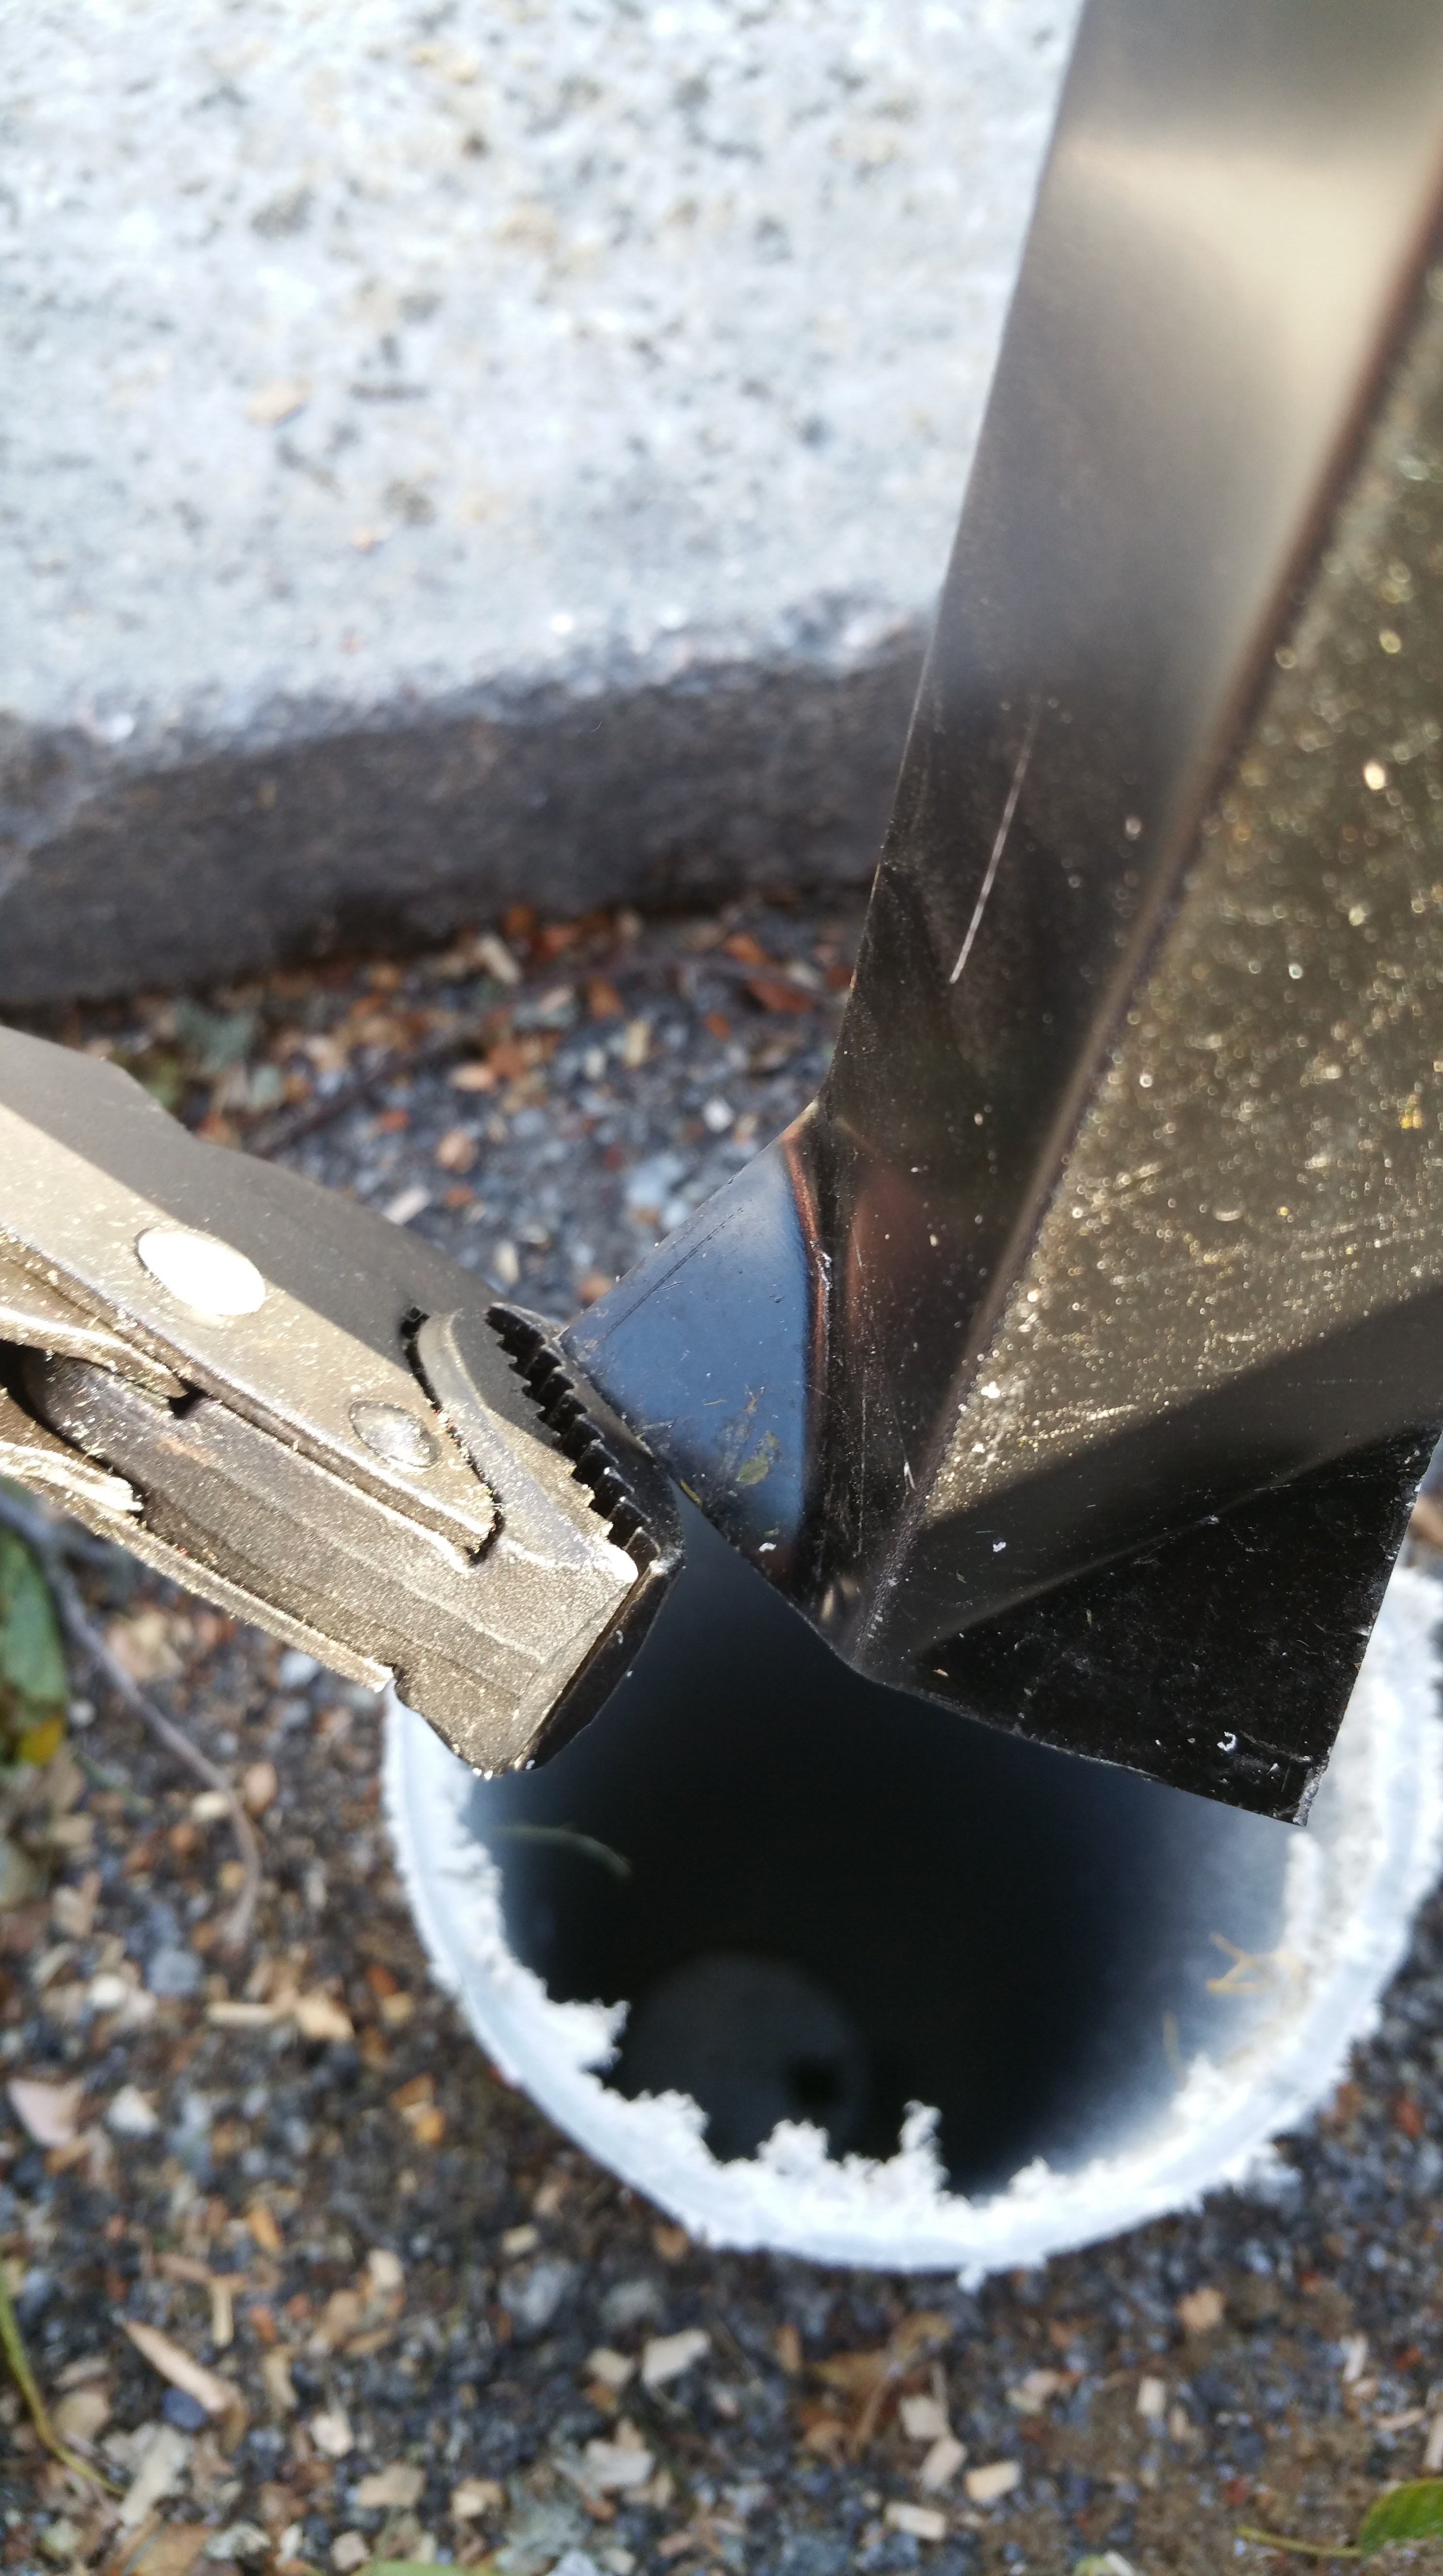
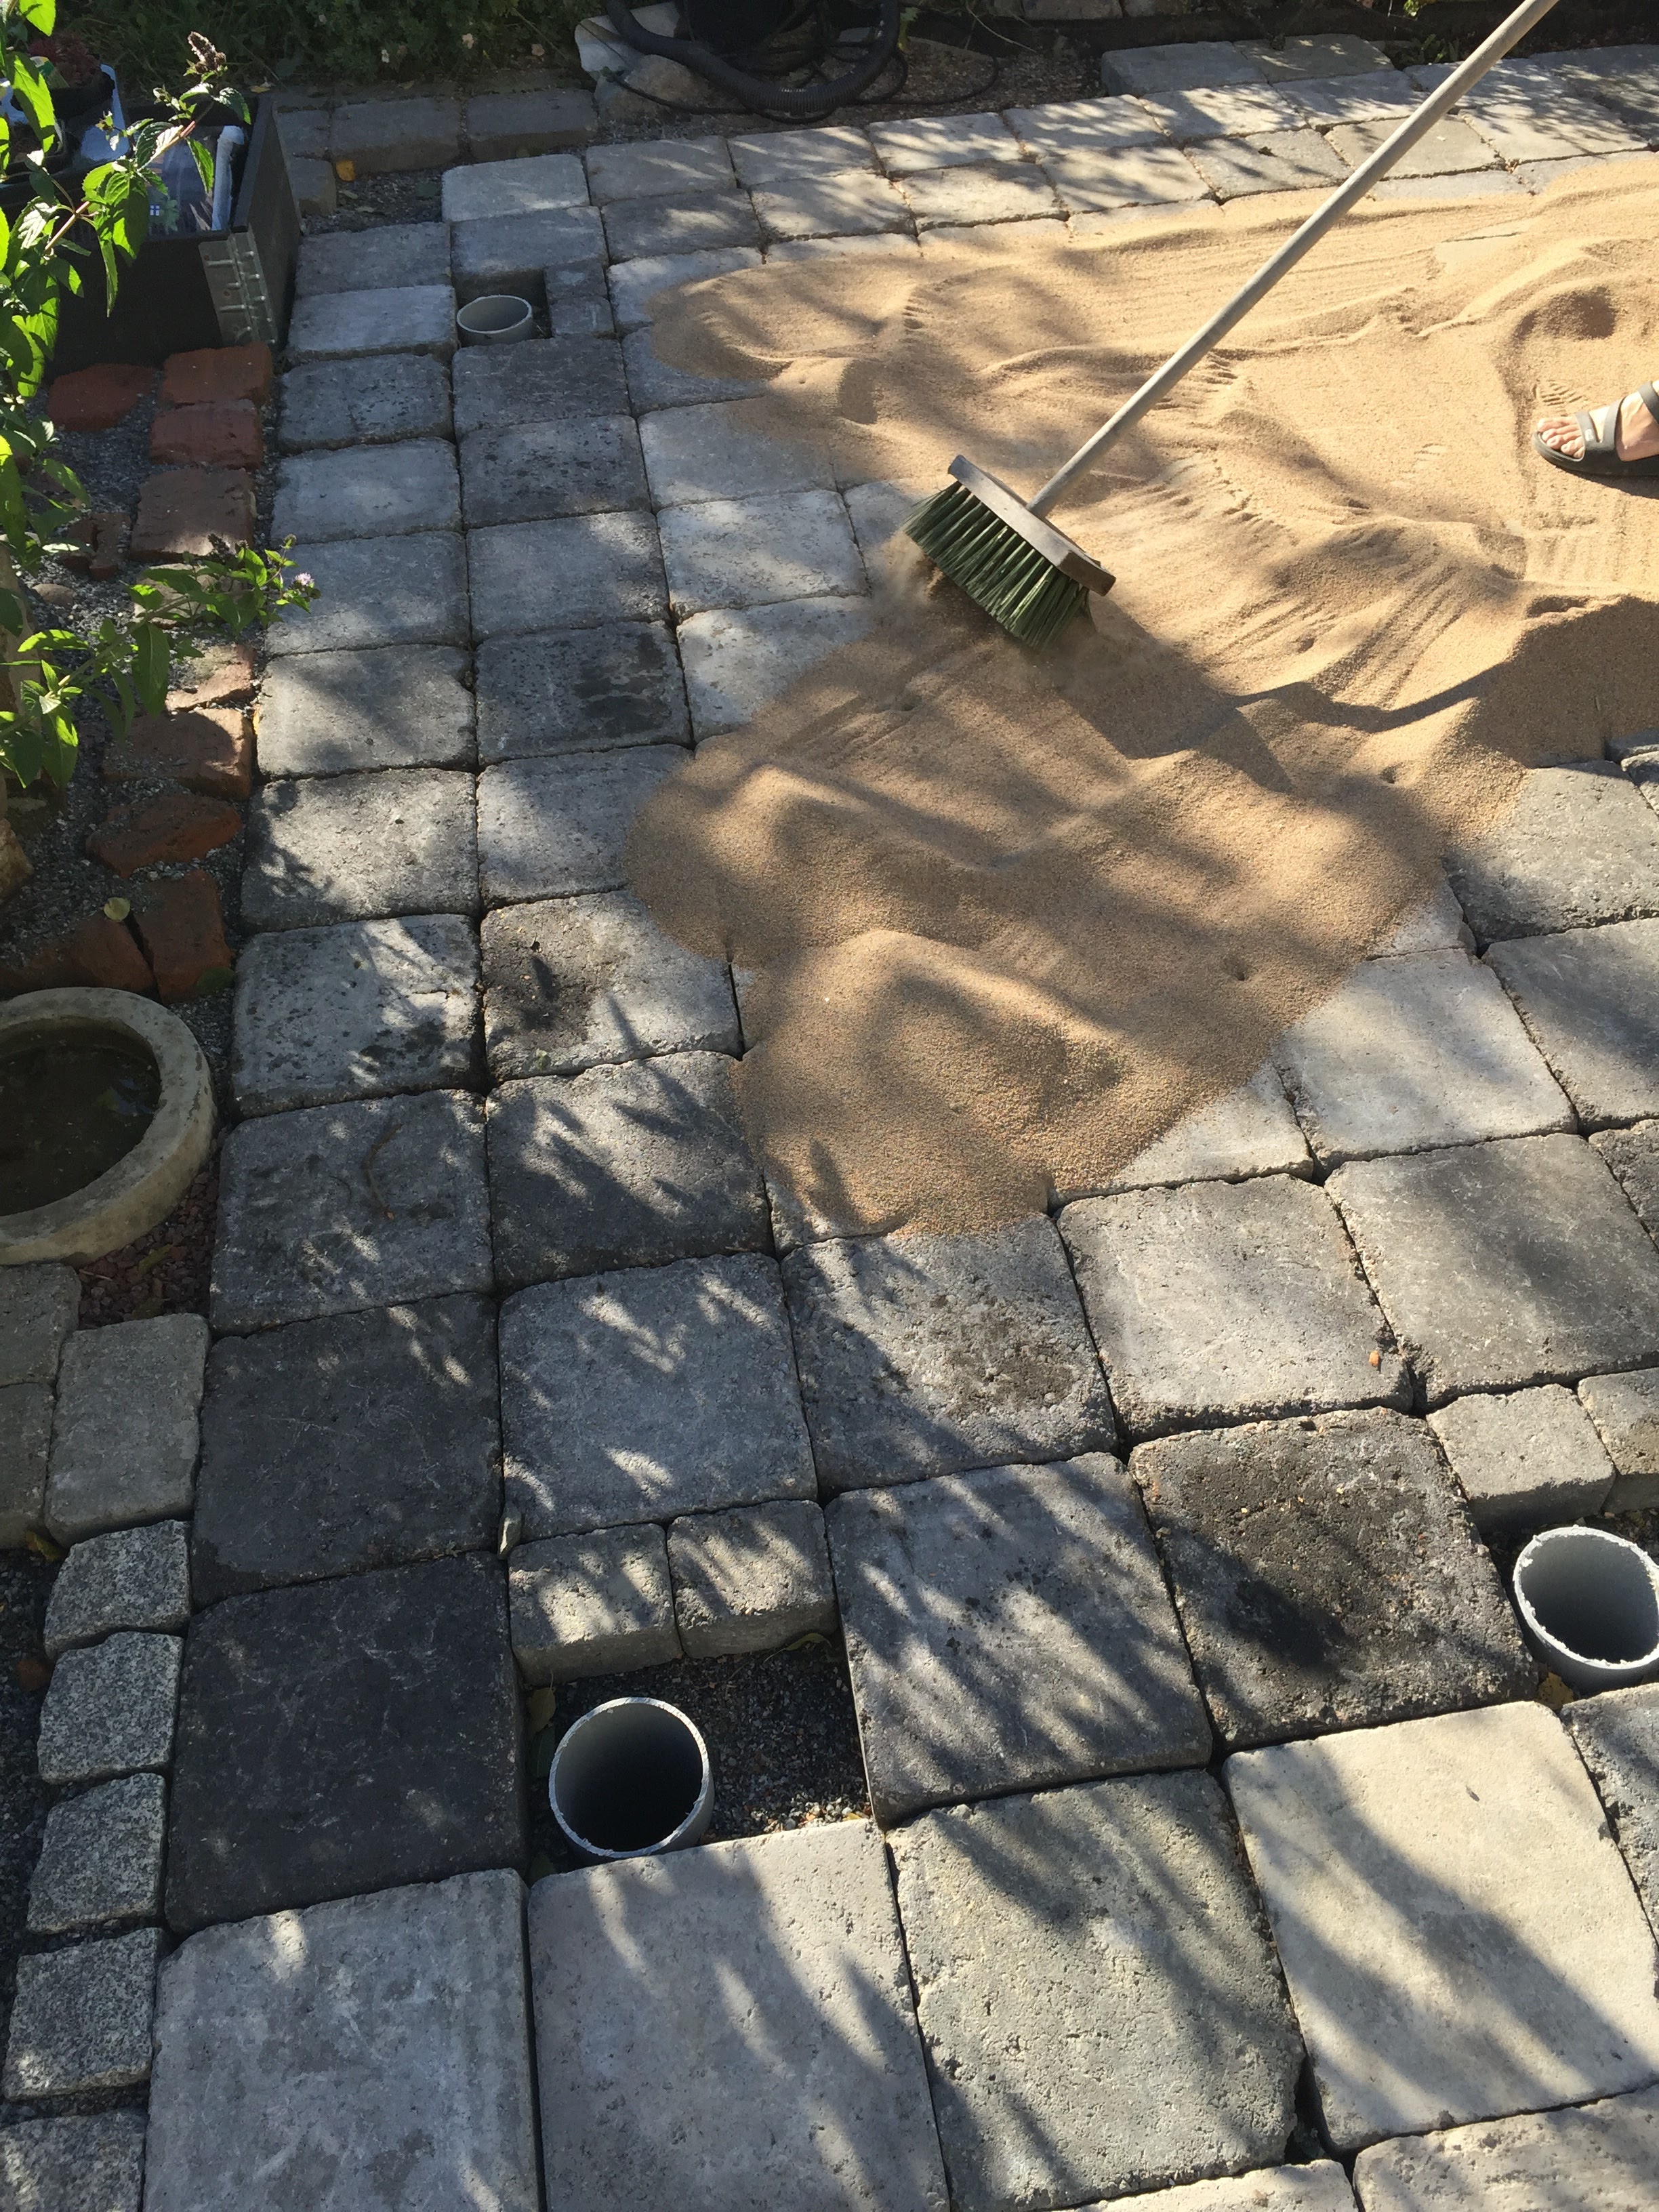
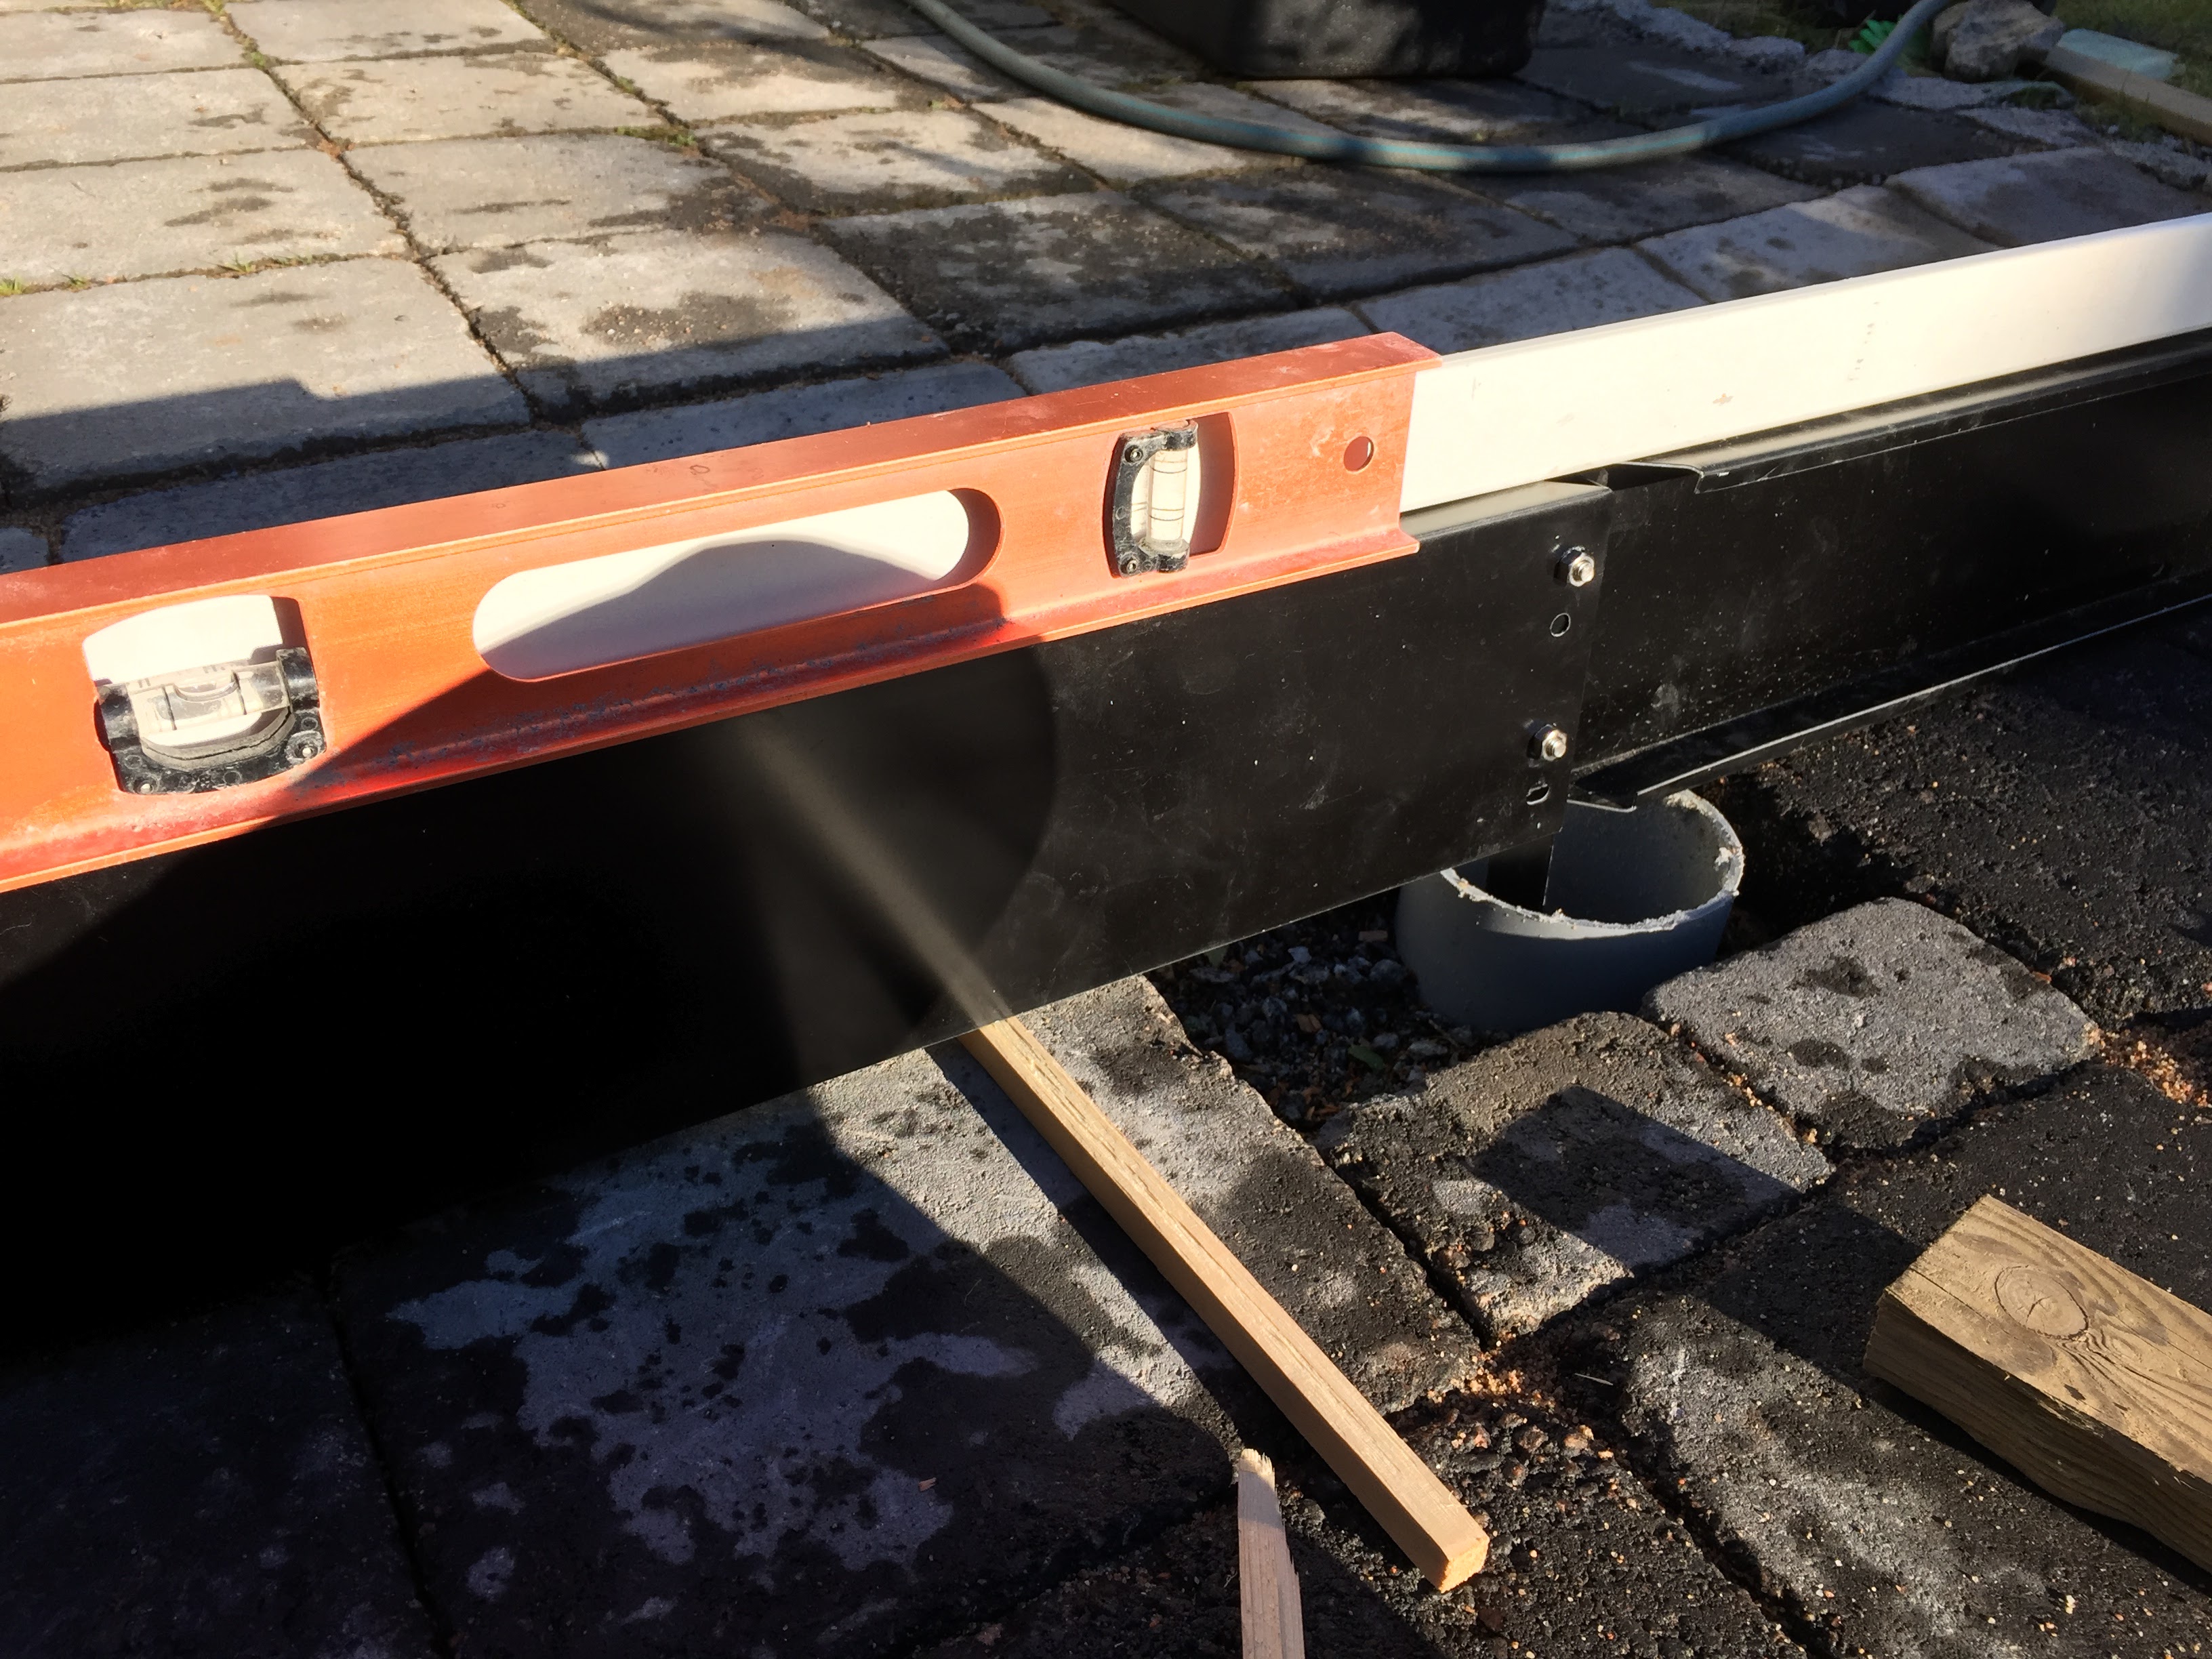
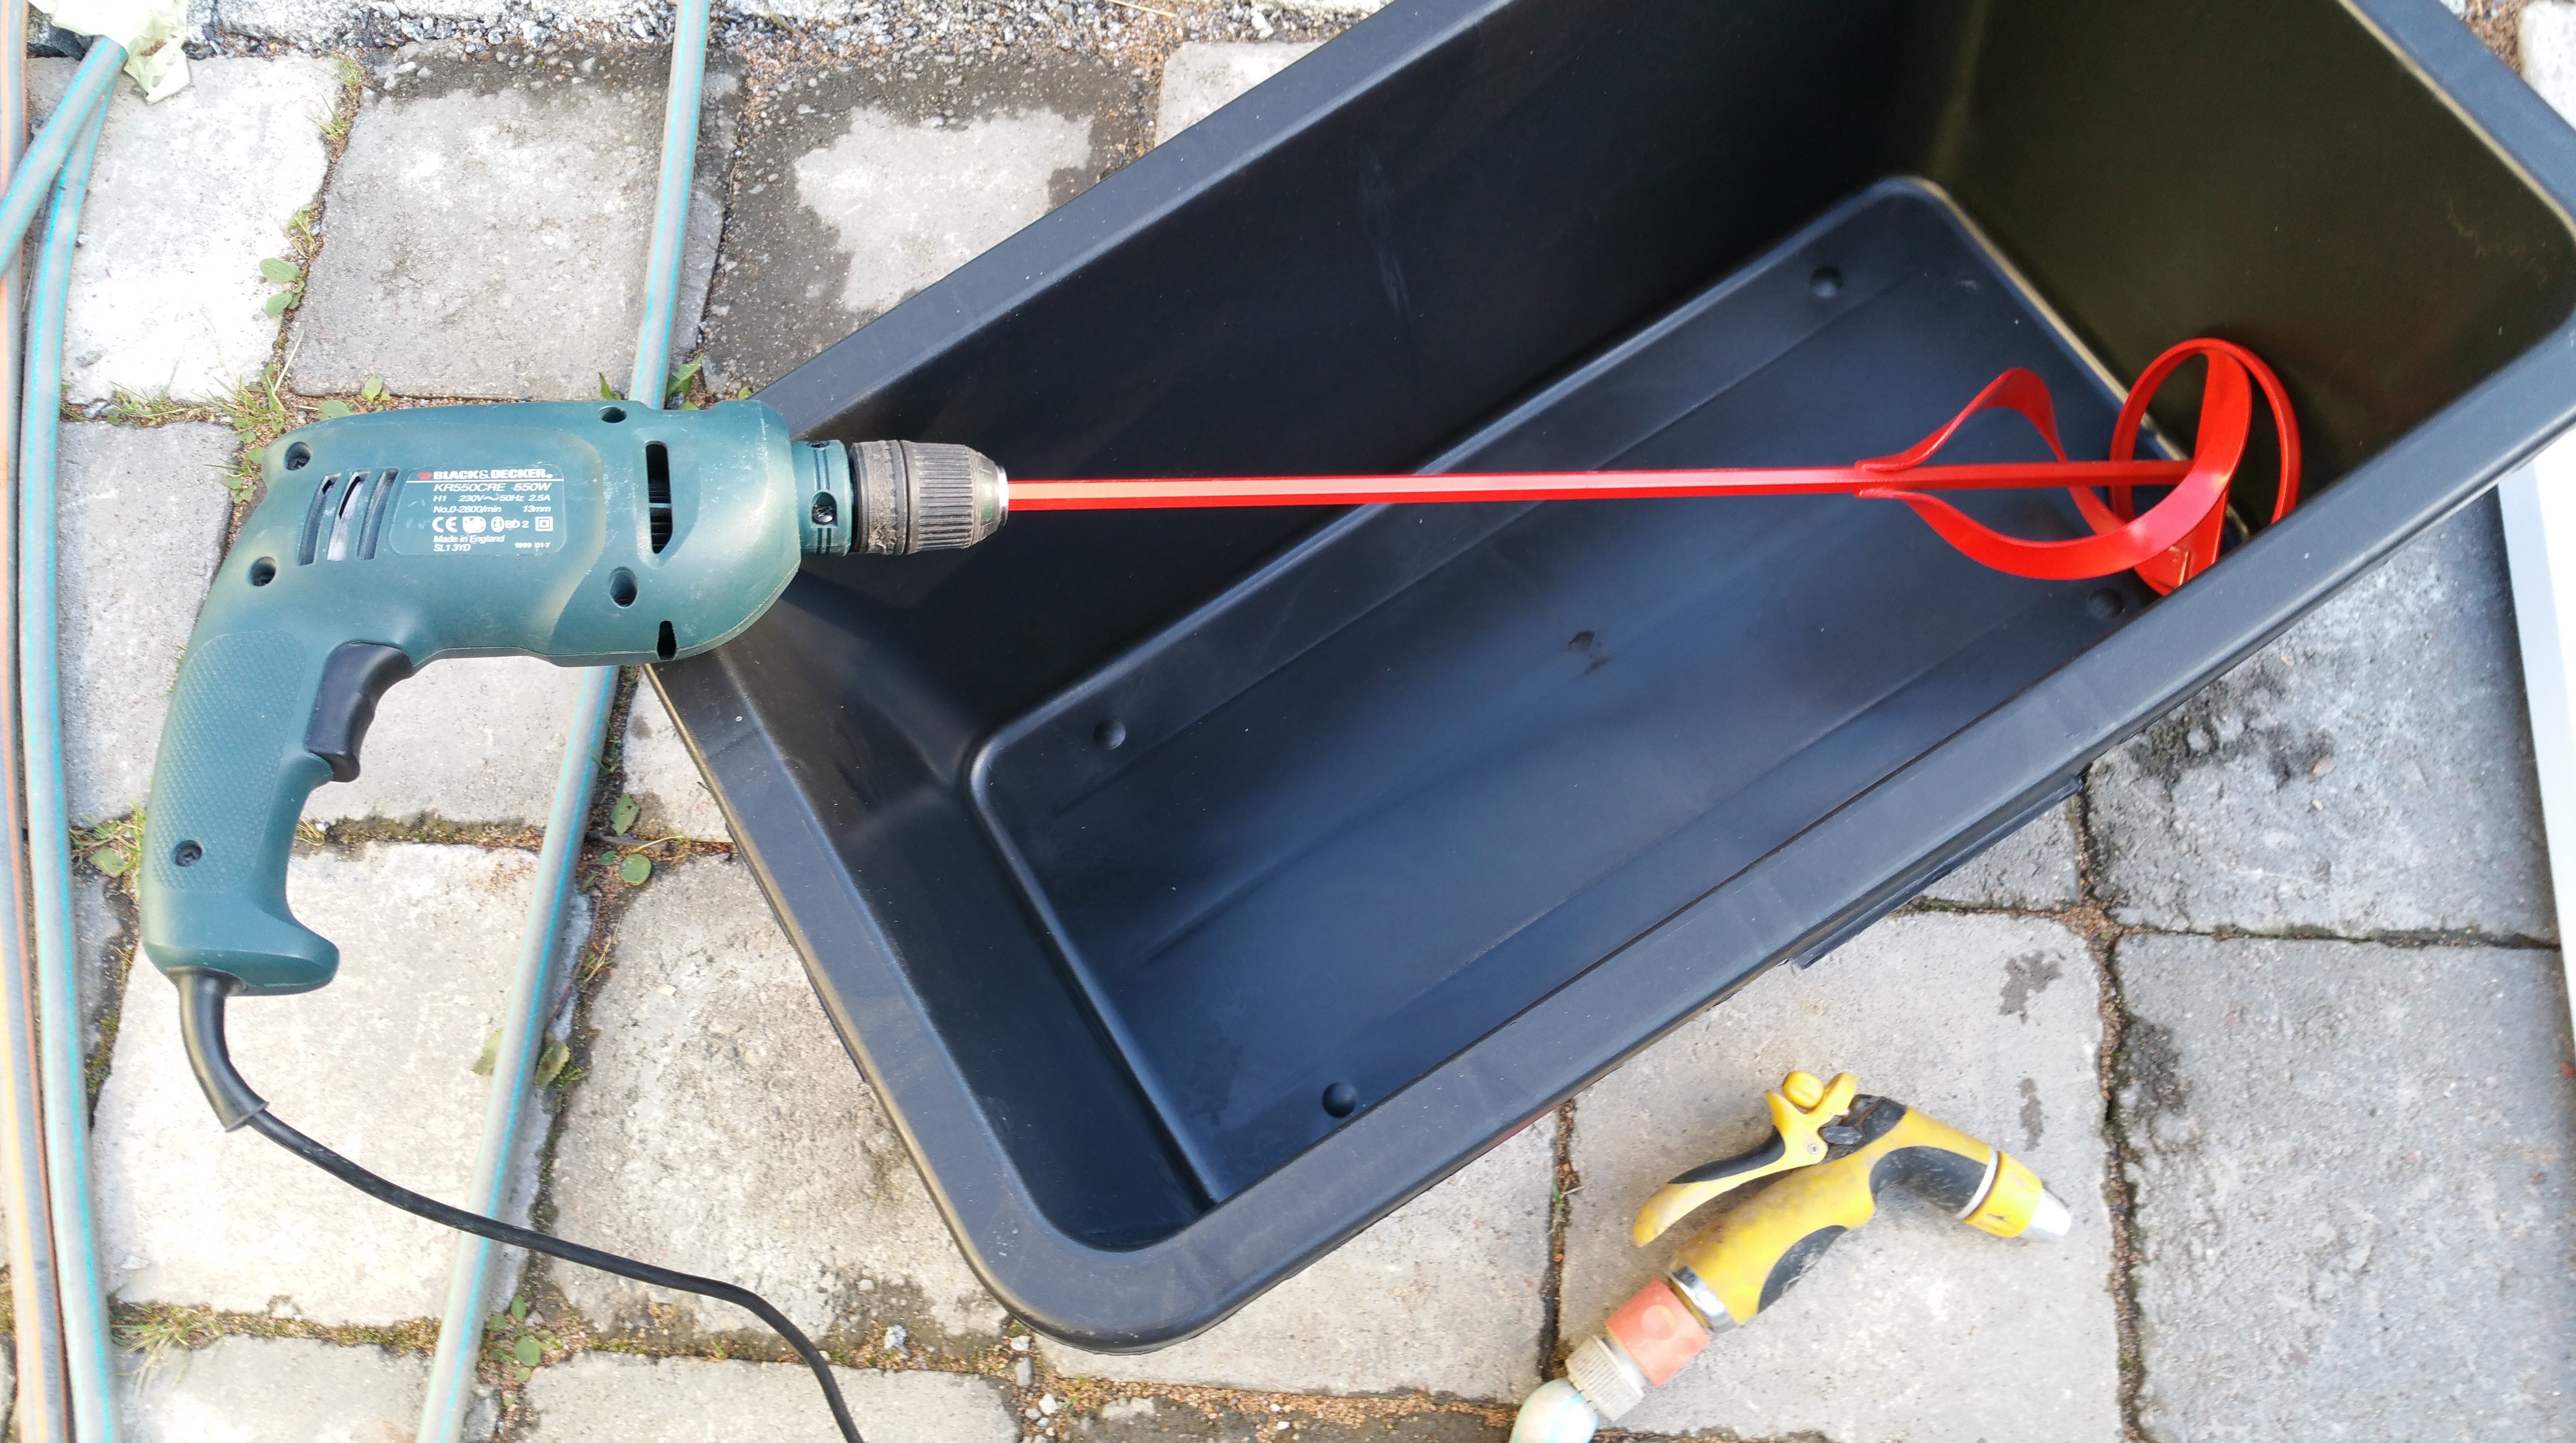
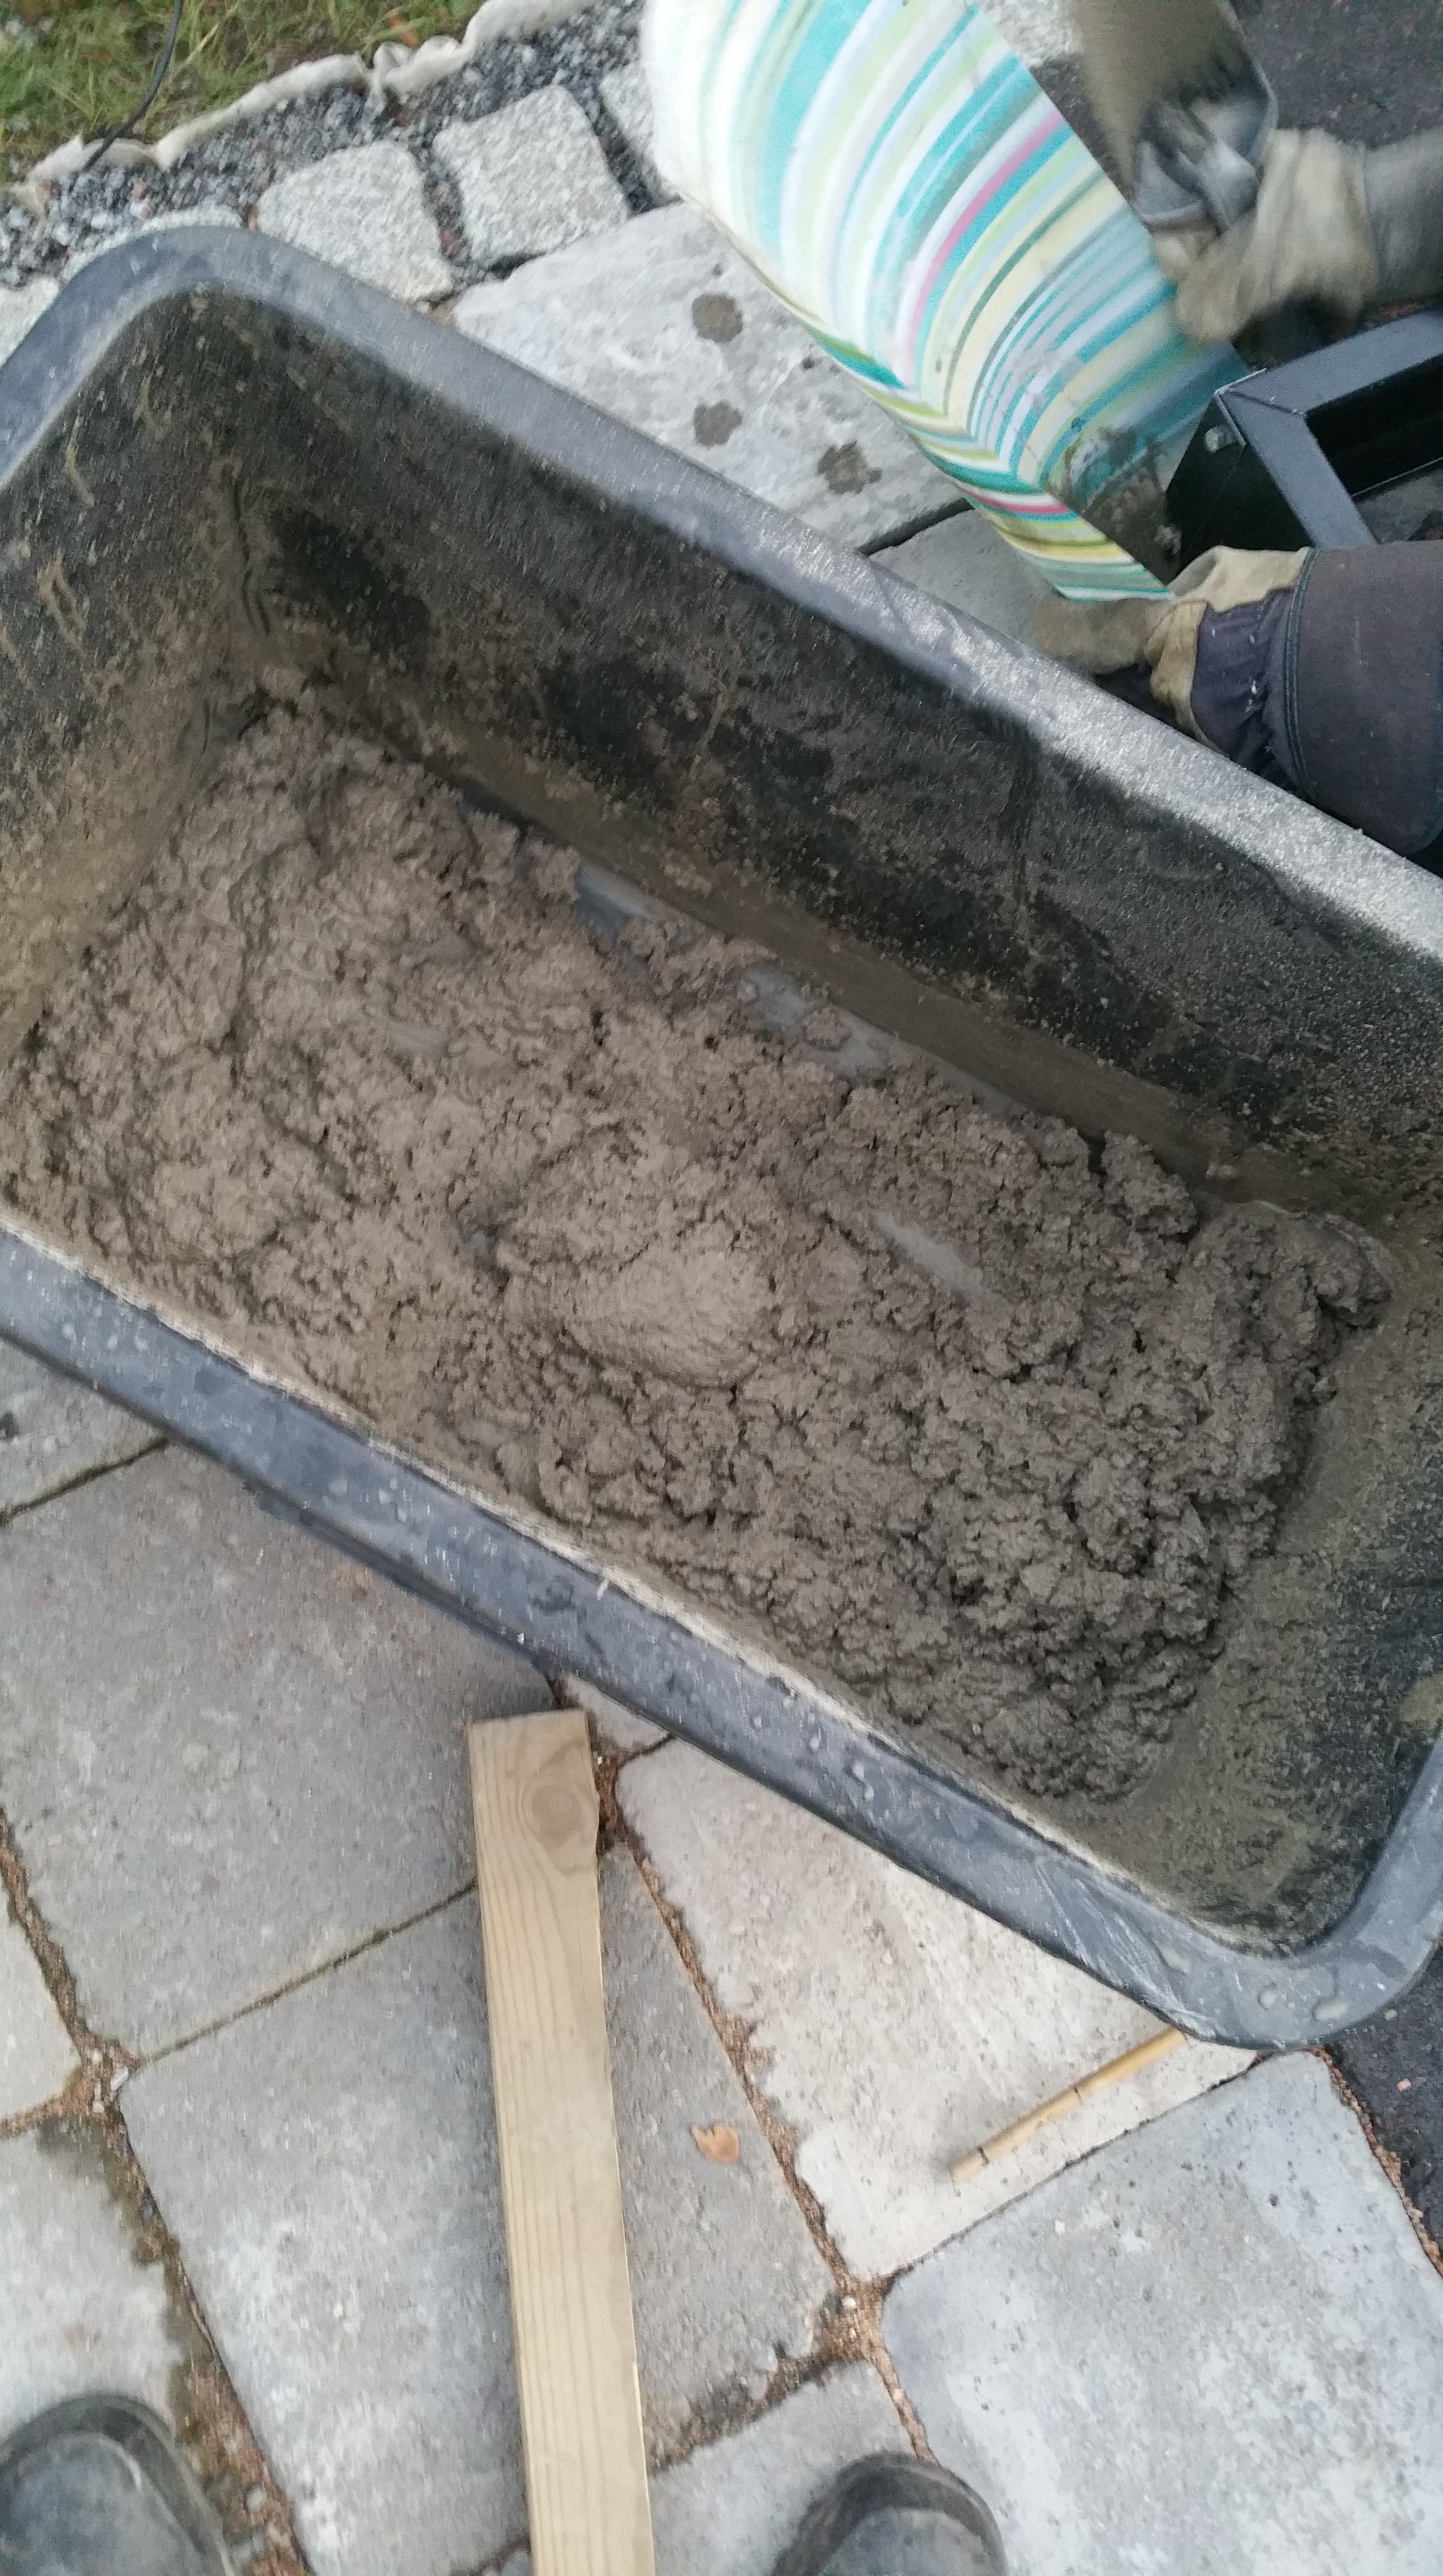
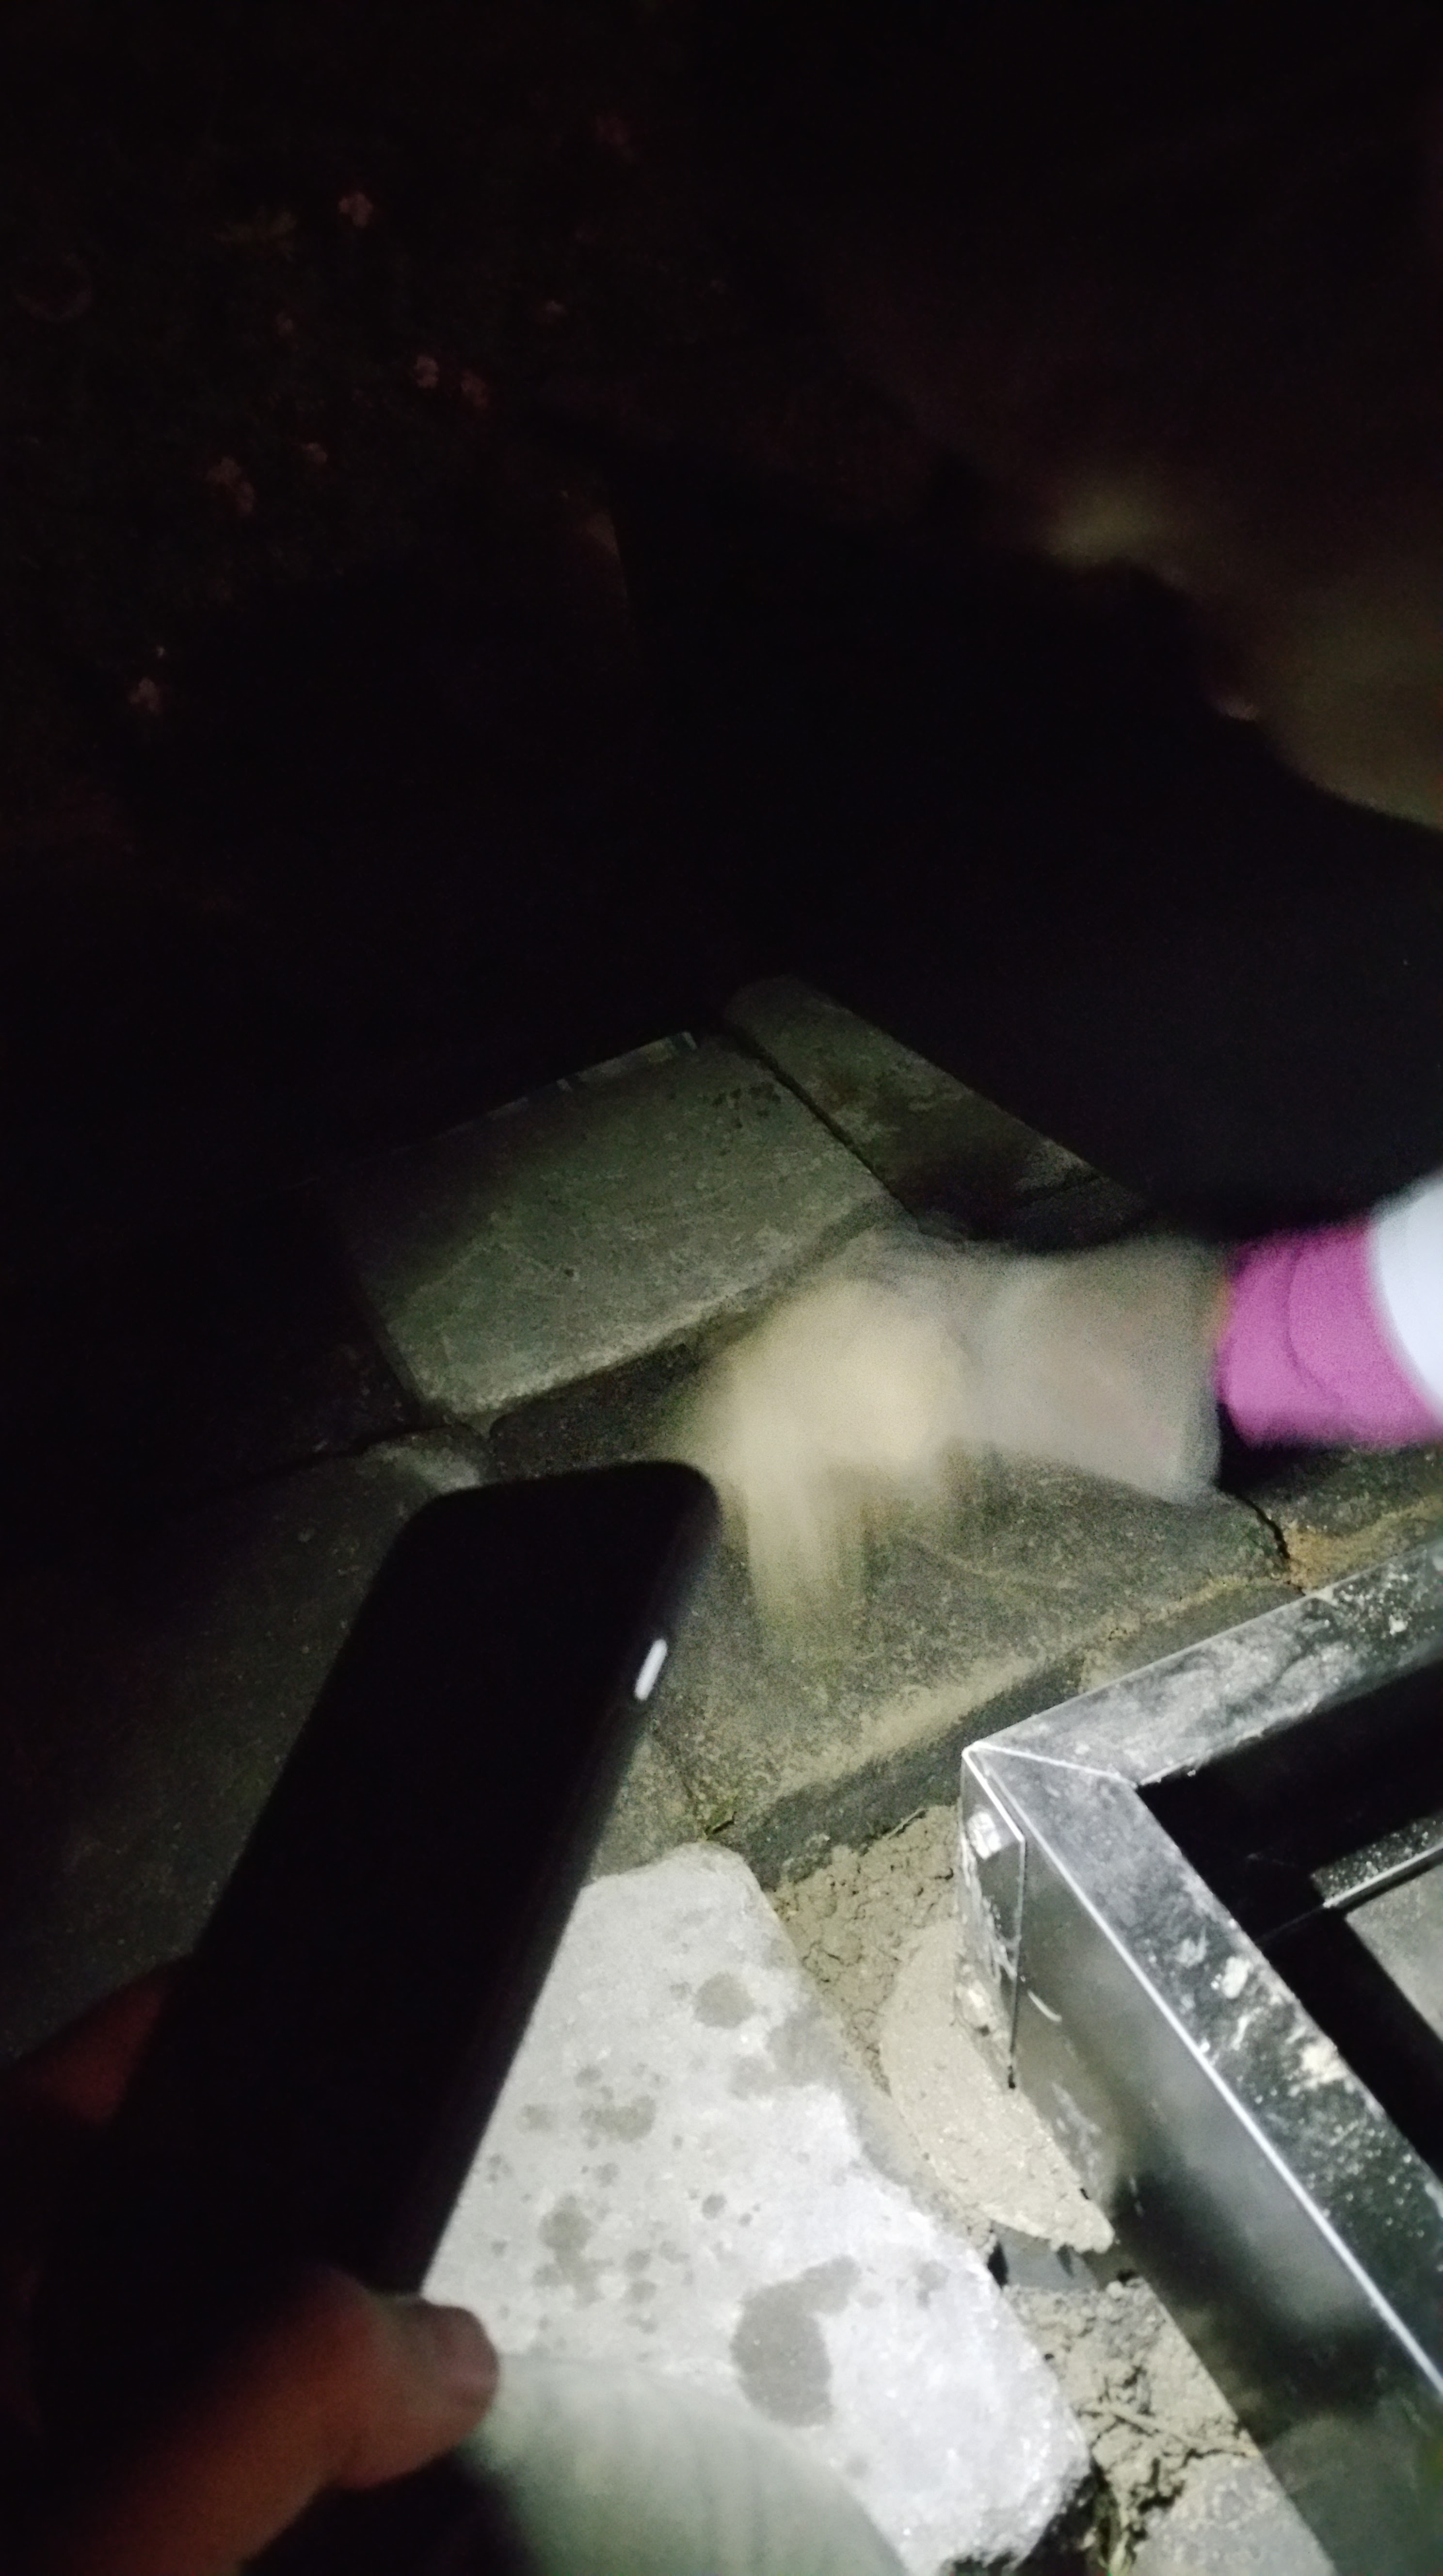
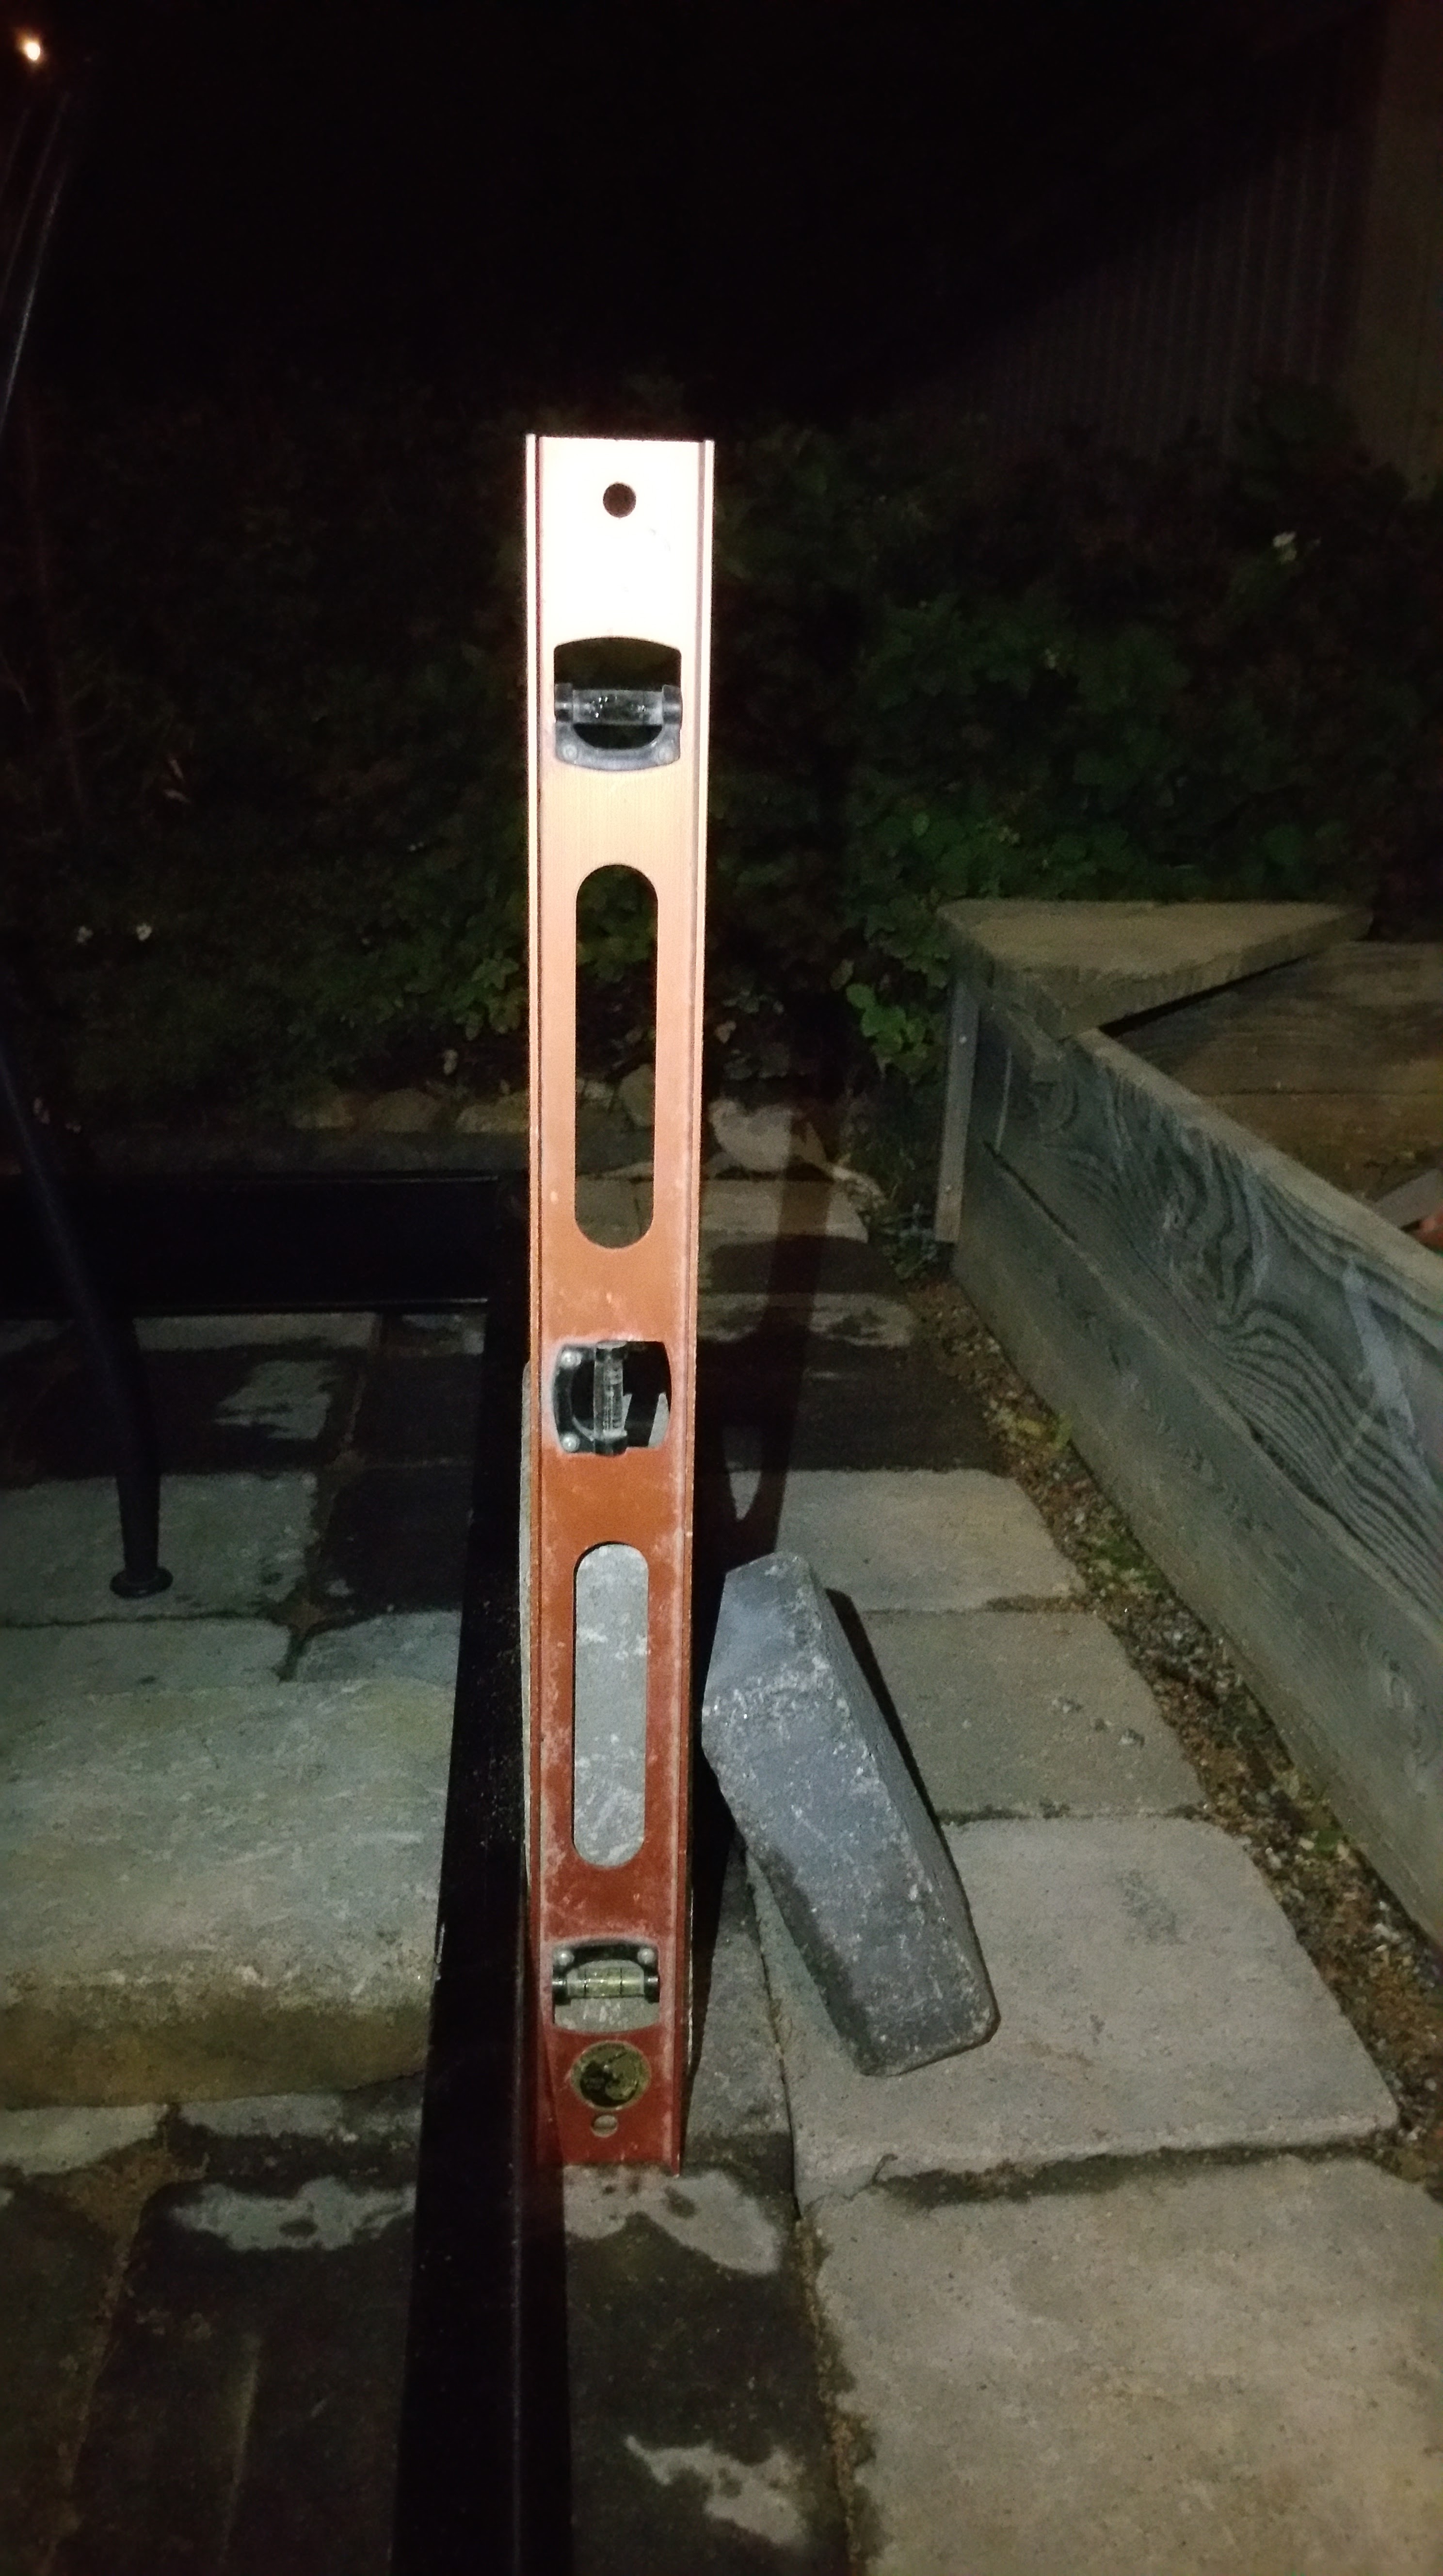
The foundations for the actual greenhouse are now ready, I think. The last steps in this phase included e.g.: using fine gravel and sand (“kivituhka”) to create a top layer that was at right angle and height to serve as the basis for concrete tiles that form the final top layer, supporting the steel plinth. My old heavy wooden ram (“juntta”) was again in use, manually banged down to compress the earth layers. (My academic hand muscles are not perhaps best suited for this kind of work, btw, I noticed the following day…) Before installation of the greenhouse plinth (the steel base), there was one important extra item to take care for, however. The greenhouse was being constructed near – almost underneath – a large old birch, which had already started to rot and drop branches. It was now the very last moment to say goodbye to her (cutting down a large tree later, with delicate glass house underneath, would had been much harder, or impossible). We hired a couple of professinal loggers come and cut the tree into pieces, and there was much work left also to us in sorting out branches (some the size and thickness of regular trees), twigs and leaves. After a full day of that lumberjack work, there was finally time to cast the concrete (oh yes, and a mixture of sand and mortar was brushed into gaps between tiles and dampened to fill them, as a final touch), but before that, the last round of measurements and fine-tuning was done to adjust and fix the steel plinth into the right positions. We had not managed to get all plastic pipes into same exact depth, and a Dremel tool was used to cut few millimeters away from the top of three of the protruding cast pipes. Bubble level was also much in use, and I also applied a couple of spanners to open all the corners of steel plinth, apply small wooden wedges underneath the plinth in a couple of places, and then fix them again, hopefully sealing everything into correct width and length measurements, while also keeping the entire construction at even level, using the bubble level tool. Then it was time to mix some concrete – a small power tool was used, but mostly manual blending (we did not have a proper concrete mixer). It was getting really dark at this point, but finally all the pipes were filled to the brim with concrete (there was beautiful full moon rising, I noticed, and the fireworks from Tampere Venetian Festivals were making popping noices somewhere far away). But: while the doing the control measurements we saw that while the X and Y directions were correct, the steel pinth was not direct – the thin steel bars were tilted (in Z, upwards direction)! It was pretty hard to solve the problem at this point, in dark and middle of the night. But the trick that did it was to loosen again all the nuts and bolts in the corners, move away the concrete tiles that we had used to support and fix the plinth into the right position, as some of them pressed the inner edges of the steel bars inwards so that all of them became tilted. Fixing all that required some fast action, as concrete was already slowly solidifying while all this was going on. While we managed to do all that, there was one measurement that I forgot to take. In the morning, I wanted to kick myself: the front part of Juliana’s steel plinth consists of three separate elements, and I had forgot to check that they were fixed so that the width of plinth in front was the same as the width of plinth at the back (there was room for adjusting the bolts in their elongated holes). We had carefully measured that the diagonals from corner to corner were identical, but forgot to measure that width of back and front were identical. And now all six steel pegs were fixed deep into concrete (with their tips bended, to prevent them from slipping ever out of concrete). Luckily, there was only c. 2 millimeter error between front and back, so the situation was finally not so bad. Hopefully the actual Juliana greenhouse construction has some adjustment room when the aluminium and glass parts will build and fixed on top of the steel plinth.
At this point, we could almost take a little break. But there was still some chainsaw work to do and log piles to build, before thunderstorms arrived to Tampere in the Sunday afternoon. So, maybe a bit later.
Greenhouse foundations construction work (flat sand base, with the heavy ram, 25-8-2015).Greenhouse foundations construction work (flat sands, with the heavy ram, 25-8-2015).Greenhouse foundations construction work (looks nice now, all tiles set, 25-8-2015).Greenhouse foundations construction work (setting the steel plinth, 29-8-2015).Greenhouse foundations construction work (using bubble level, 29-8-2015).Greenhouse foundations construction work (bending the tips of steel bars, 29-8-2015).Greenhouse foundations construction work (filling the tile gaps with mortar and sand, 29-8-2015).Greenhouse foundations construction work (dampening mortar and sand, 29-8-2015).Greenhouse foundations construction work (fixing steel plinth at right level and position, using wooden wedges, 29-8-2015).Greenhouse foundations construction work (adjusting and fixing nuts and bolts, 29-8-2015).Greenhouse foundations construction work (setting my electric drill to act as concrete mixer, 29-8-2015).Greenhouse foundations construction work (everything ready for casting the concrete? 29-8-2015).Greenhouse foundations construction work (dropping concrete into the plastic pipes, 29-8-2015).Greenhouse foundations construction work (midnight. Still applying concrete, 29-30-8-2015).Greenhouse foundations construction work (realizing that all walls are tilted, frantic measures to fix this, 29-30-8-2015).Greenhouse foundations construction work (foundations finally ready? Control measurements, waiting for the concrete to harden, 30-8-2015).Thunderstorm coming (30-8-2015).
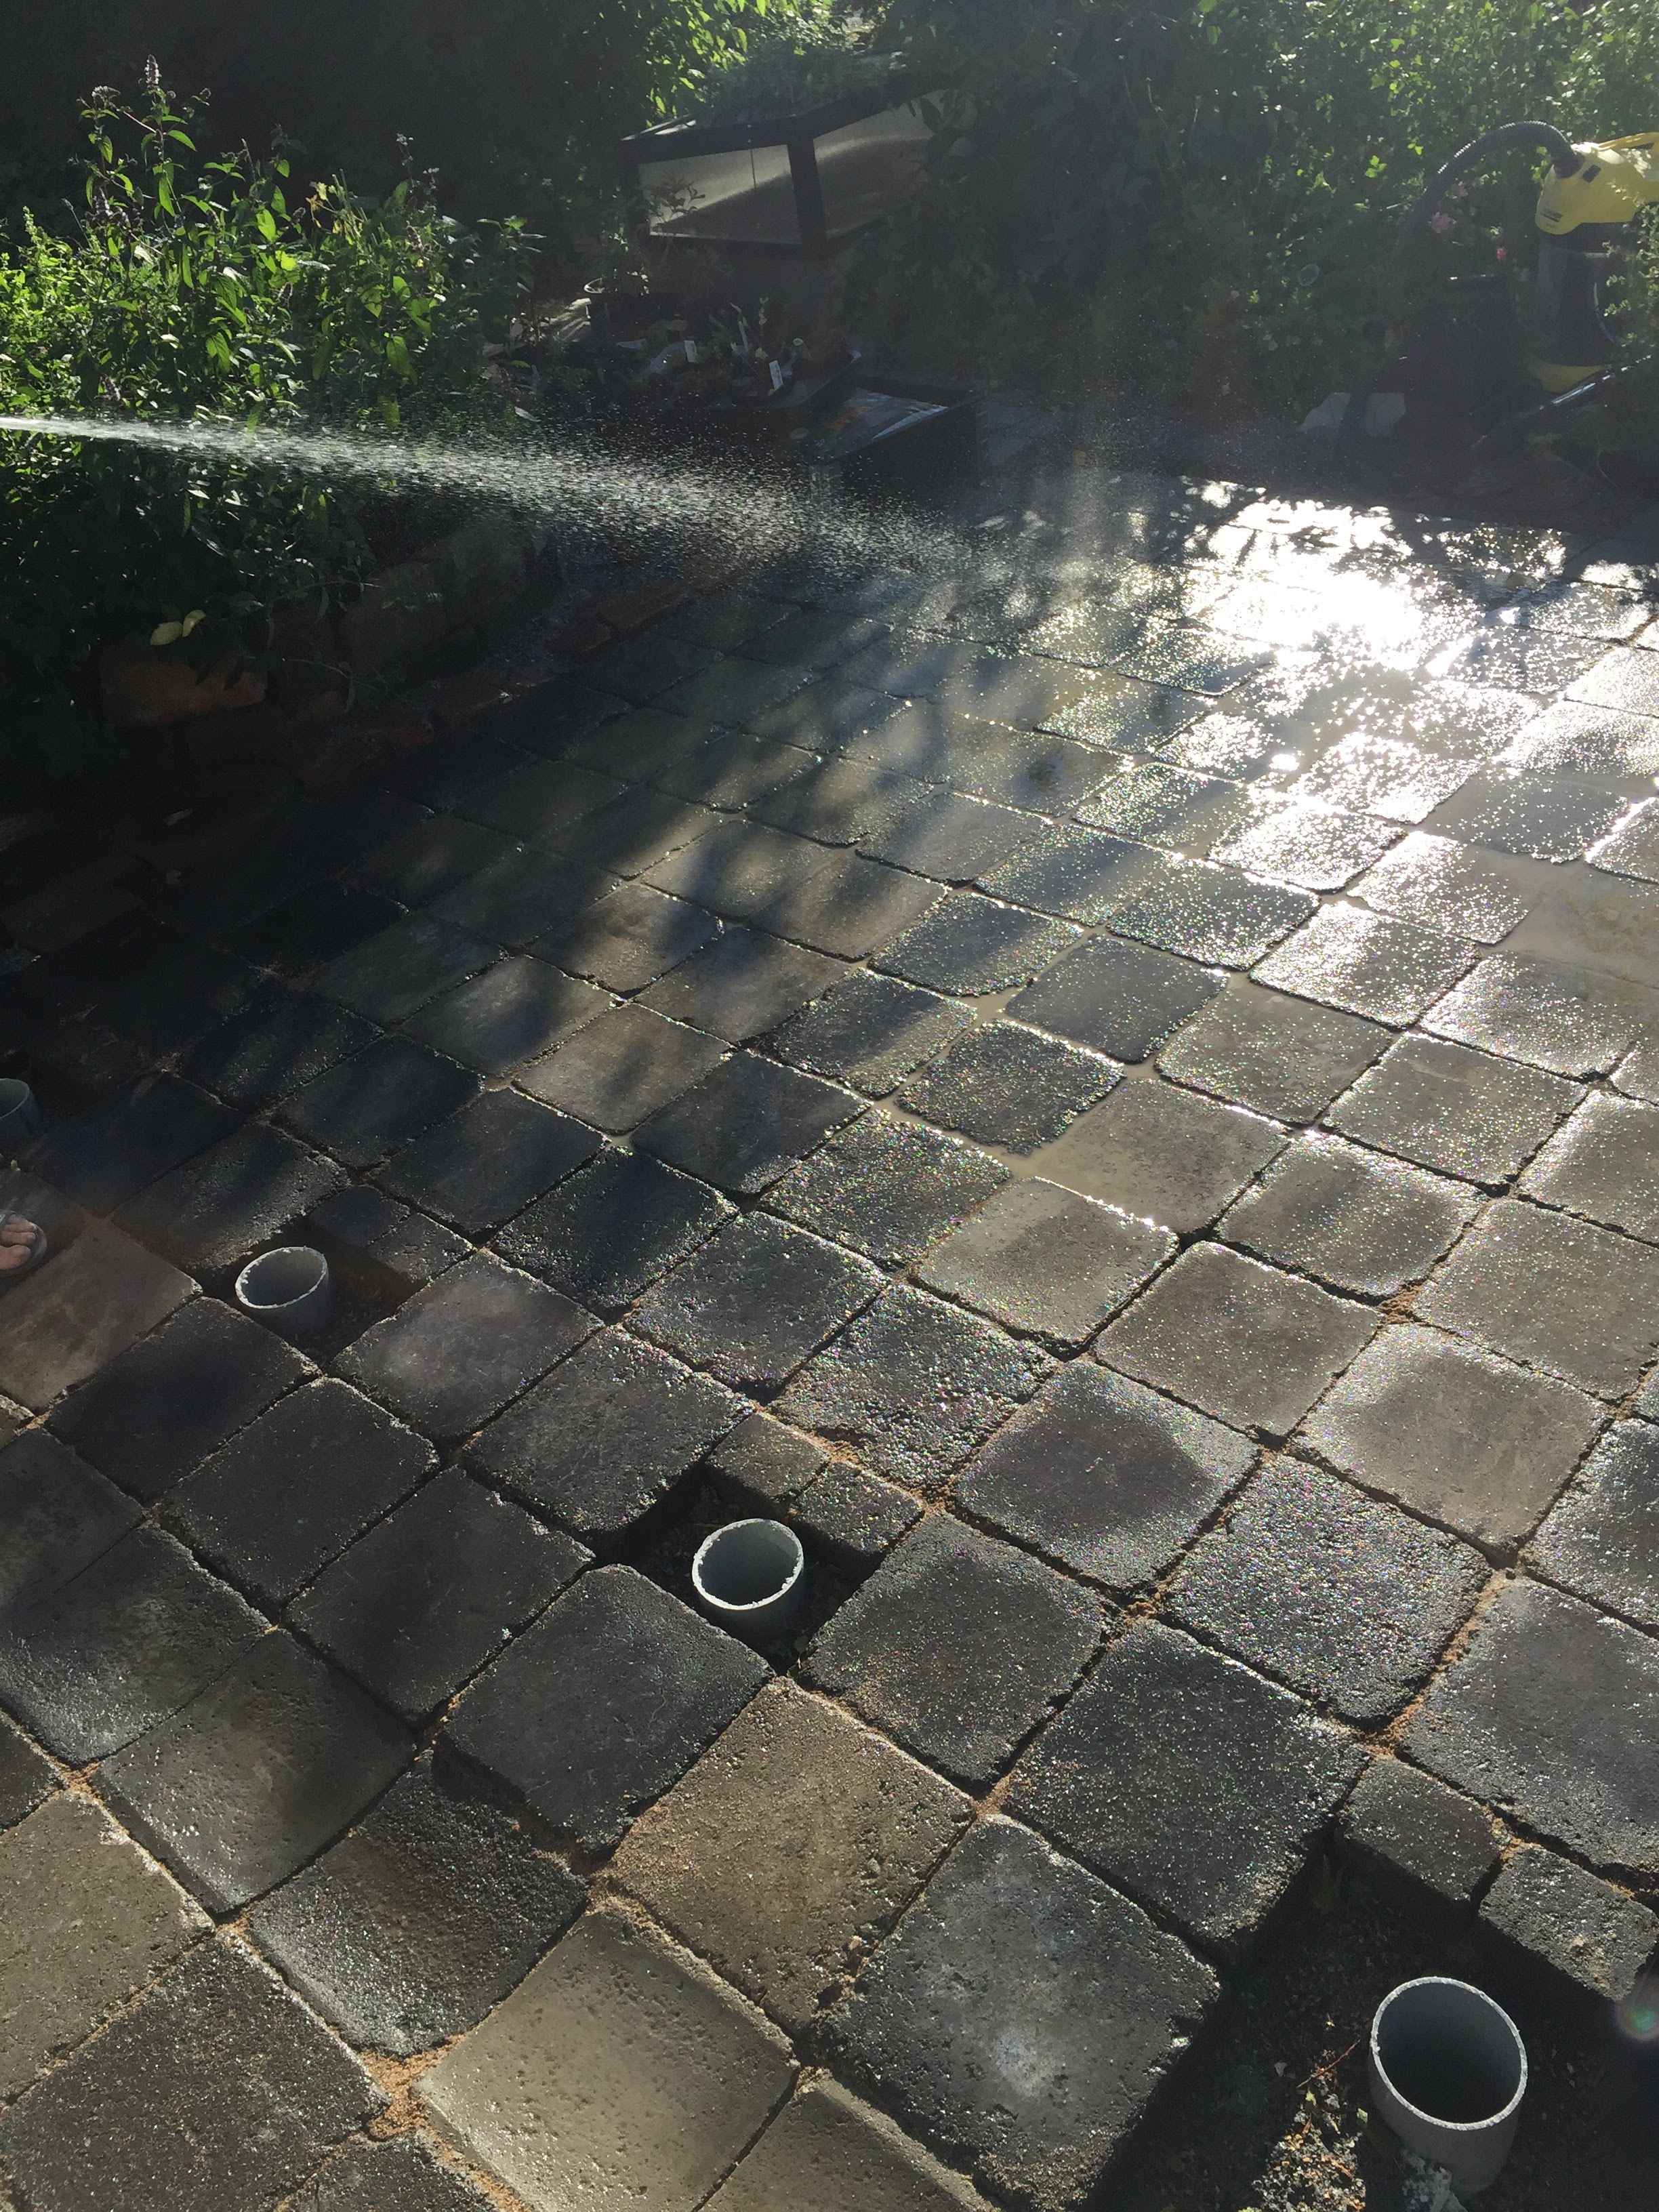
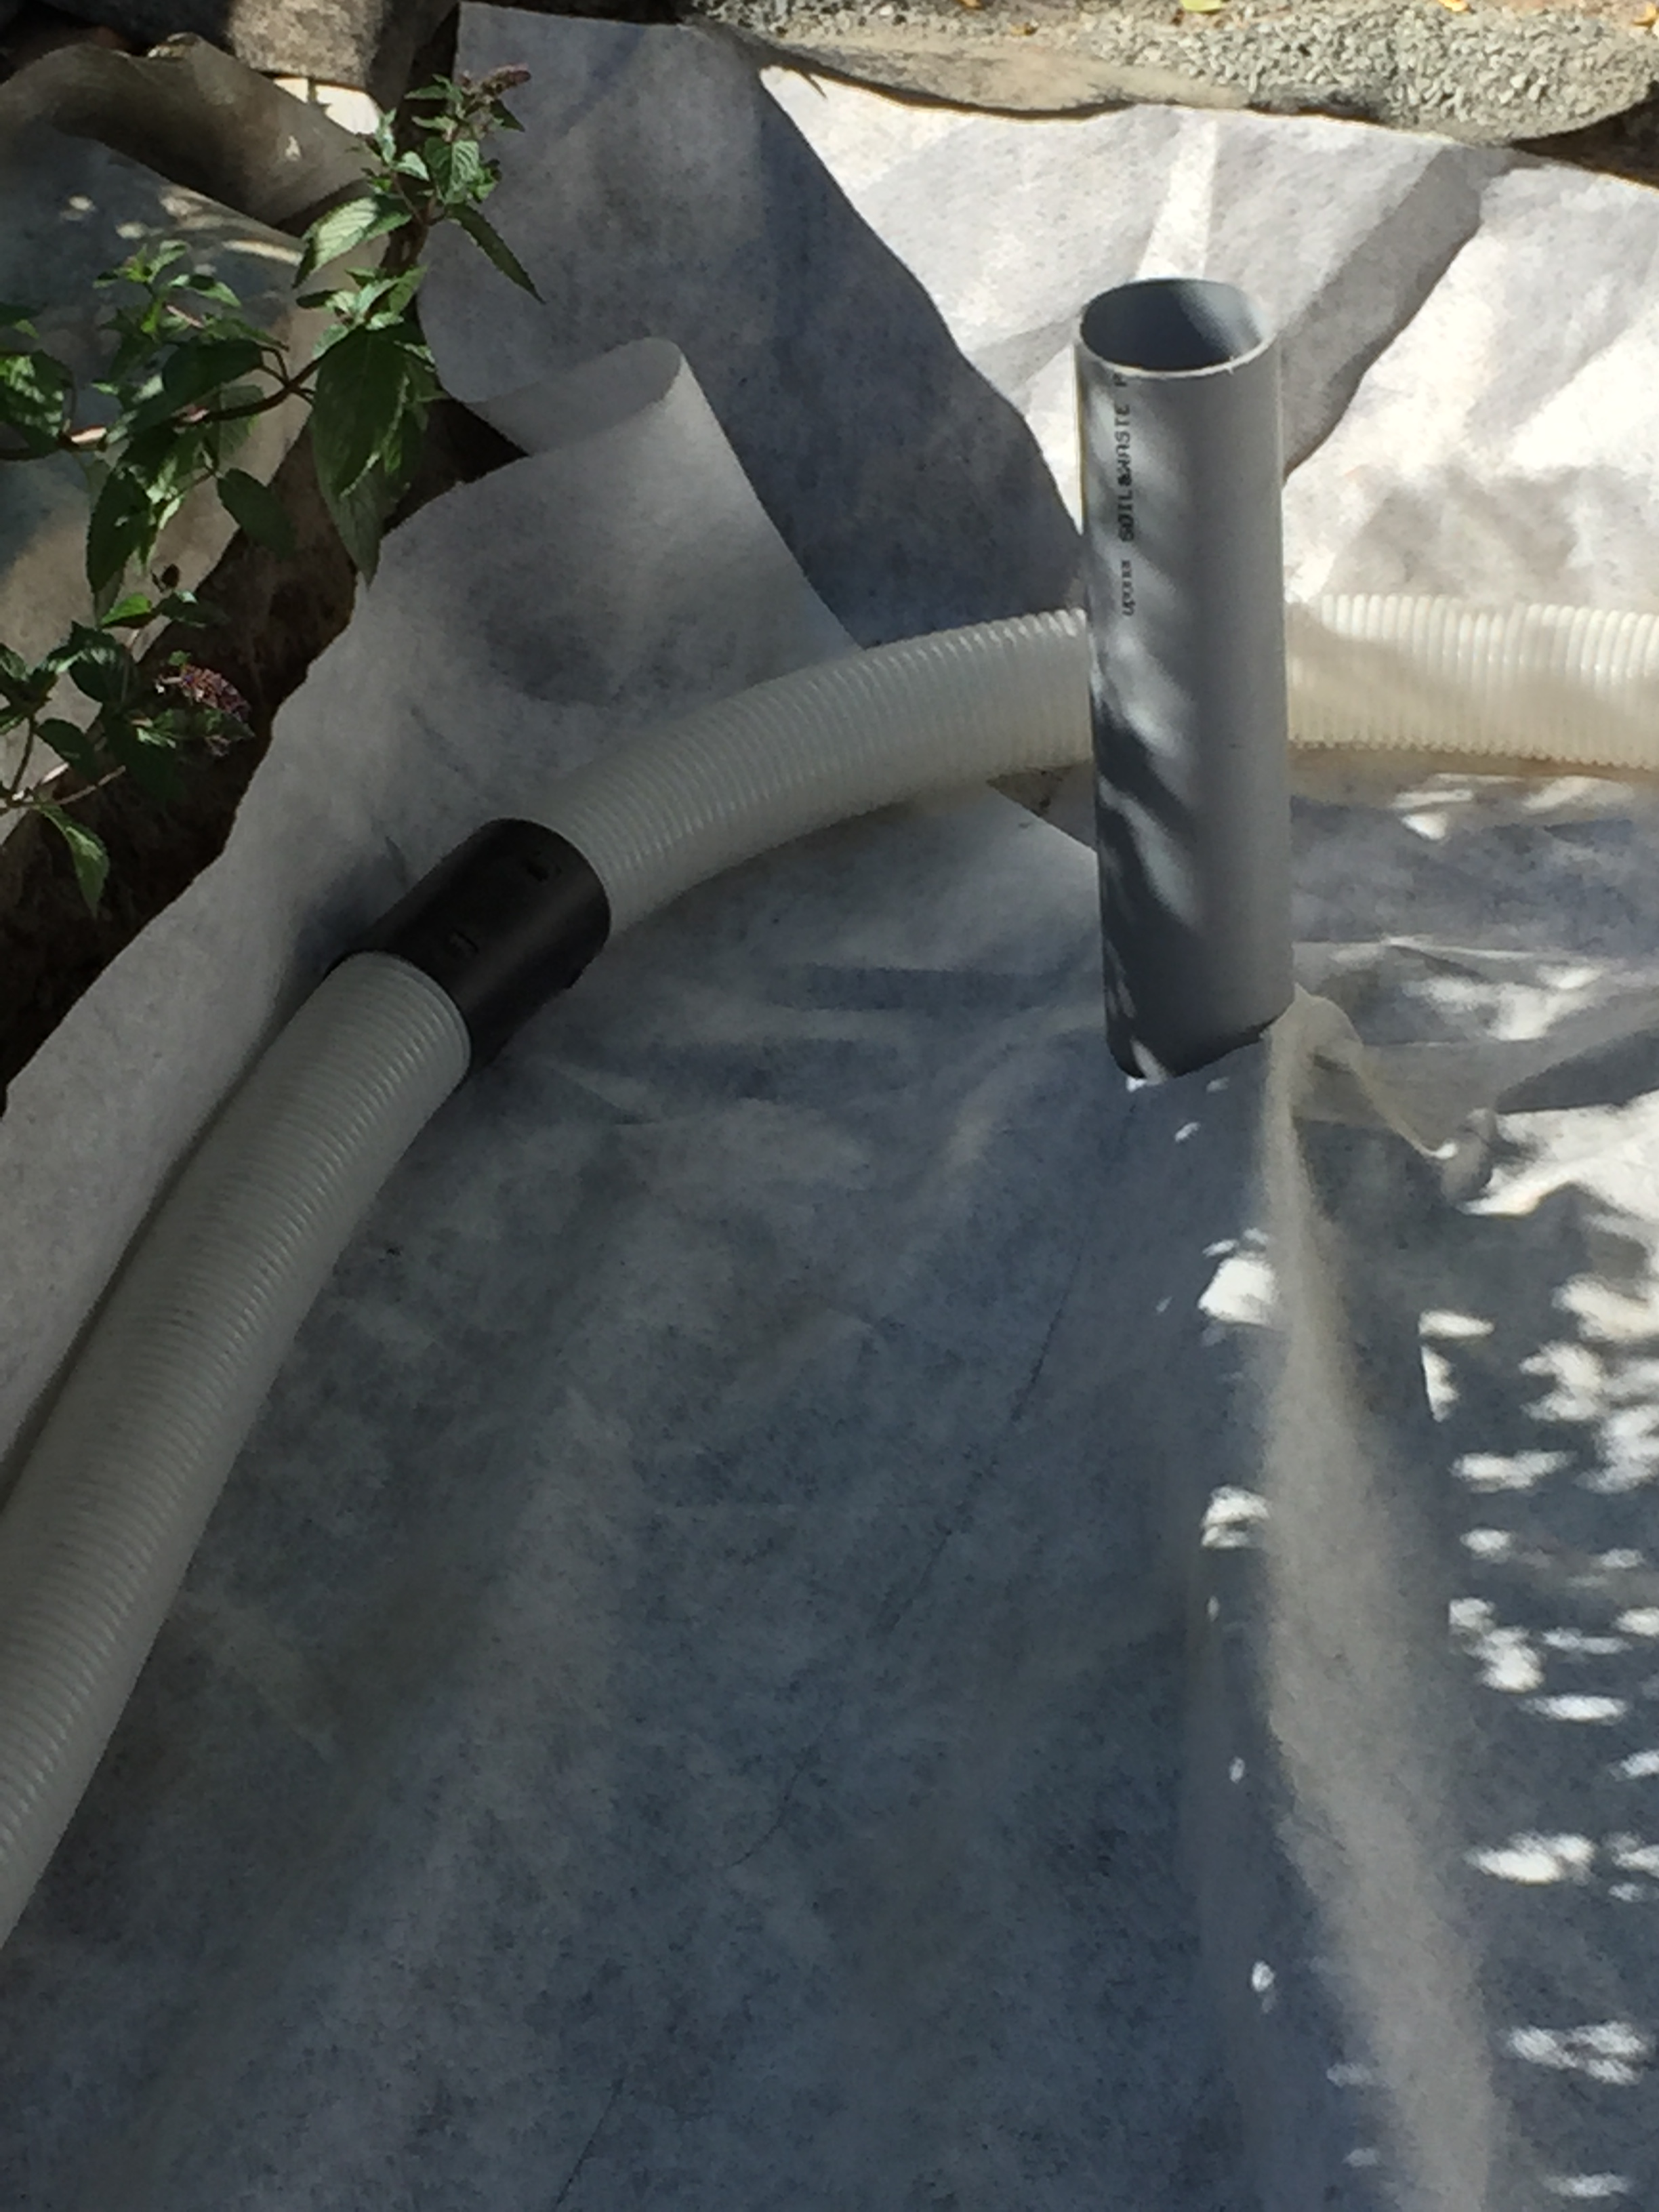
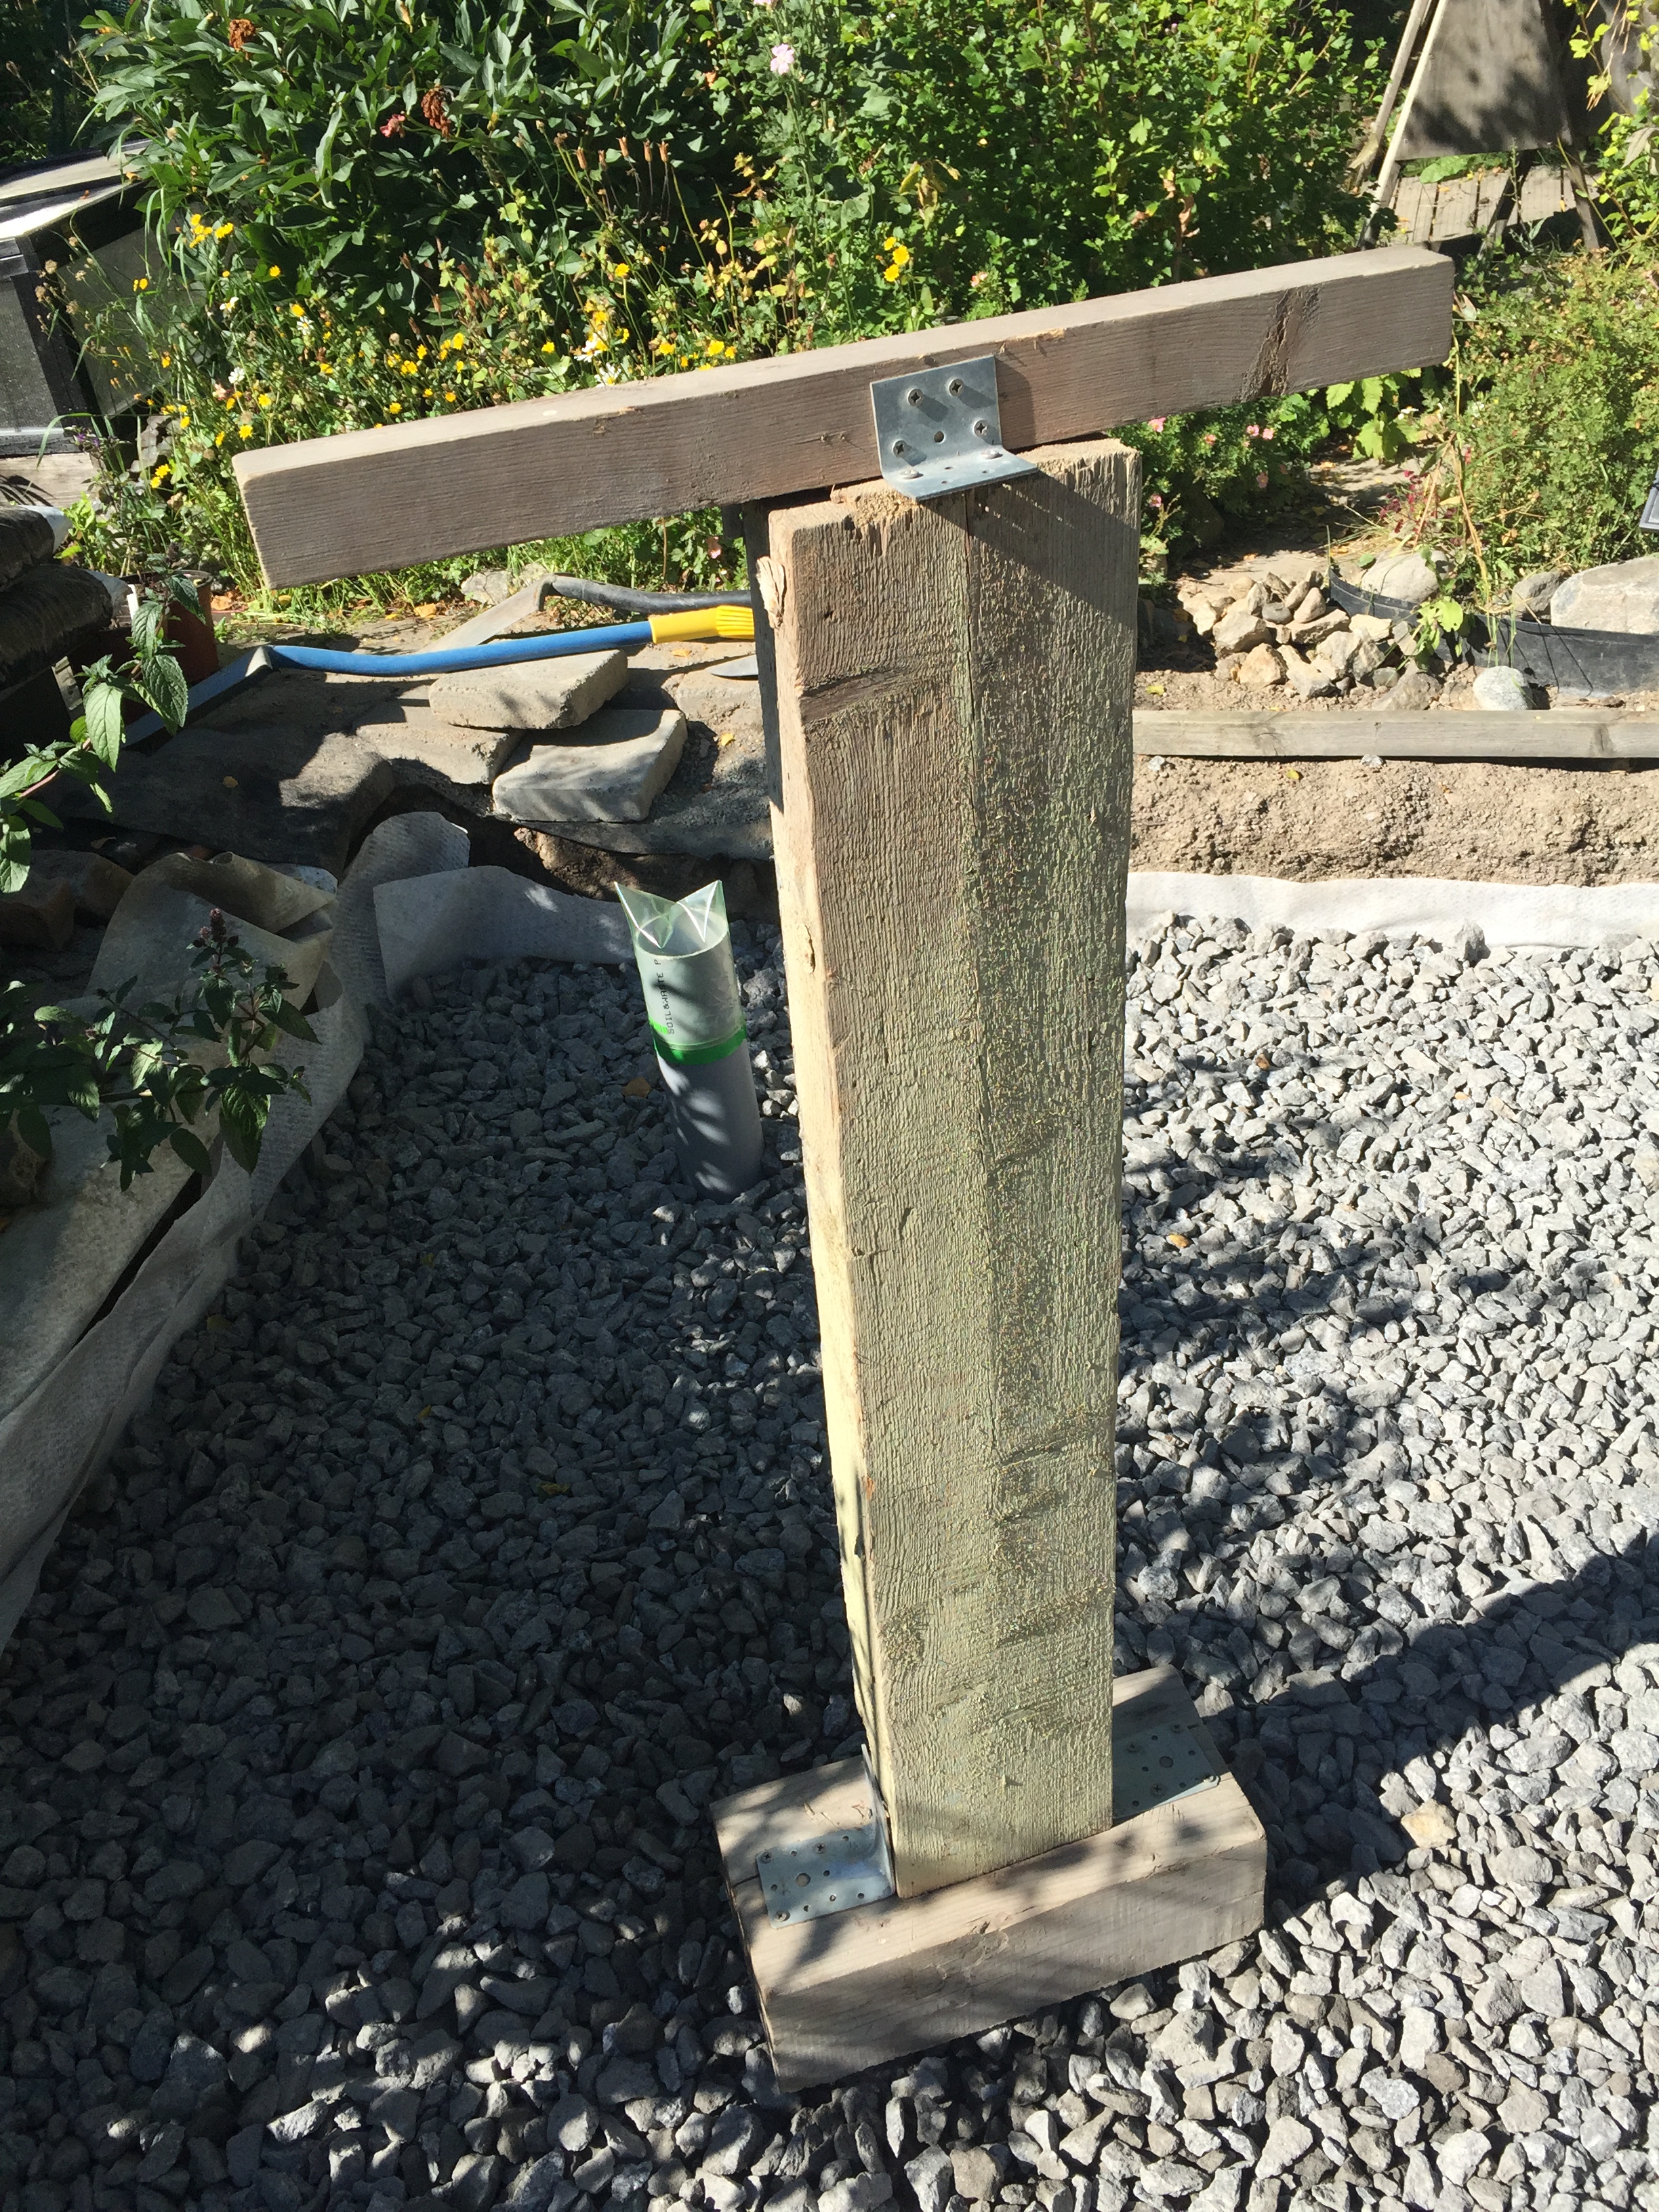
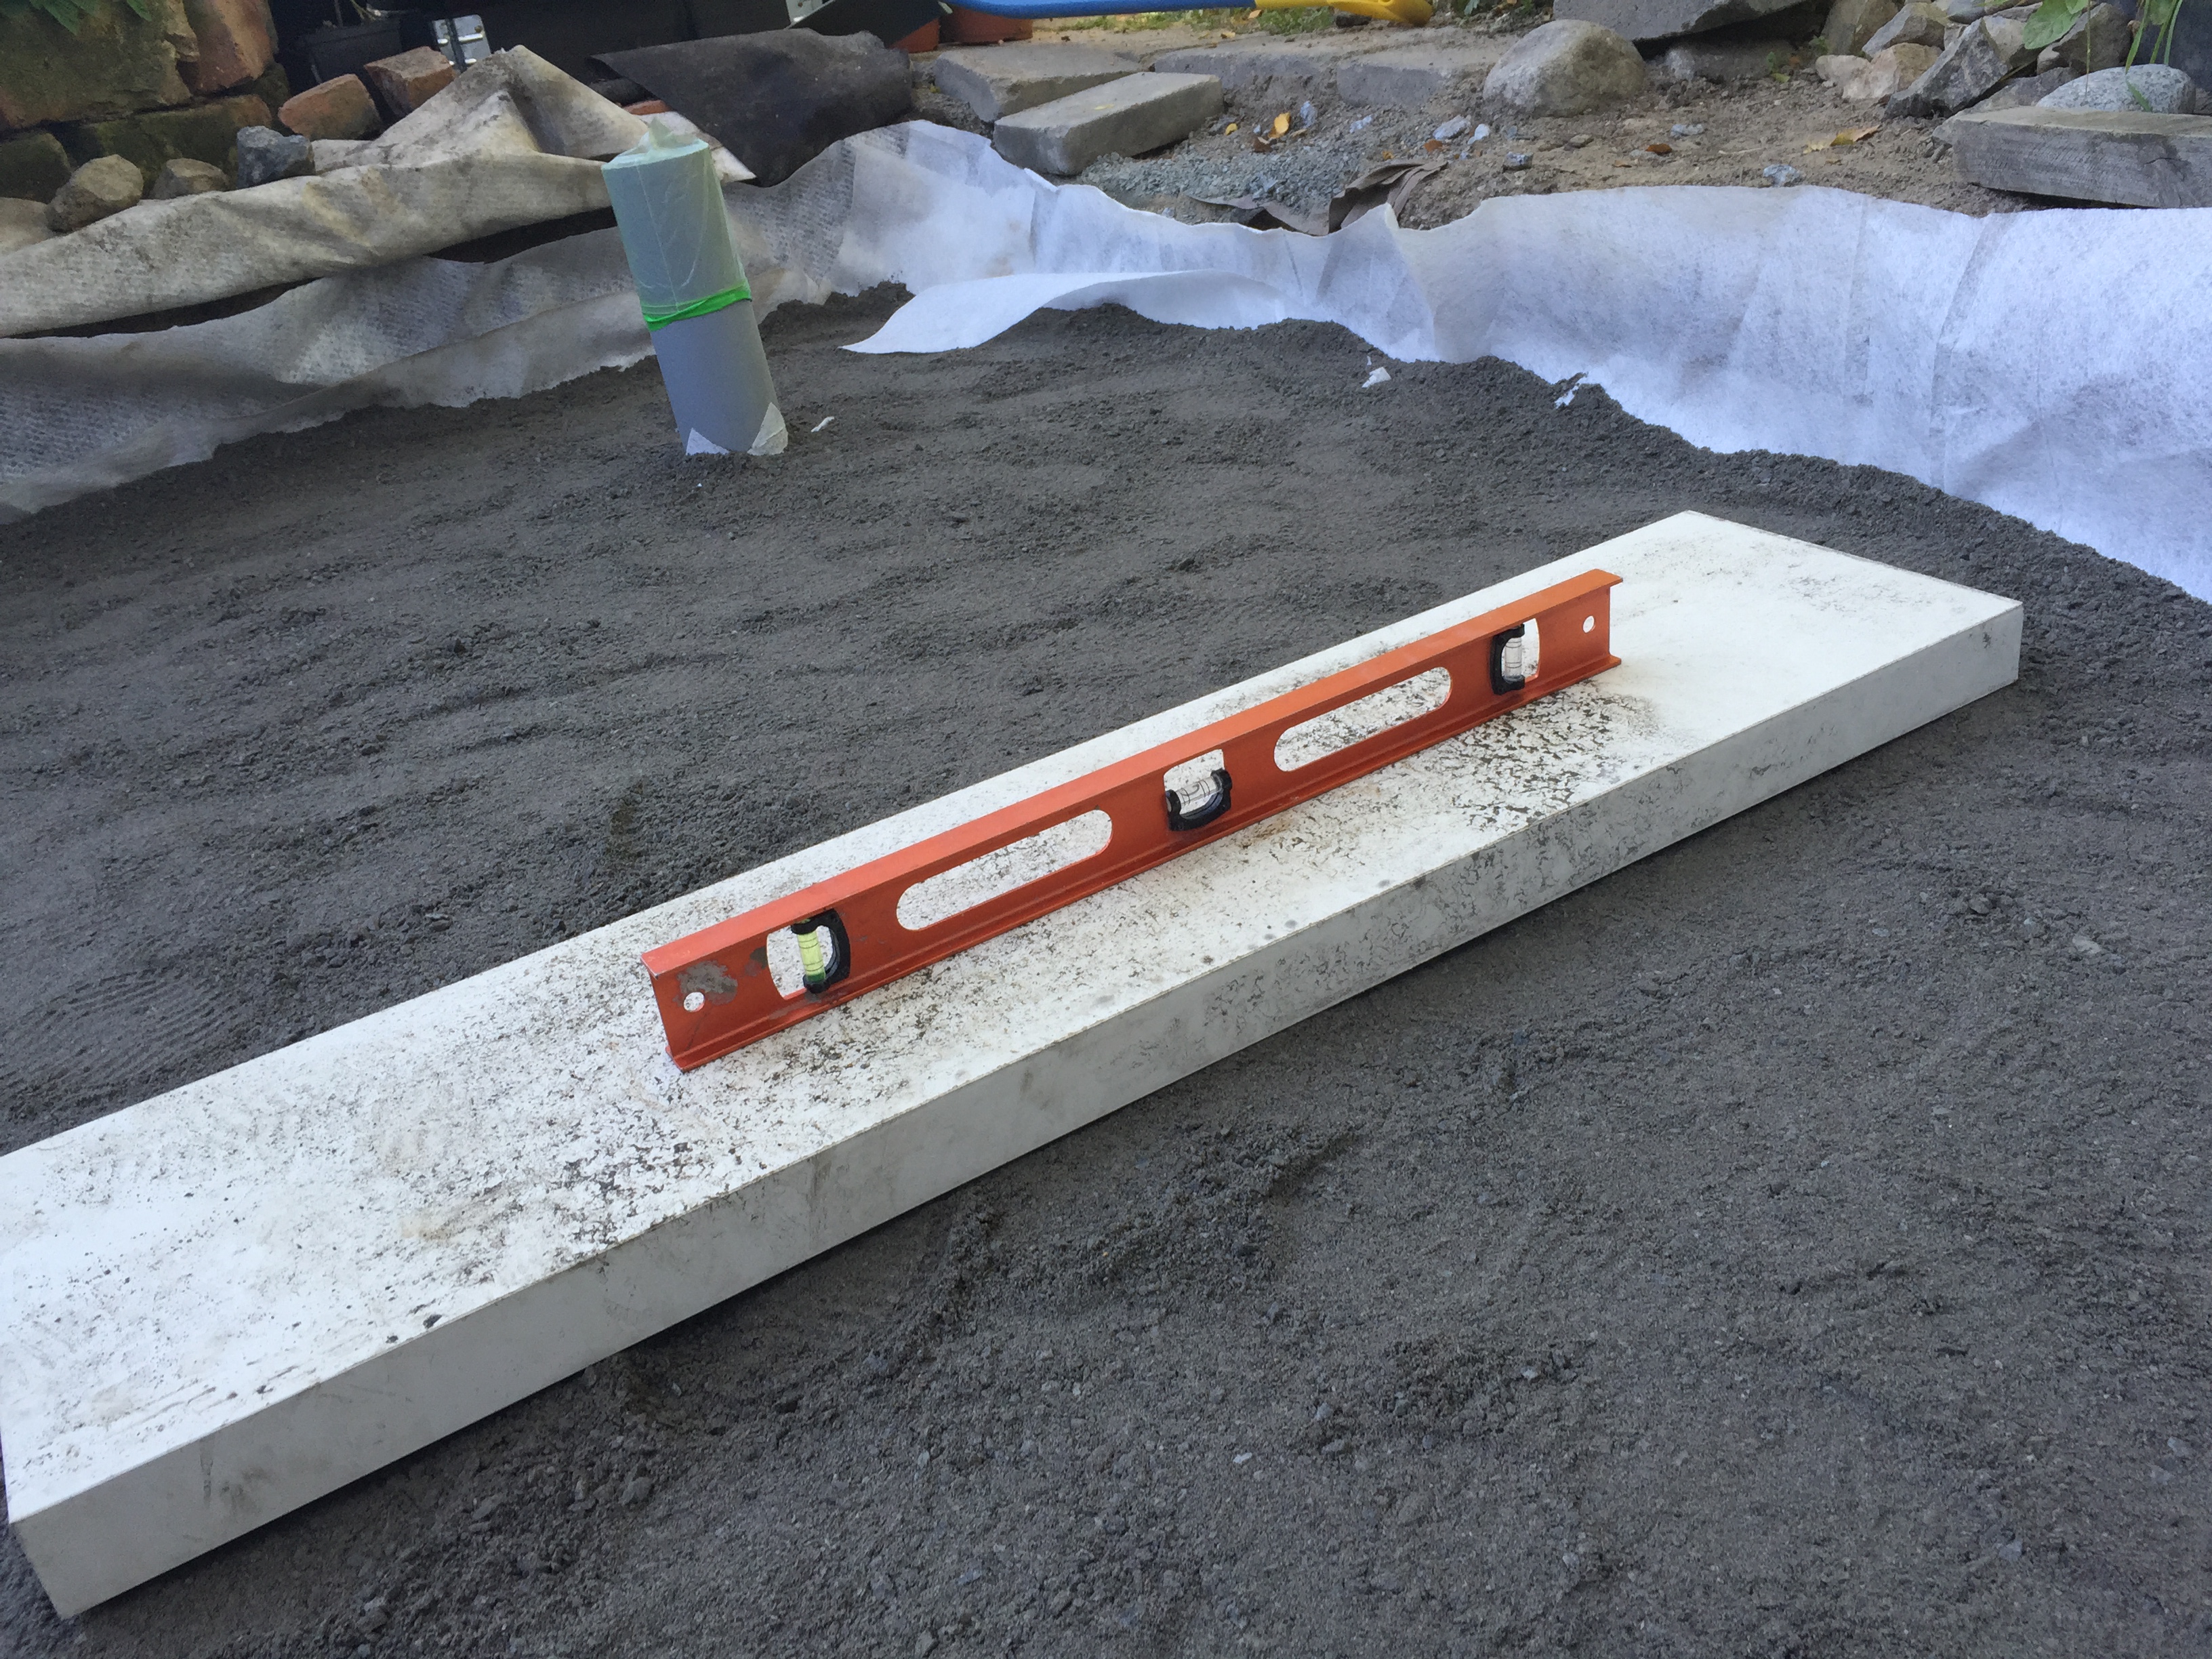
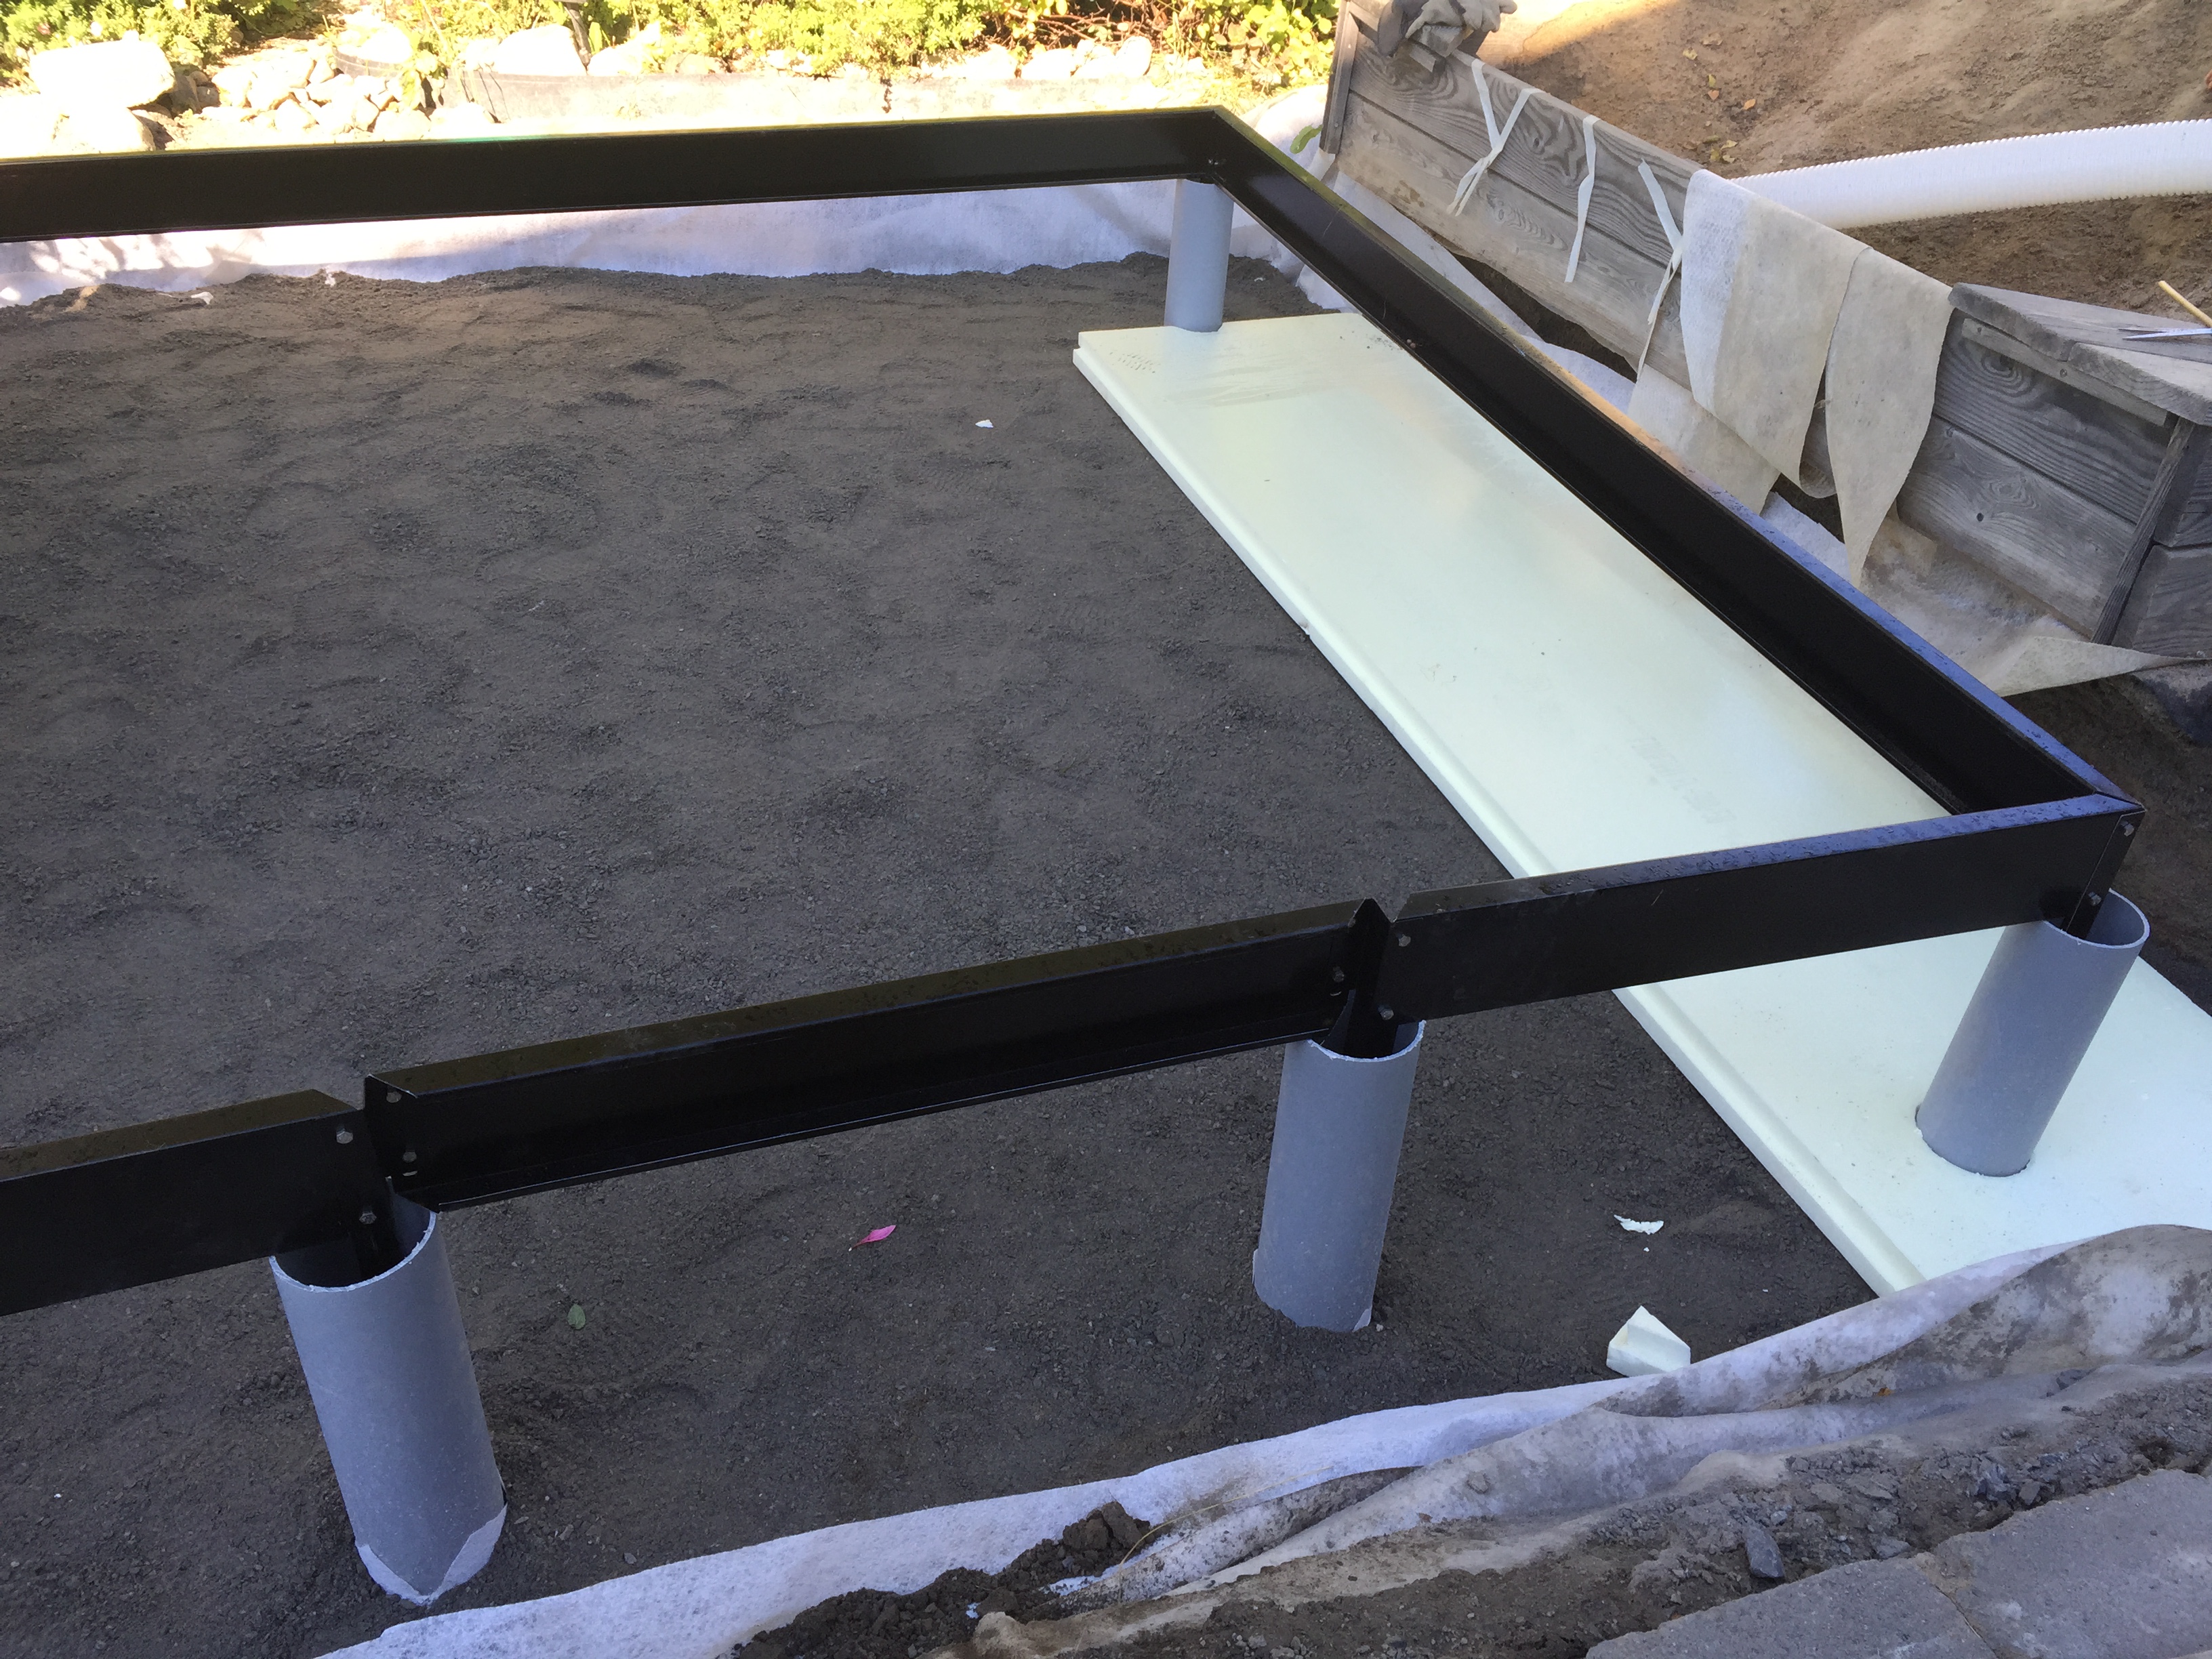
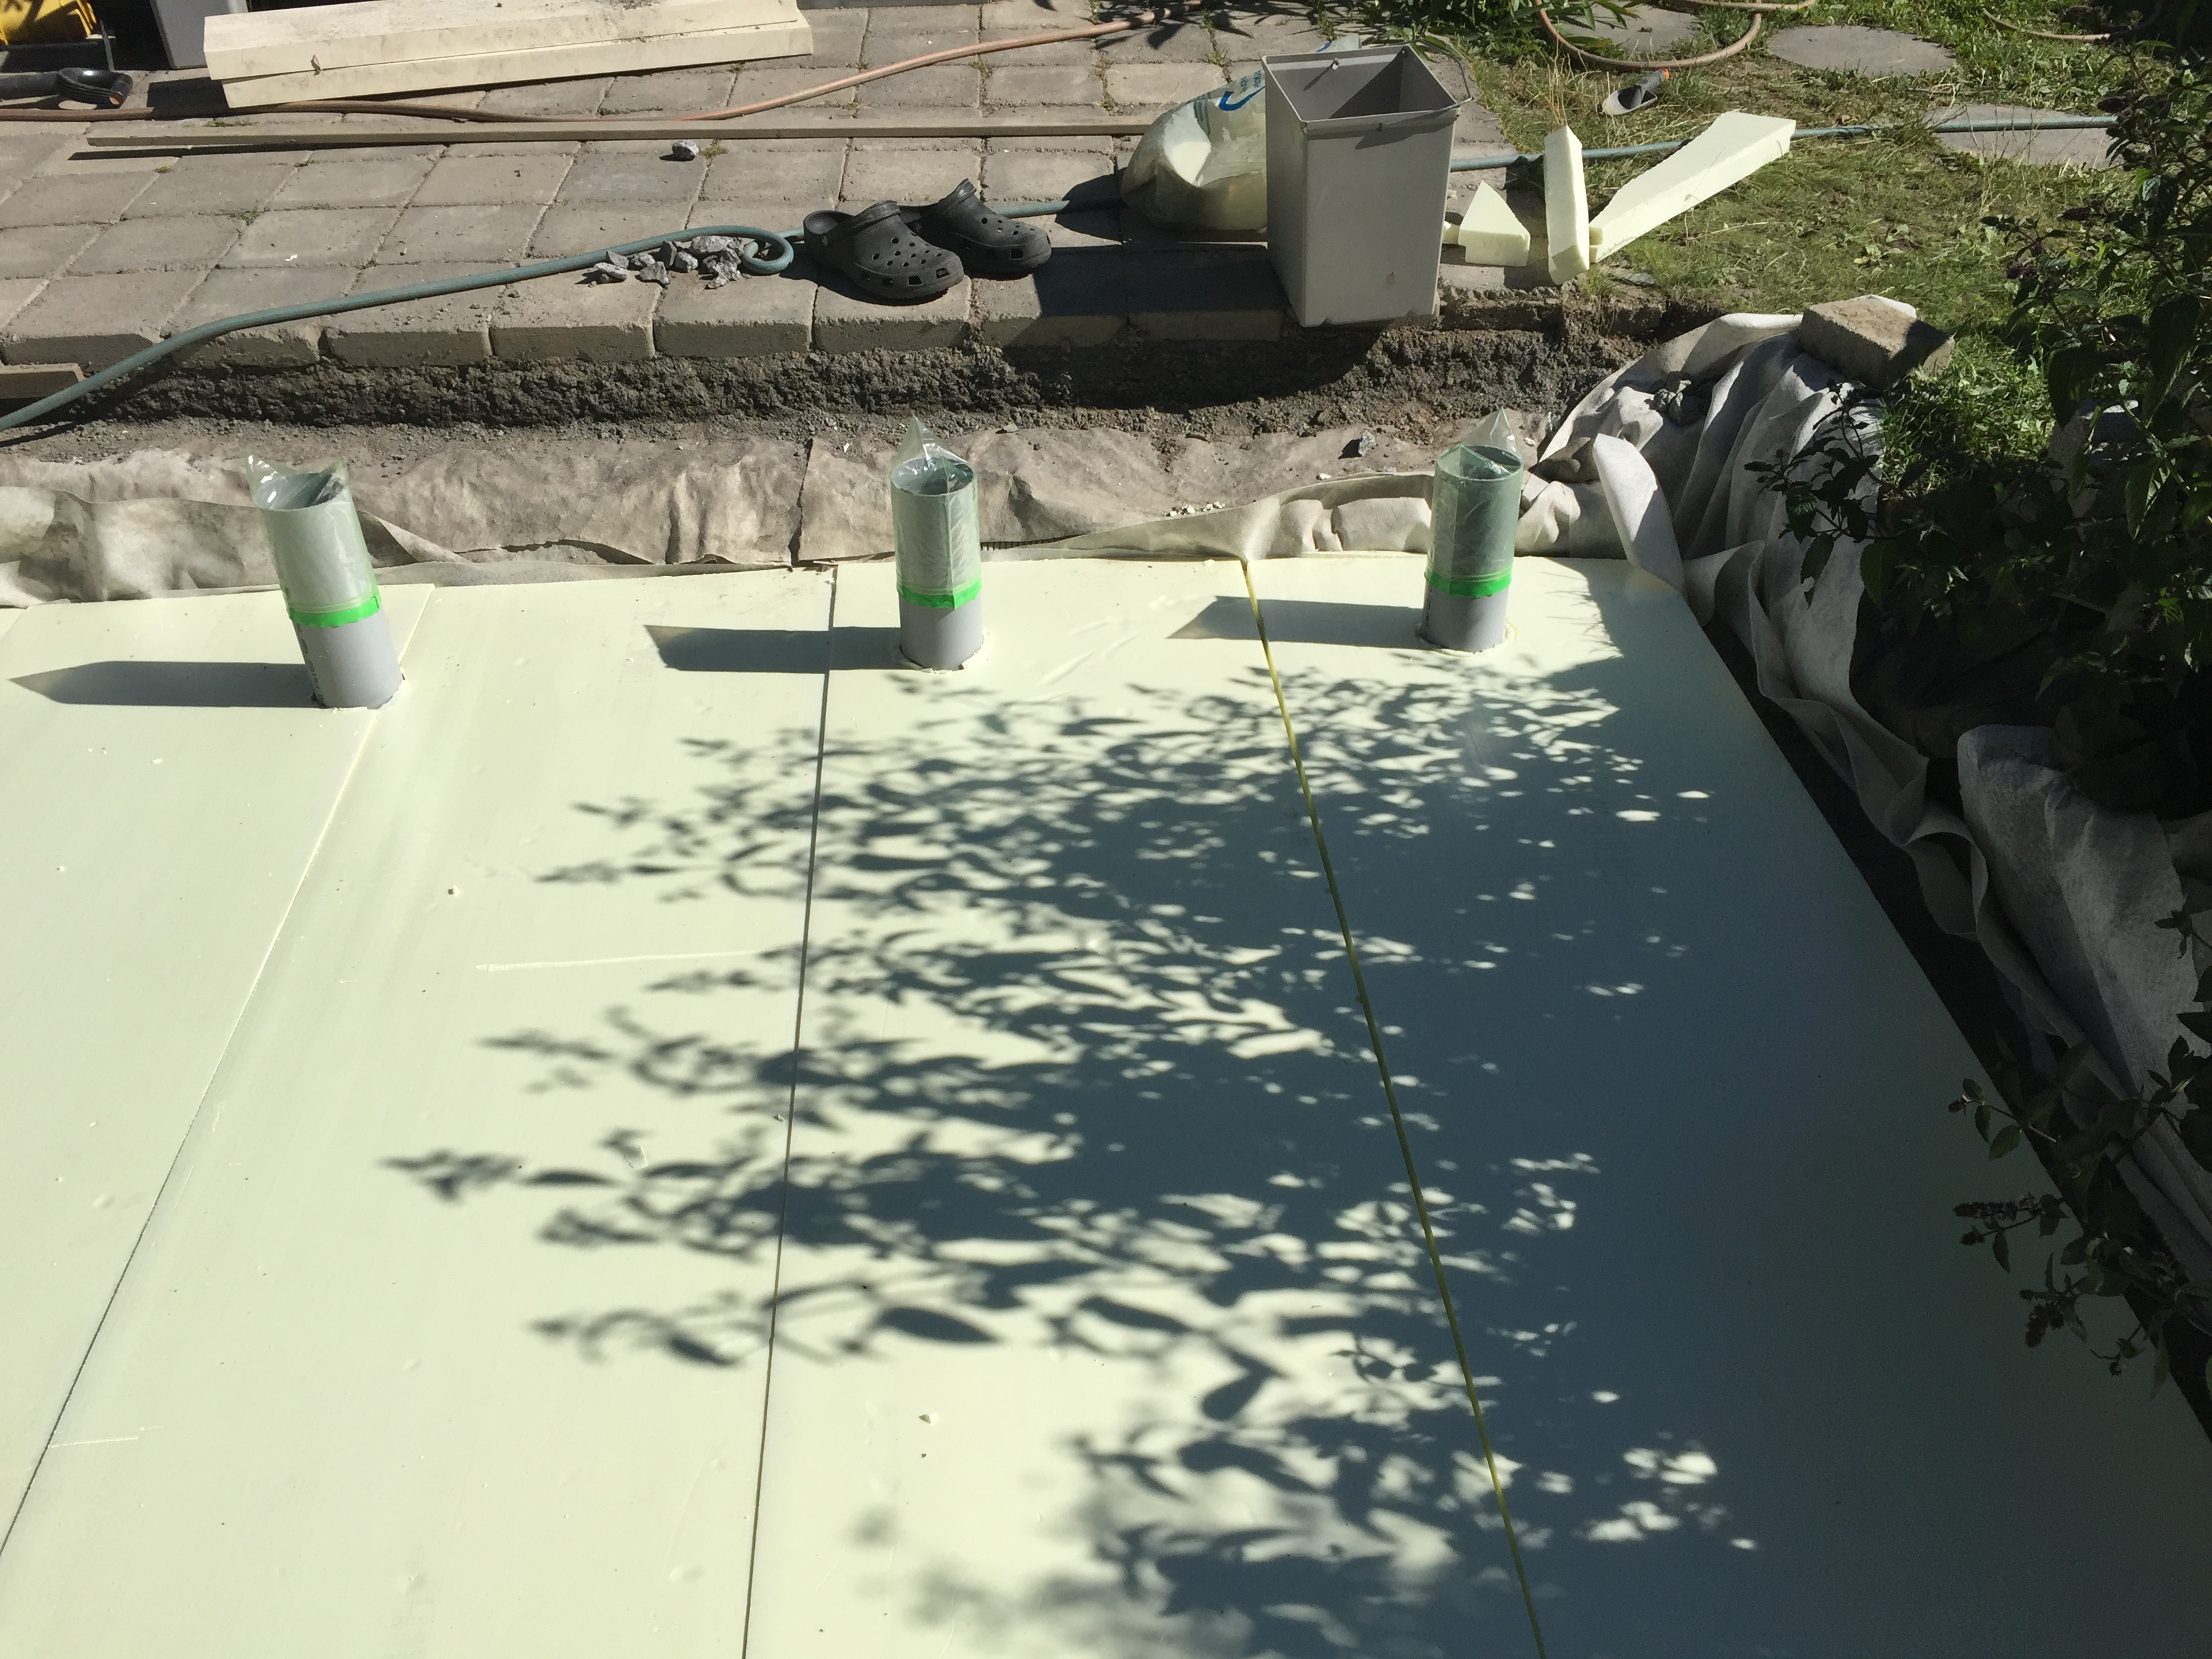
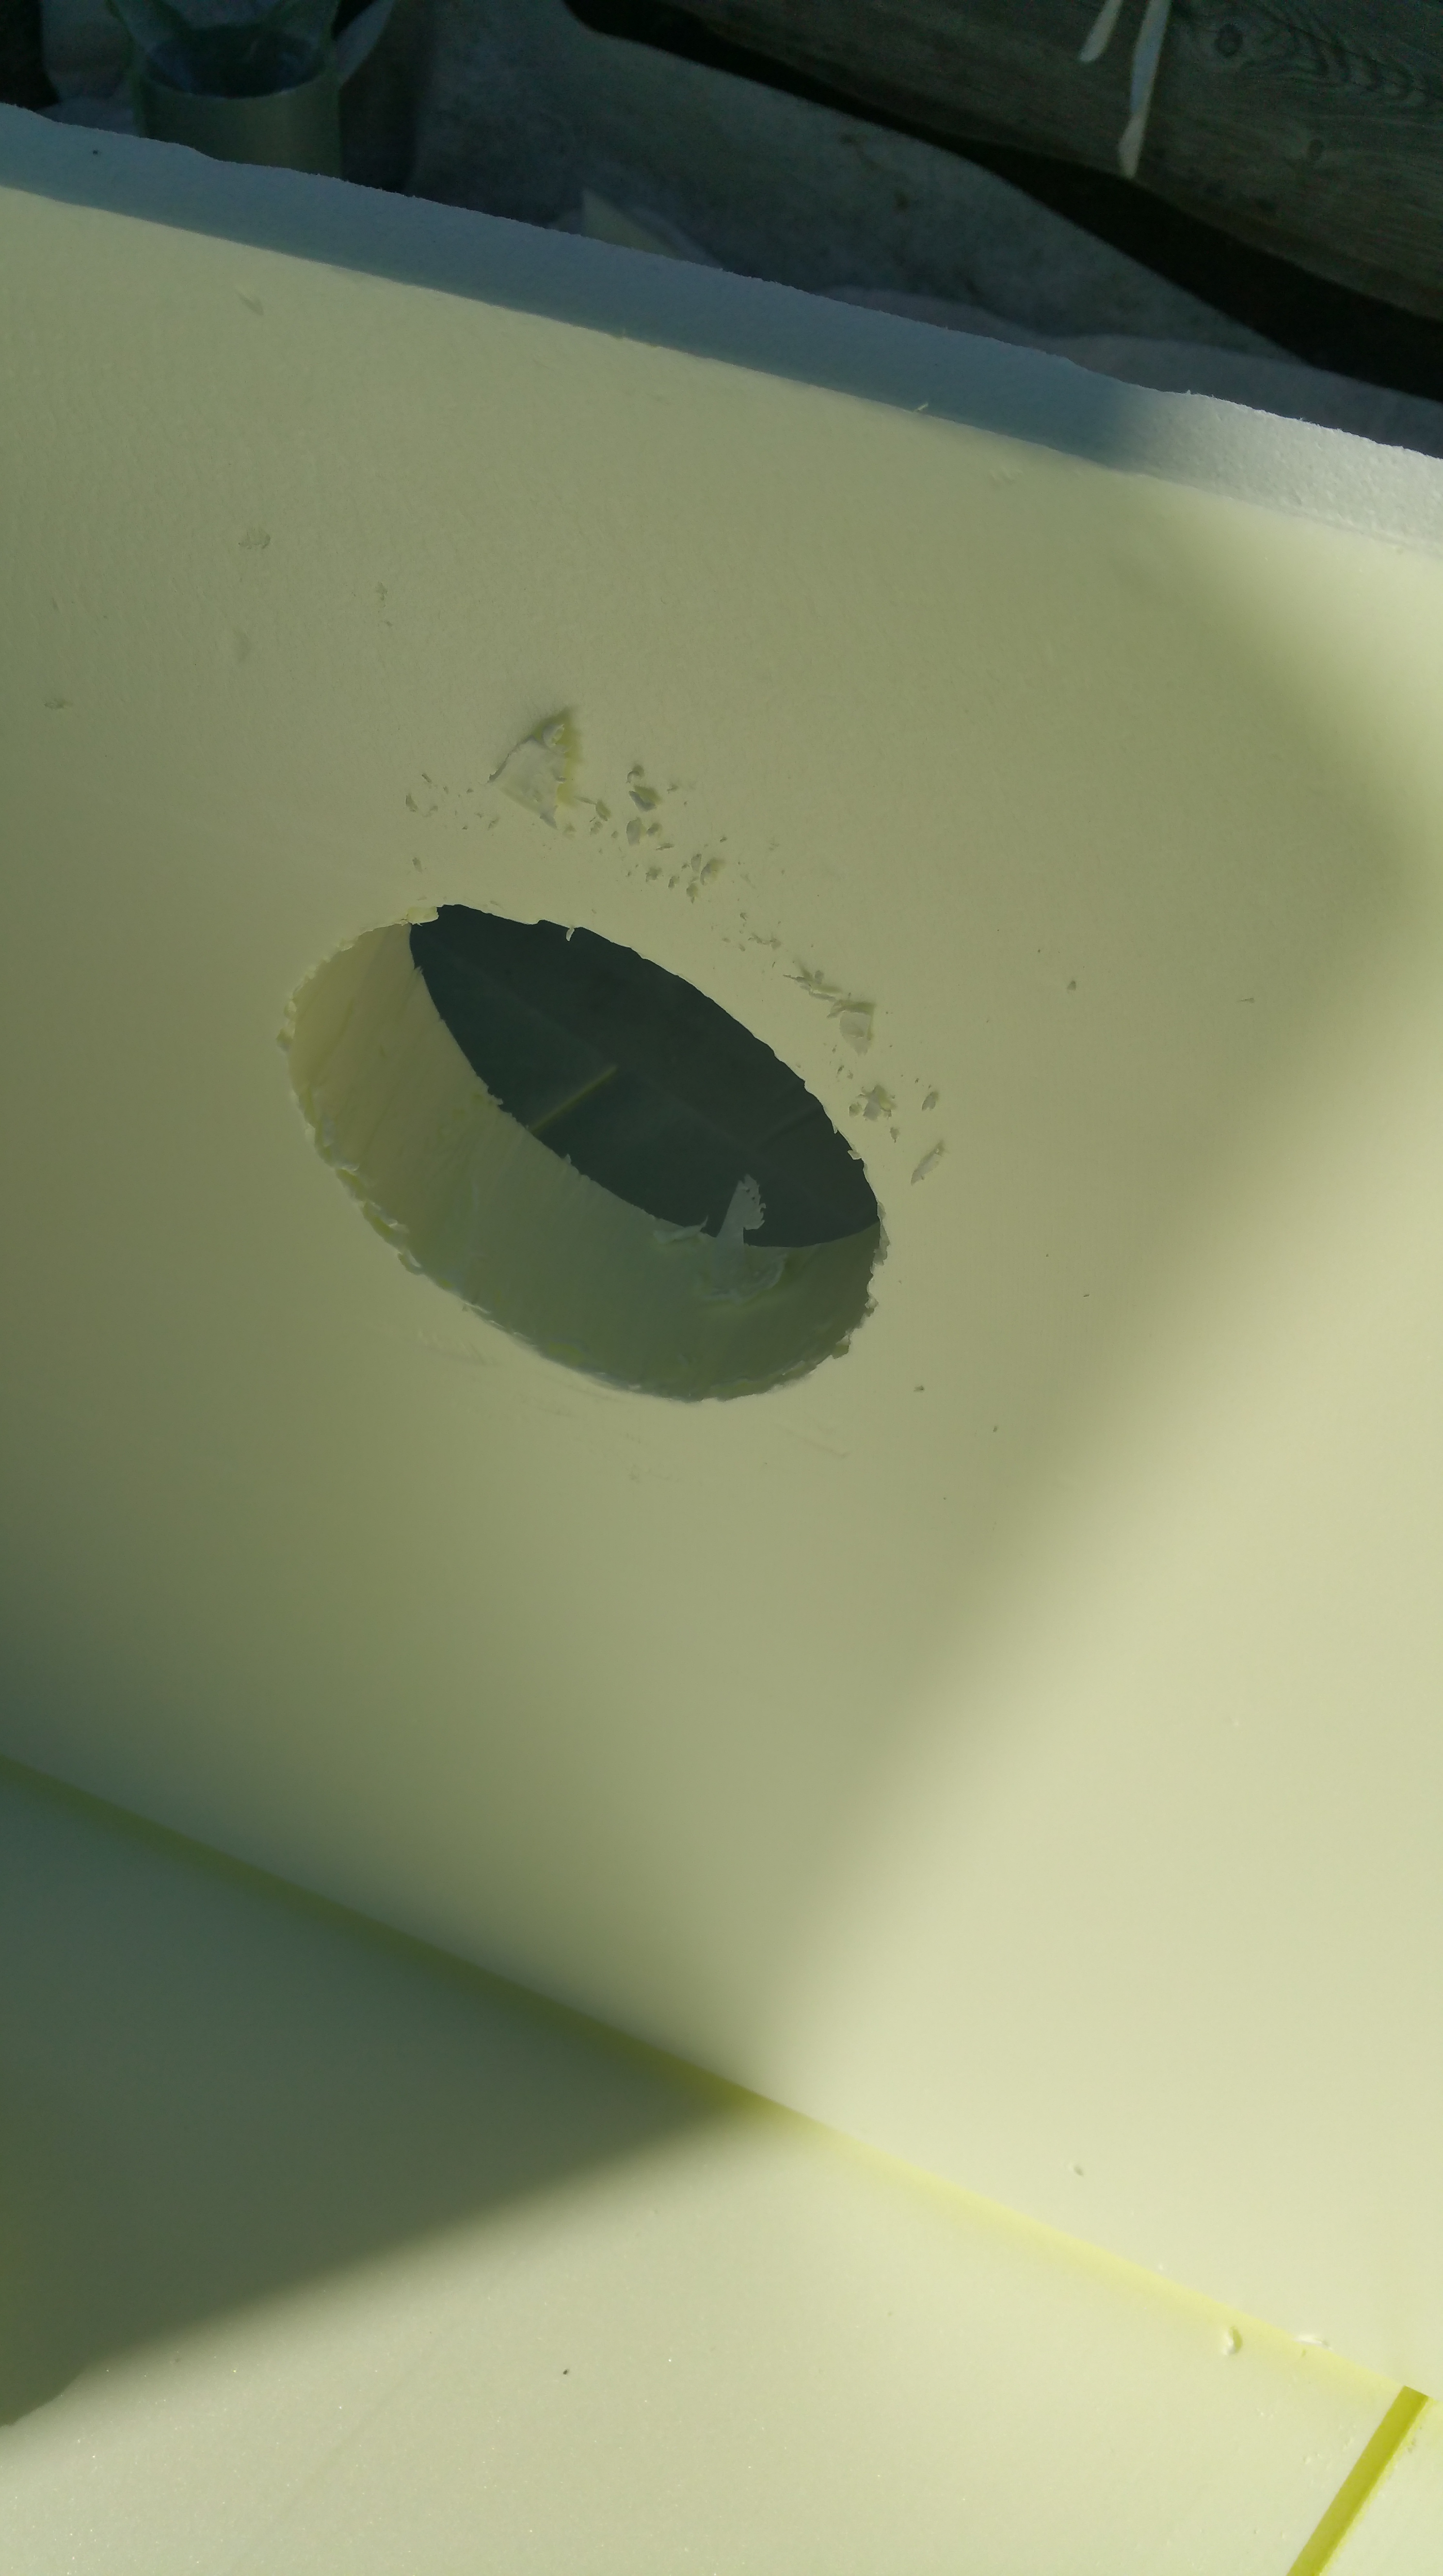
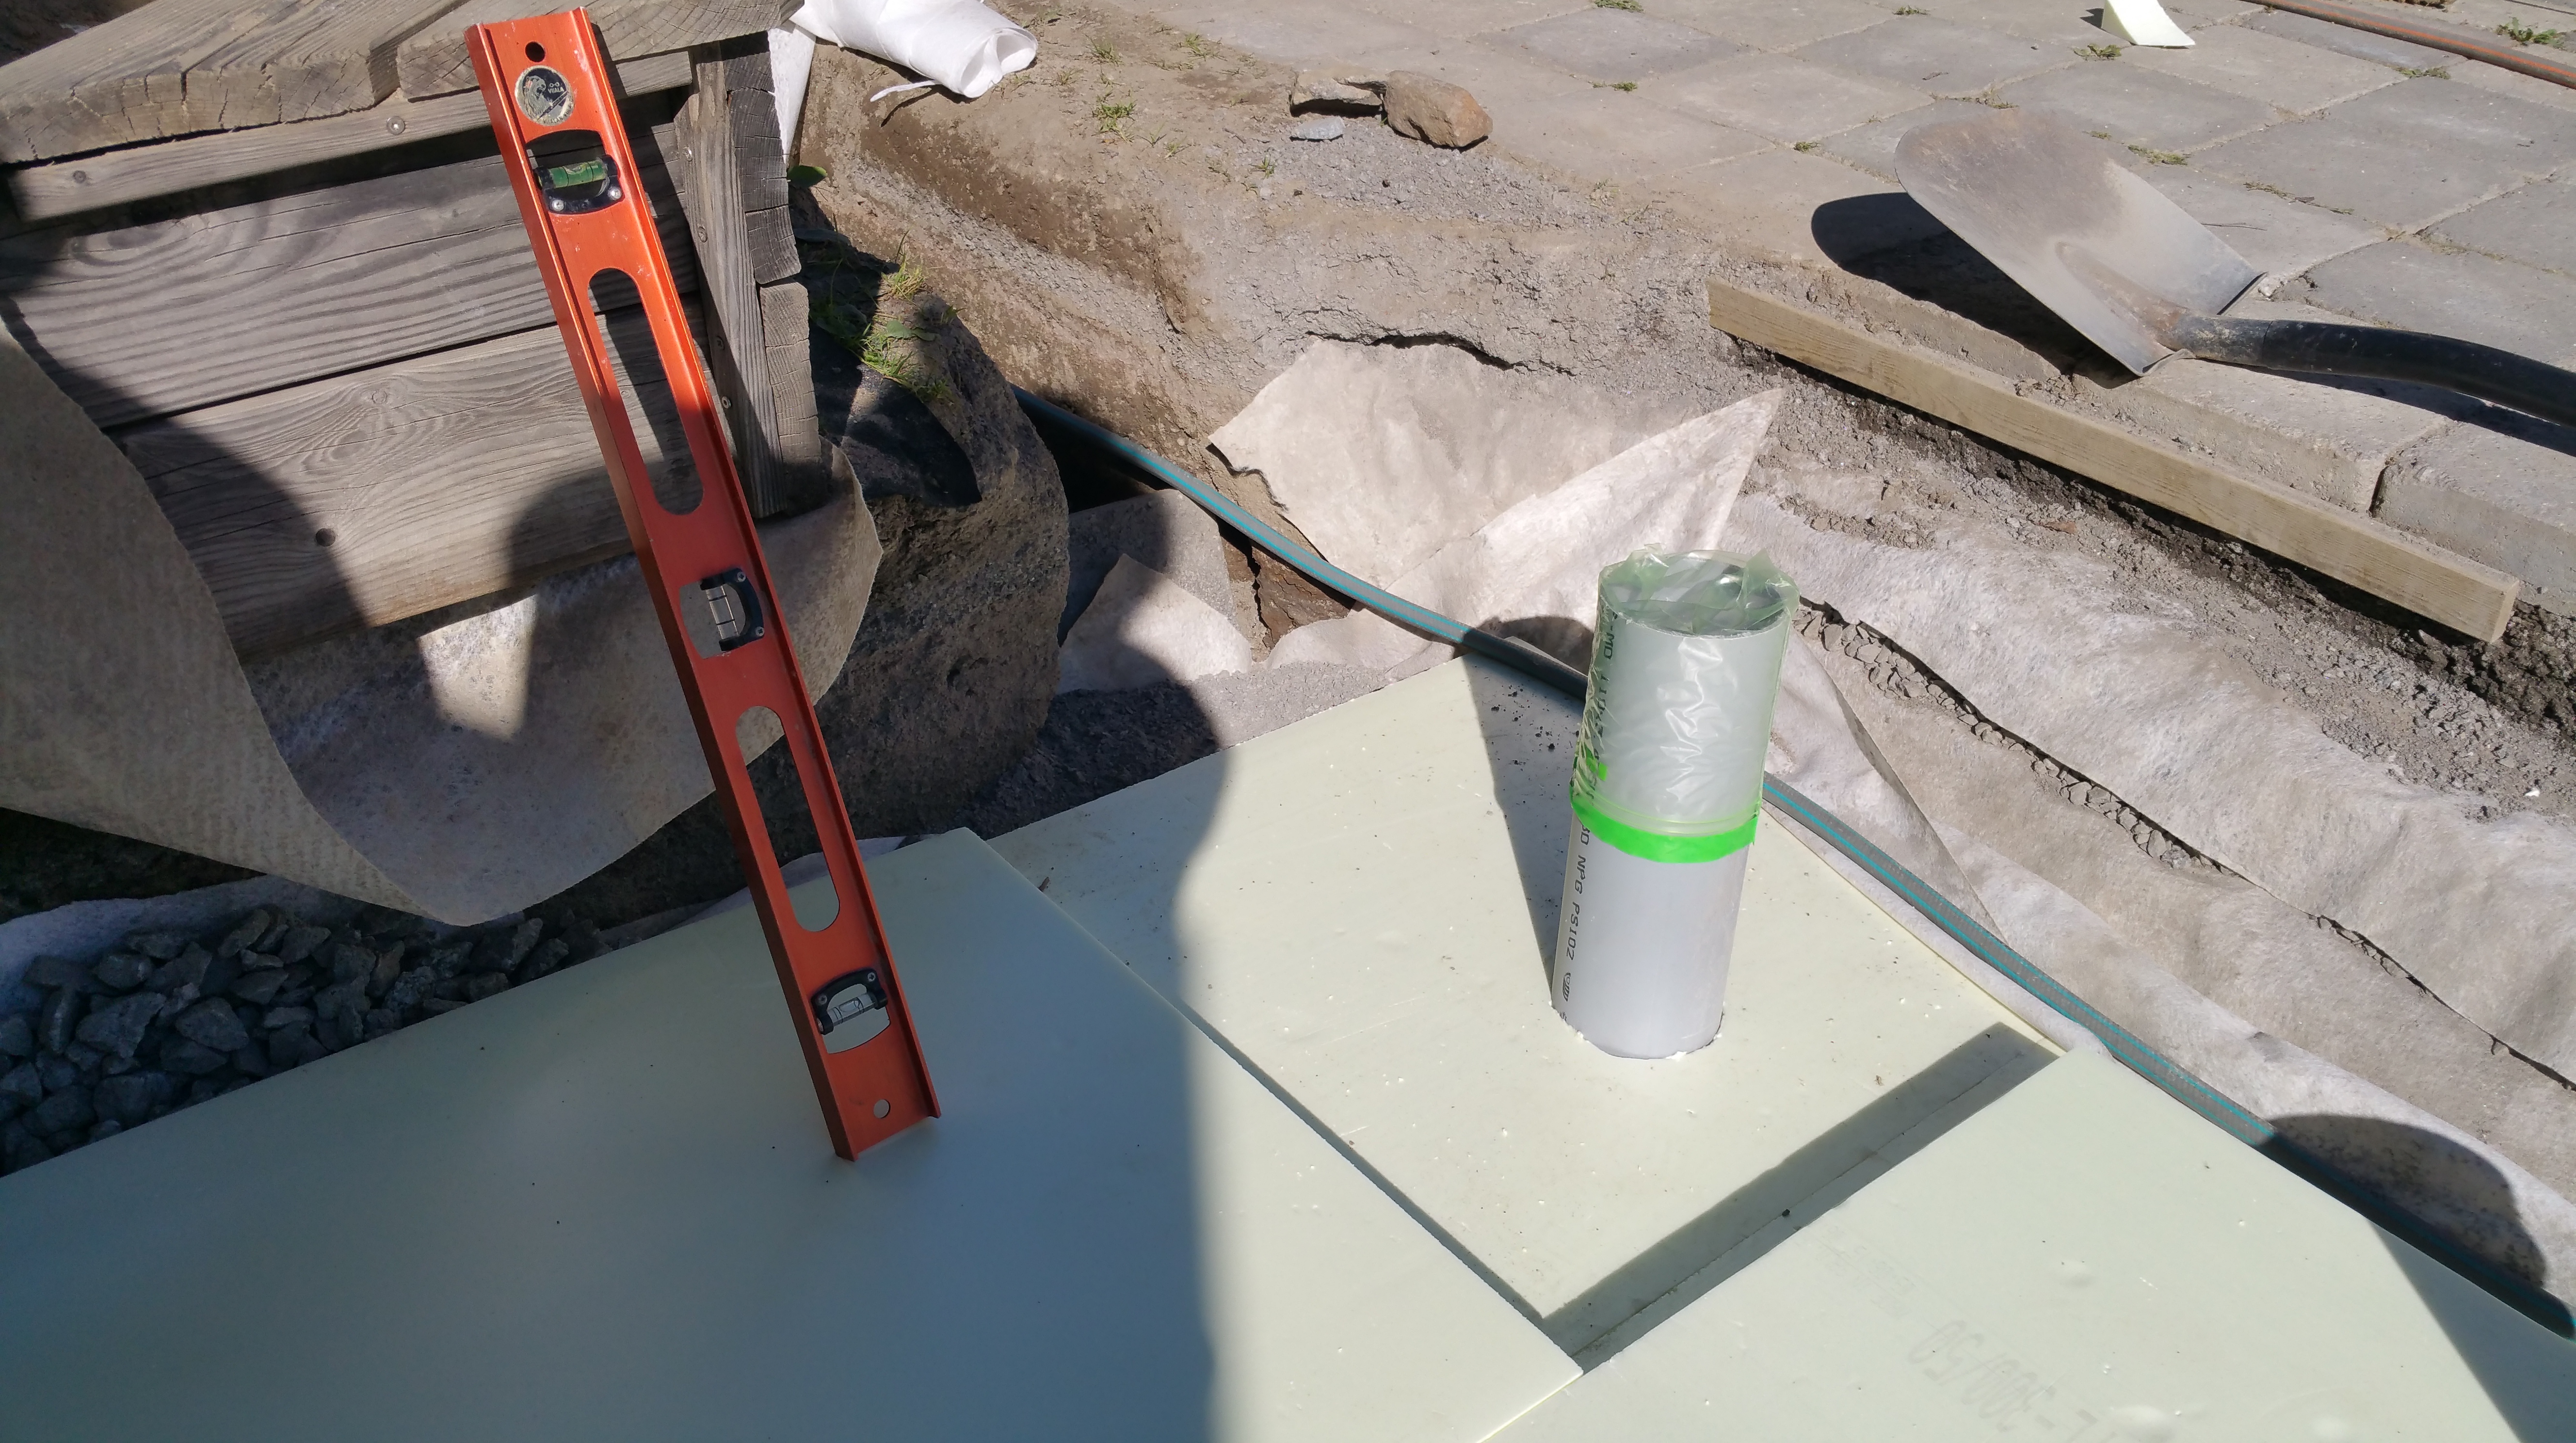
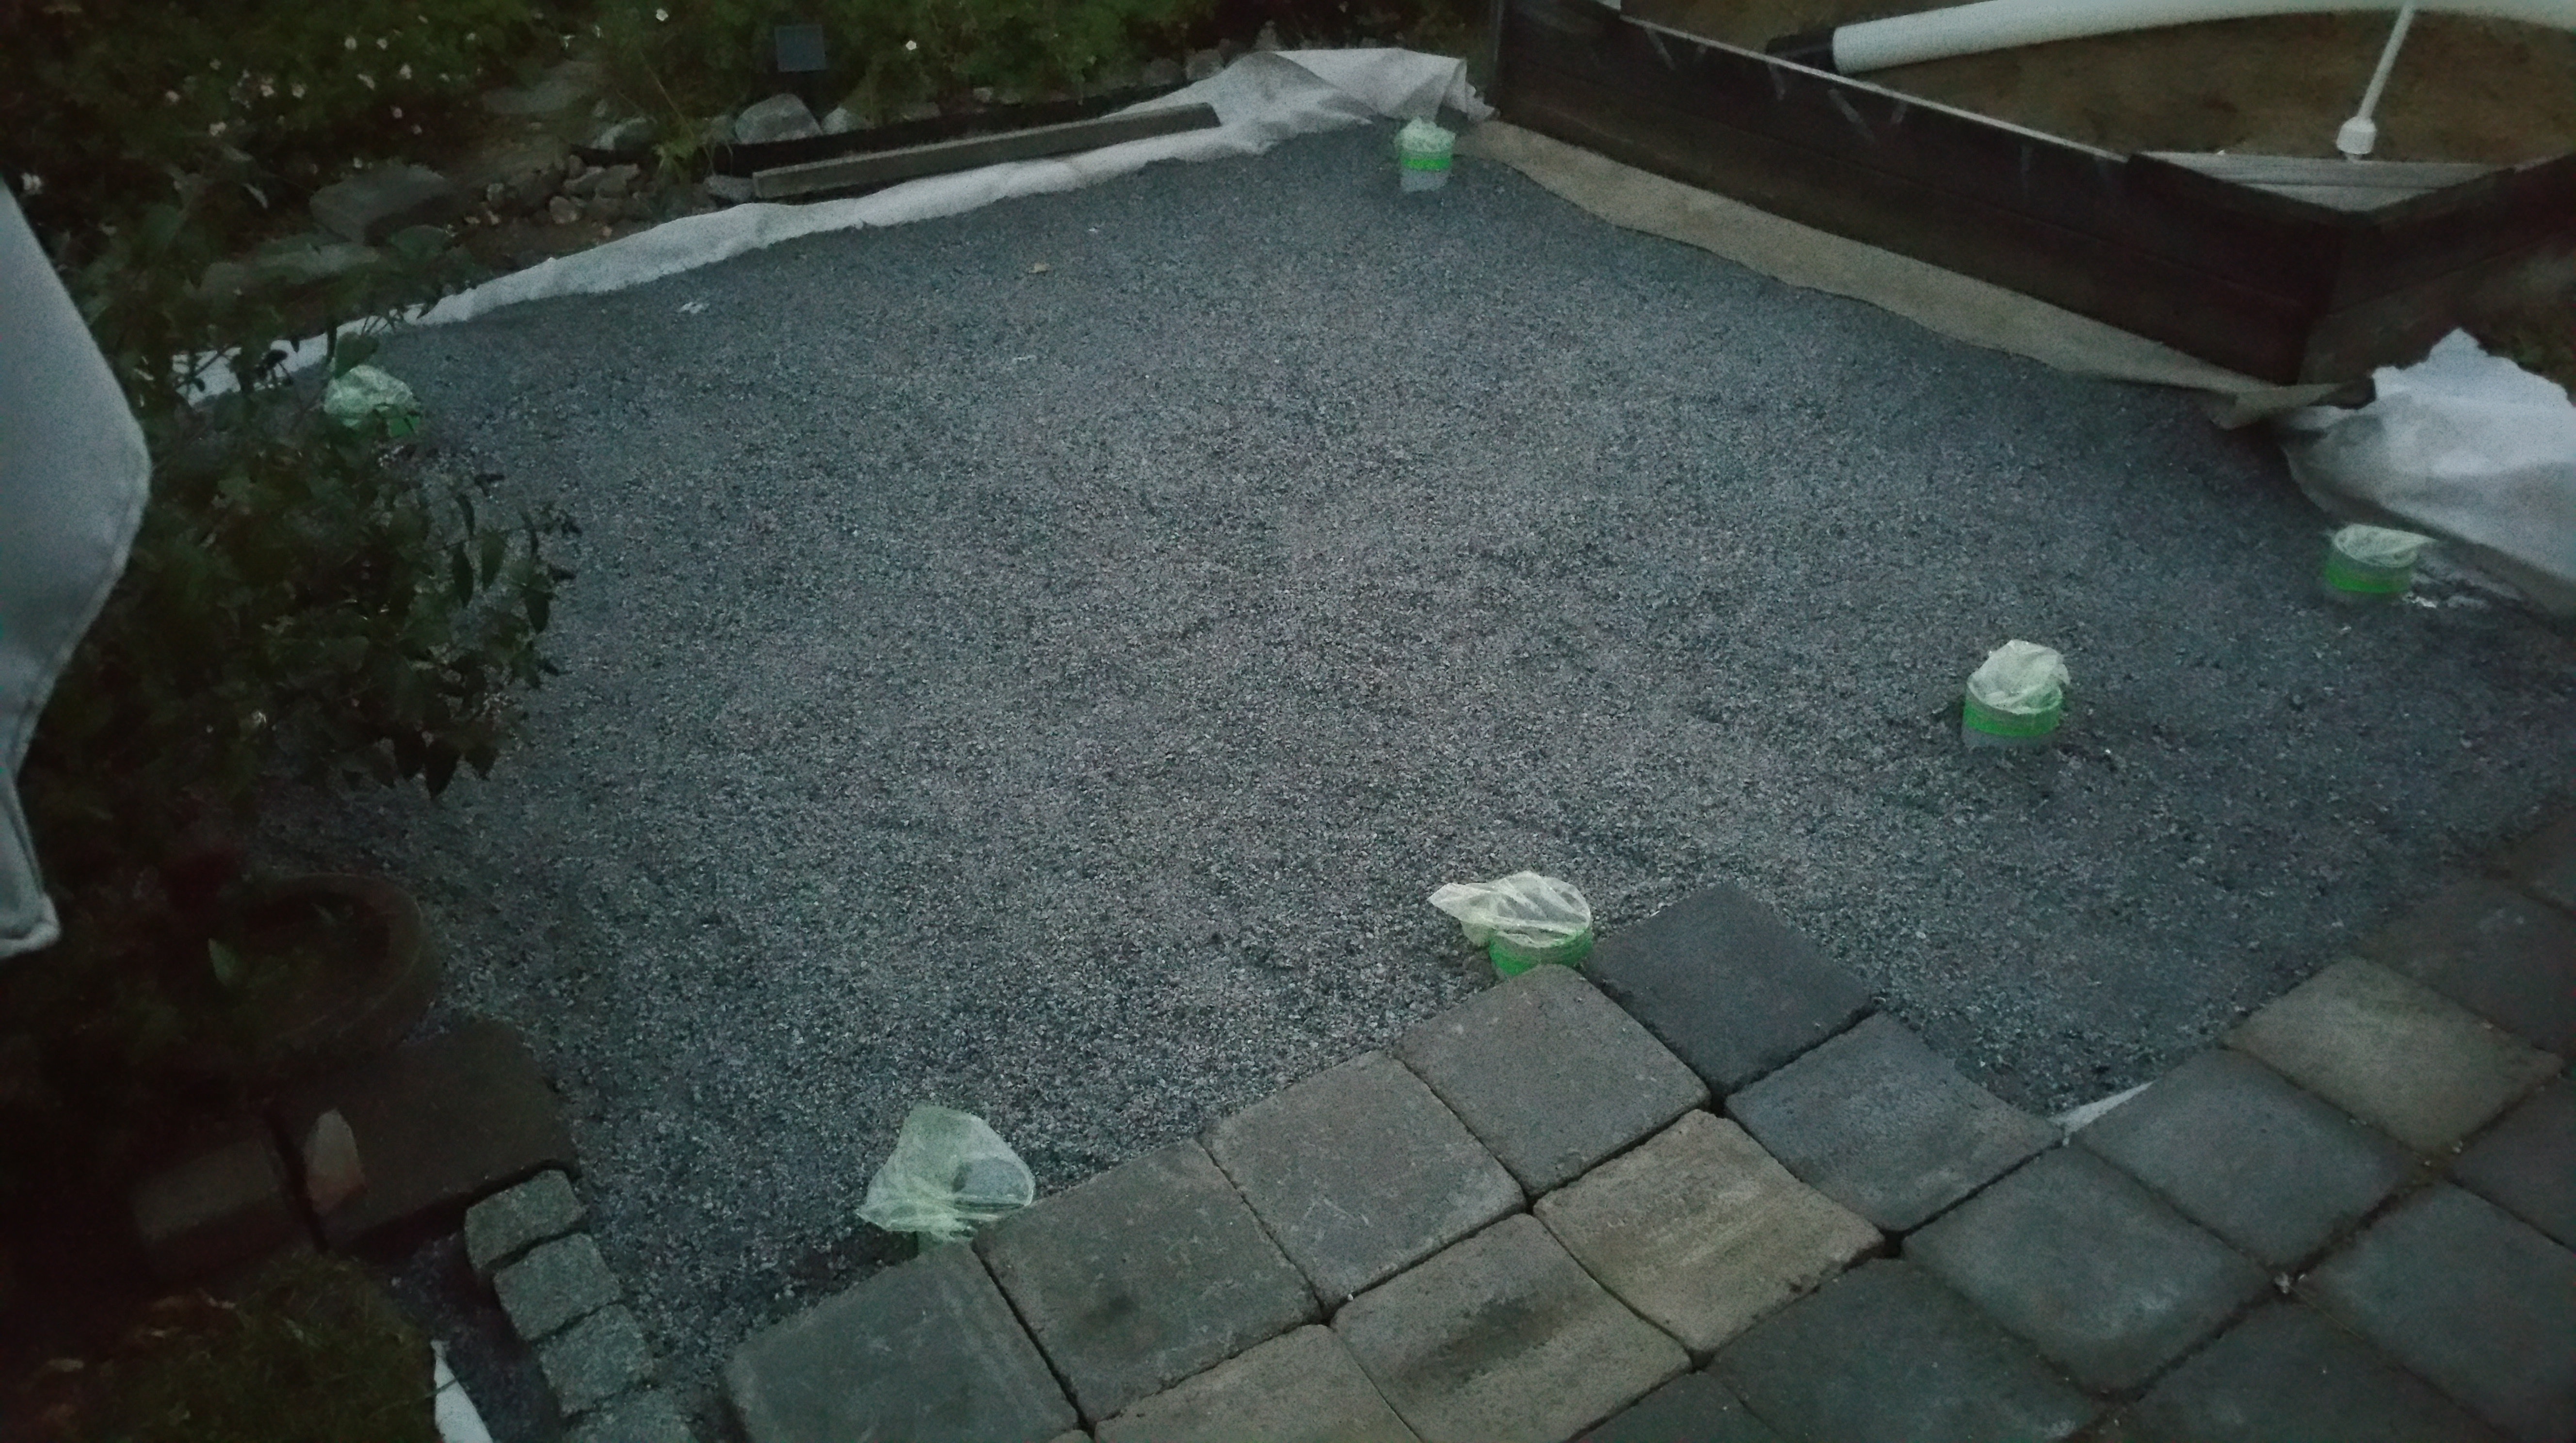
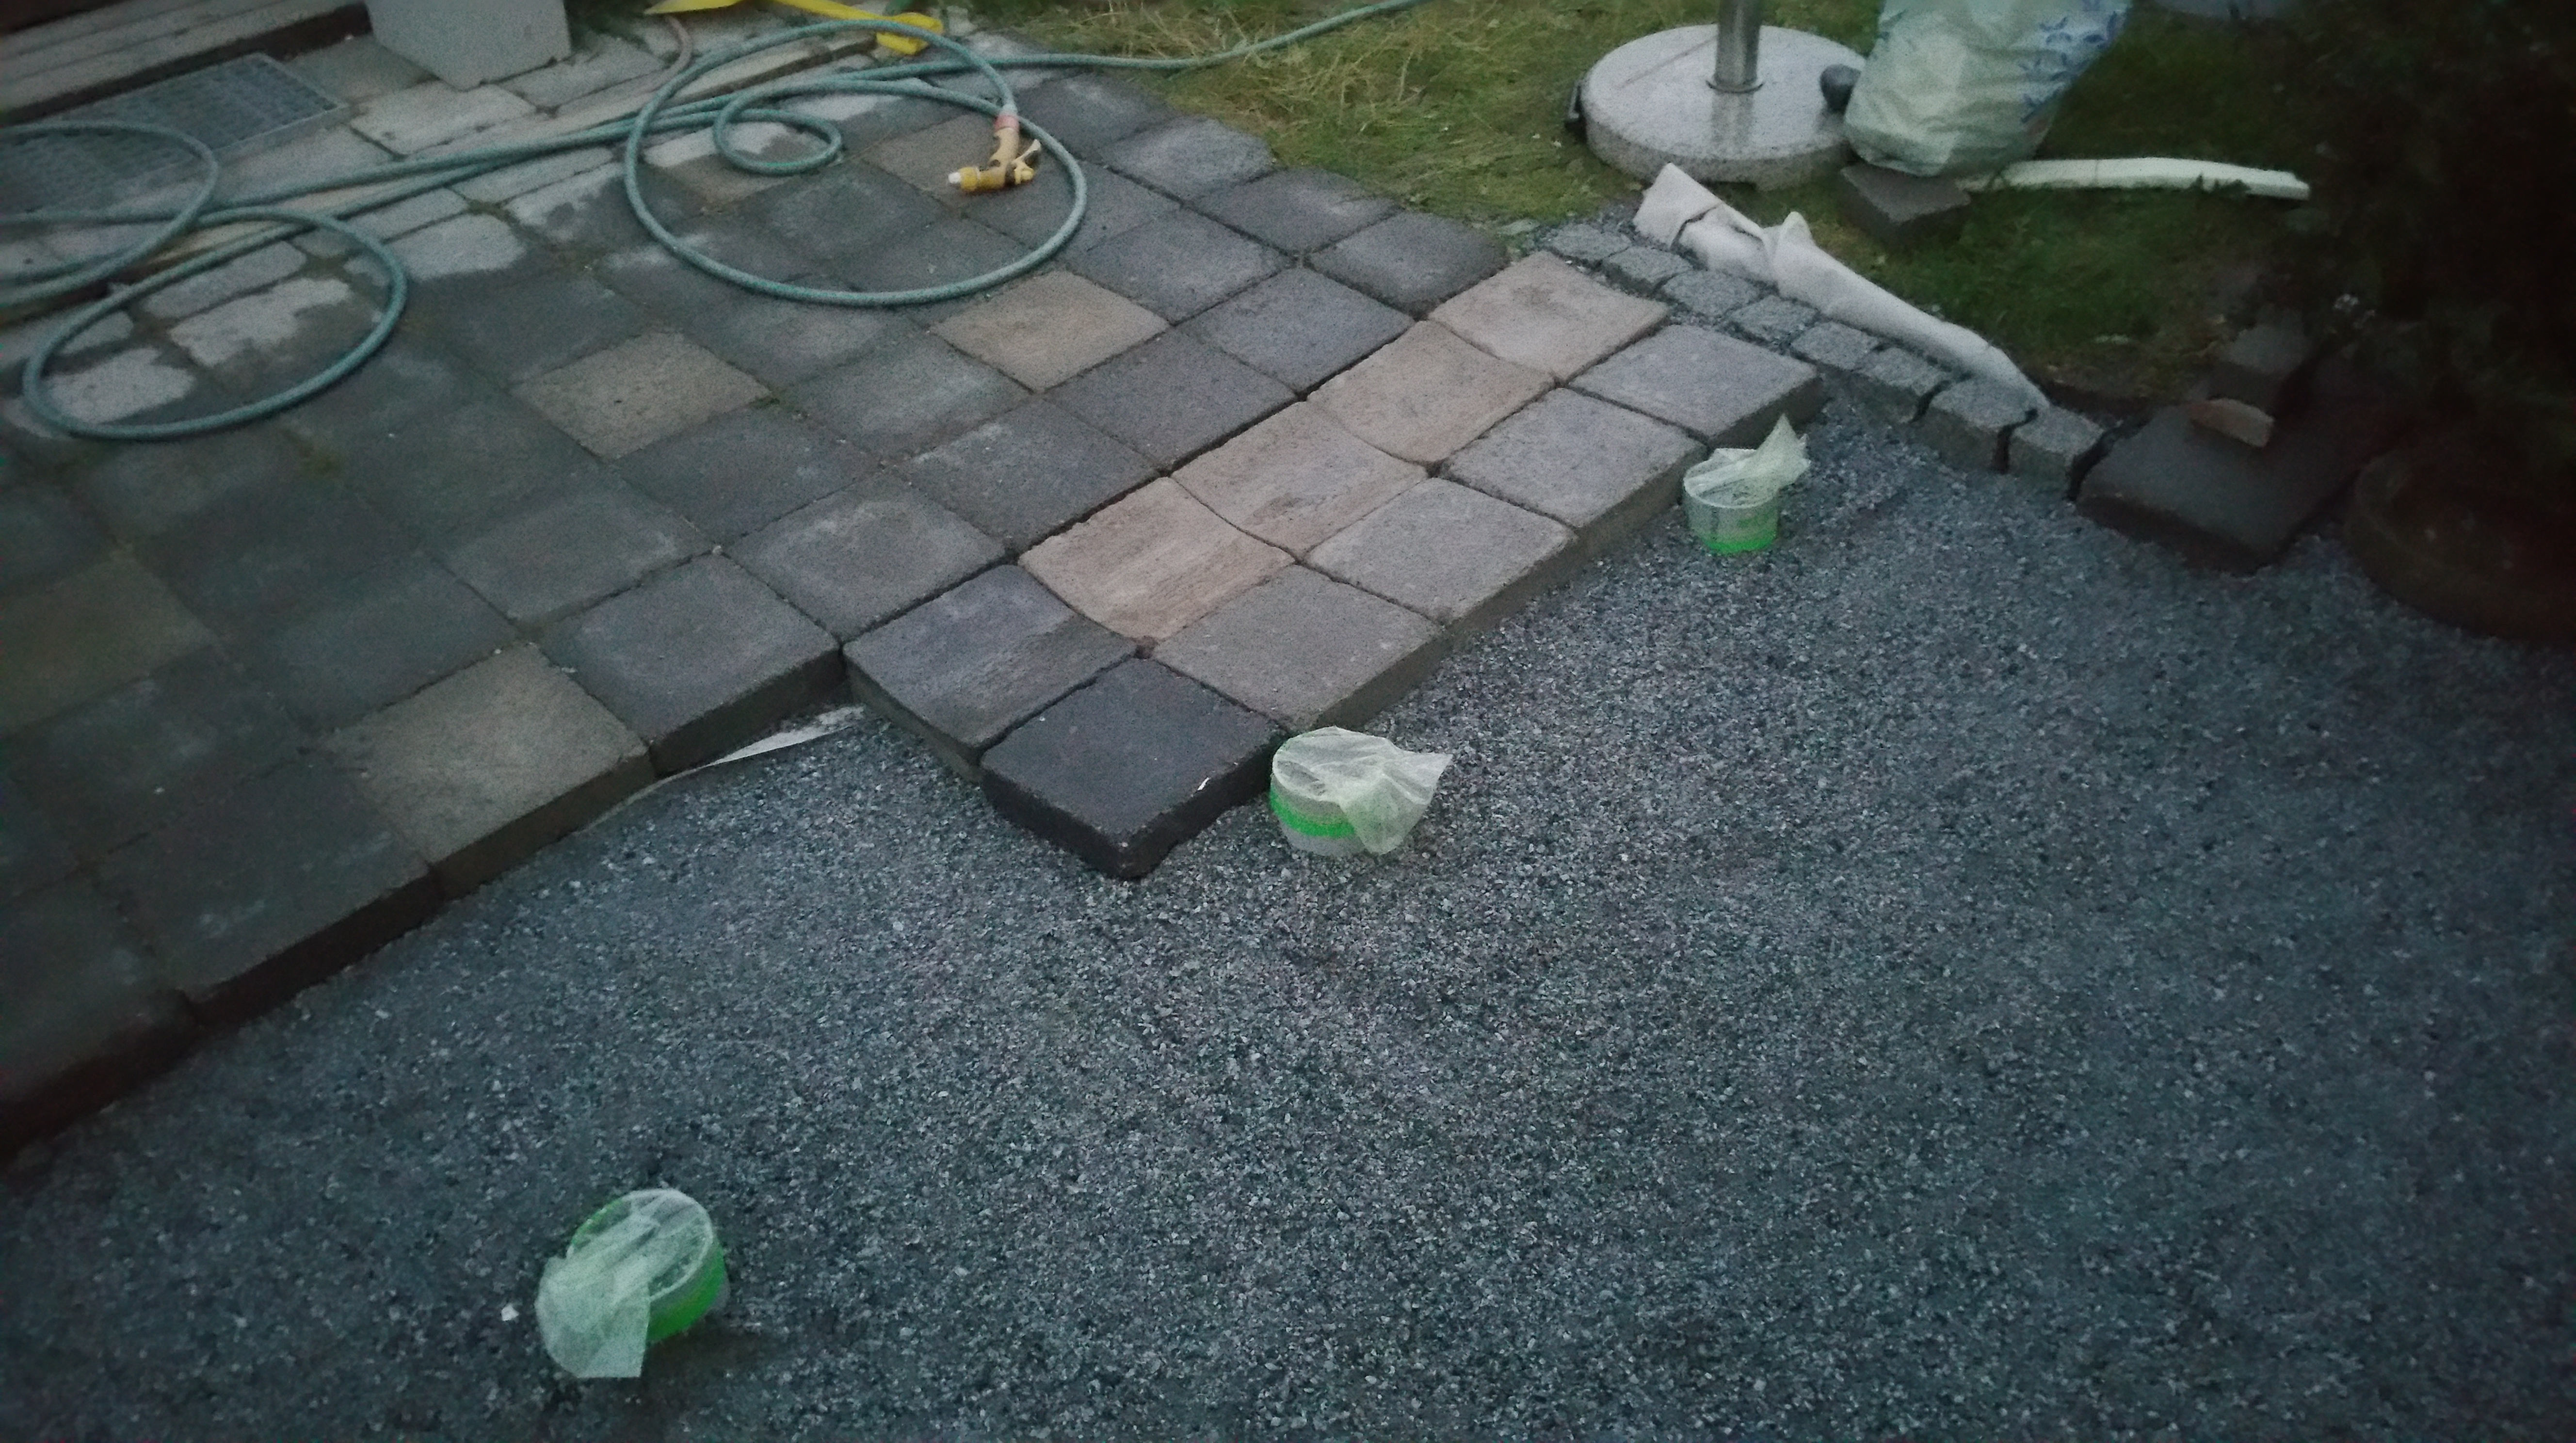
The method of building the foundation for our greenhouse has proved to be a bit more demanding than perhaps some others – hopefully the final outcome will be worth the extra labour. The tricky part is casting concrete into long pipes, that go down into 80 cm depth – i.e. beneath the soil frost line. These concrete pipes, or pillars, need to be cast so that the the steel plinth (base) that will provide the basis for the actual greenhouse will be exactly square shaped in horizontal X & Y directions, while simultaneously also exactly at right even level (Z) so that there will be no tensions into the glasses of the finished greenhouse. The actual freezing protection will be provided by several layers of gravel and sand, separated by filter fabric layers, plus a couple of layers of Finnfoam (extruded polystyrene foam – XPS – thermal insulation). The tricky part is that those pipes I mentioned need to go through all of those other layers, and they need to be made and fixed in pretty much their correct, final positions first, before any other elements of this foundation have yet been built. From the photos underneath you might get an idea how our ambitions have met with the reality so far.
Oh, and did I forget to mention that there of course need to be also underground drain pipes, so that all rain water will not turn that big hole in the clay earth into a swimming pool? And that those pipes need to be installed at the right angle of bank.
Greenhouse foundation work (2015-08-16).Greenhouse foundation work (2015-08-16).Greenhouse foundation work (2015-08-16).Greenhouse foundation work (2015-08-19).Greenhouse foundation work (2015-08-22).Greenhouse foundation work (2015-08-22).Greenhouse foundation work (2015-08-23).Greenhouse foundation work (2015-08-23).Greenhouse foundation work (2015-08-23).Greenhouse foundation work (2015-08-23).Greenhouse foundation work (2015-08-23).Greenhouse foundation work (2015-08-23).Greenhouse foundation work (2015-08-23).Greenhouse foundation work (2015-08-23).Greenhouse foundation work (2015-08-23).Greenhouse foundation work (2015-08-23).


You must be logged in to post a comment.