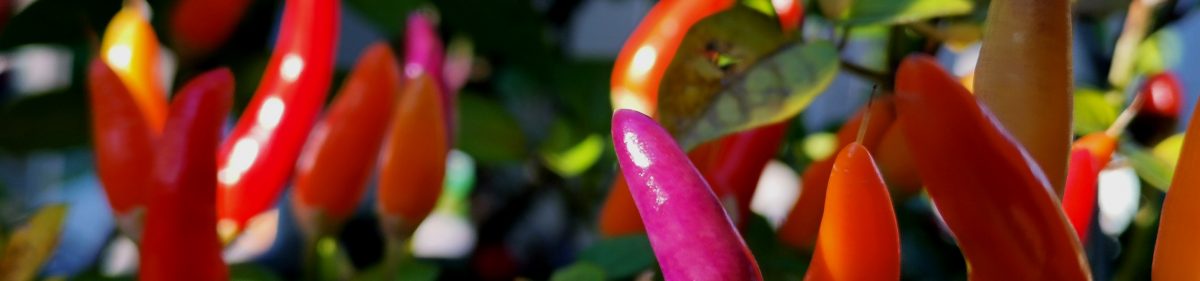
In January, it is again time to sow the seeds for 2017 chili crops. This time, I have a theme: colour ‘yellow’. Well, almost all my chilies this season are yellow, but not quite, as you can notice from below.
Another new concept this year for me is hydroponics. The idea of hydroponic gardening is to use no soil, but rather just expose plants to water, nutrients and sunlight. The plants’ roots will be circulated by a mineral solution, and there is some supportive, non-organic material used to keep the plants growing up in firm position.
I will most likely not develop a full hydroponic system when these chilies move to our greenhouse, but I will try it out in the germinating and seedling growing phases. To make things as easy (and as cost-effective) as possible, I got the entire system from IKEA. They have also some videos about the hydroponic indoor gardening and the techniques and materials they had chosen in their website at: http://www.ikea.com/gb/en/products/indoor-gardening/.
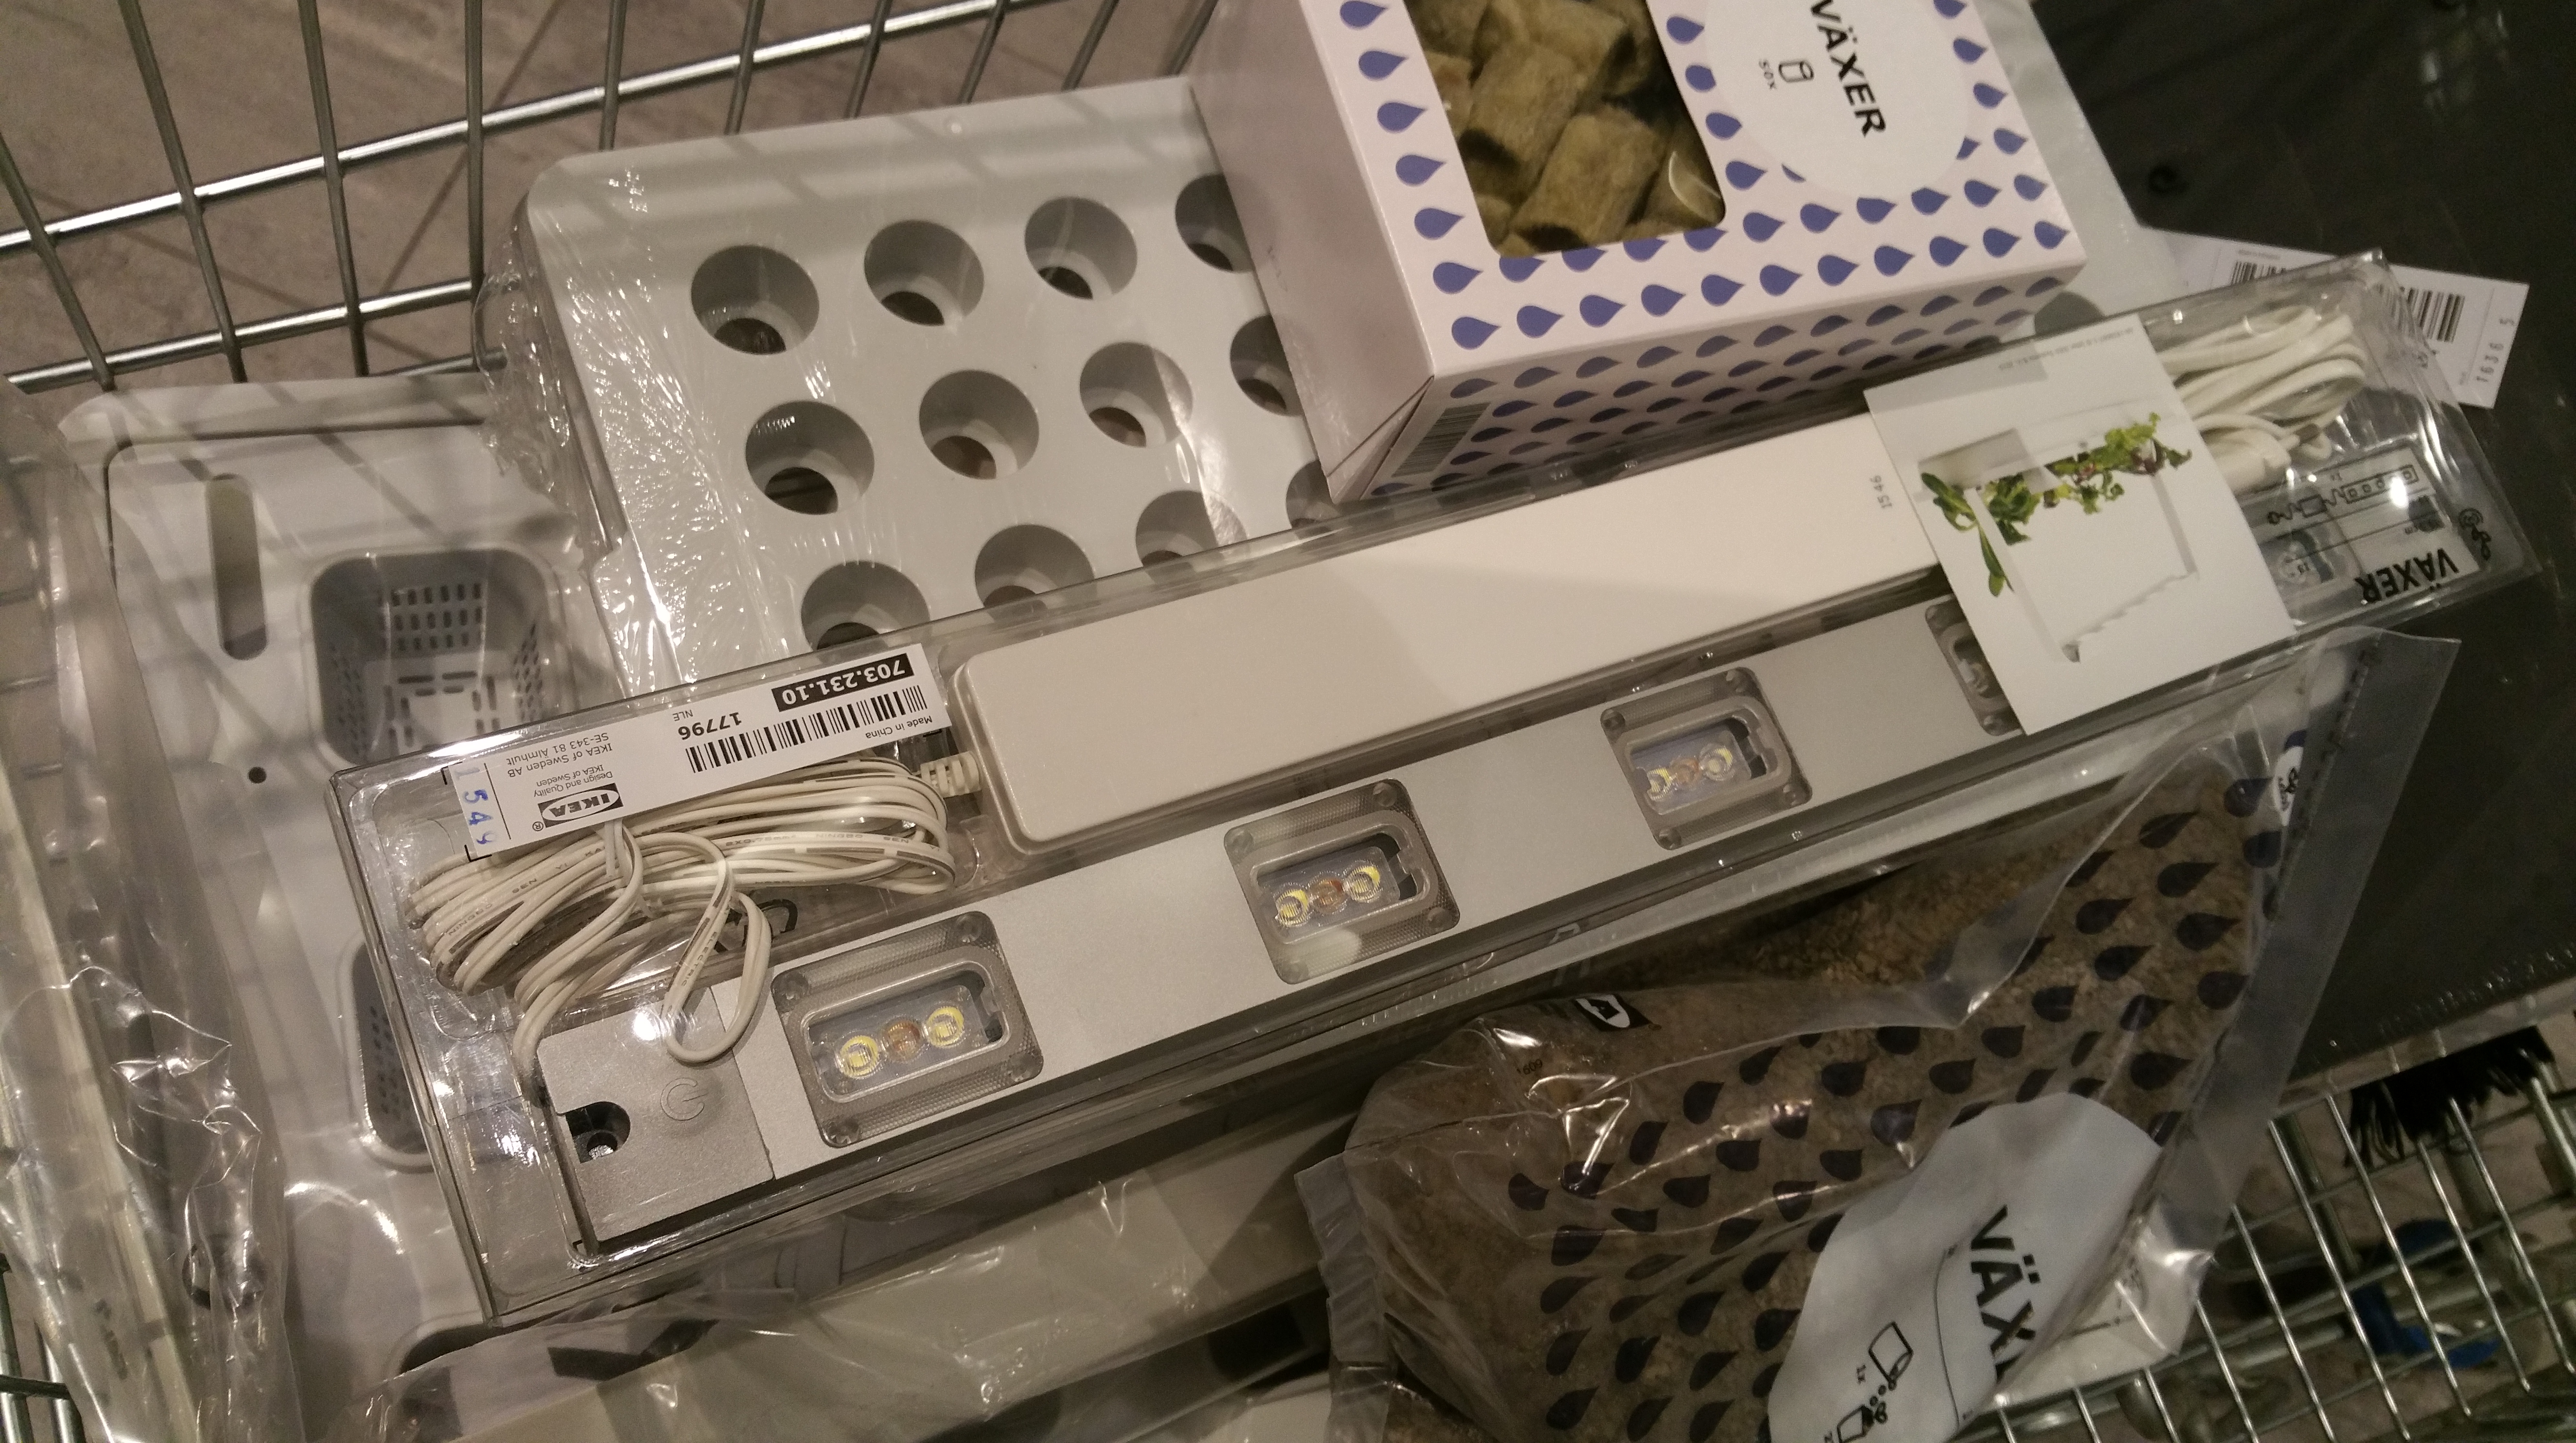
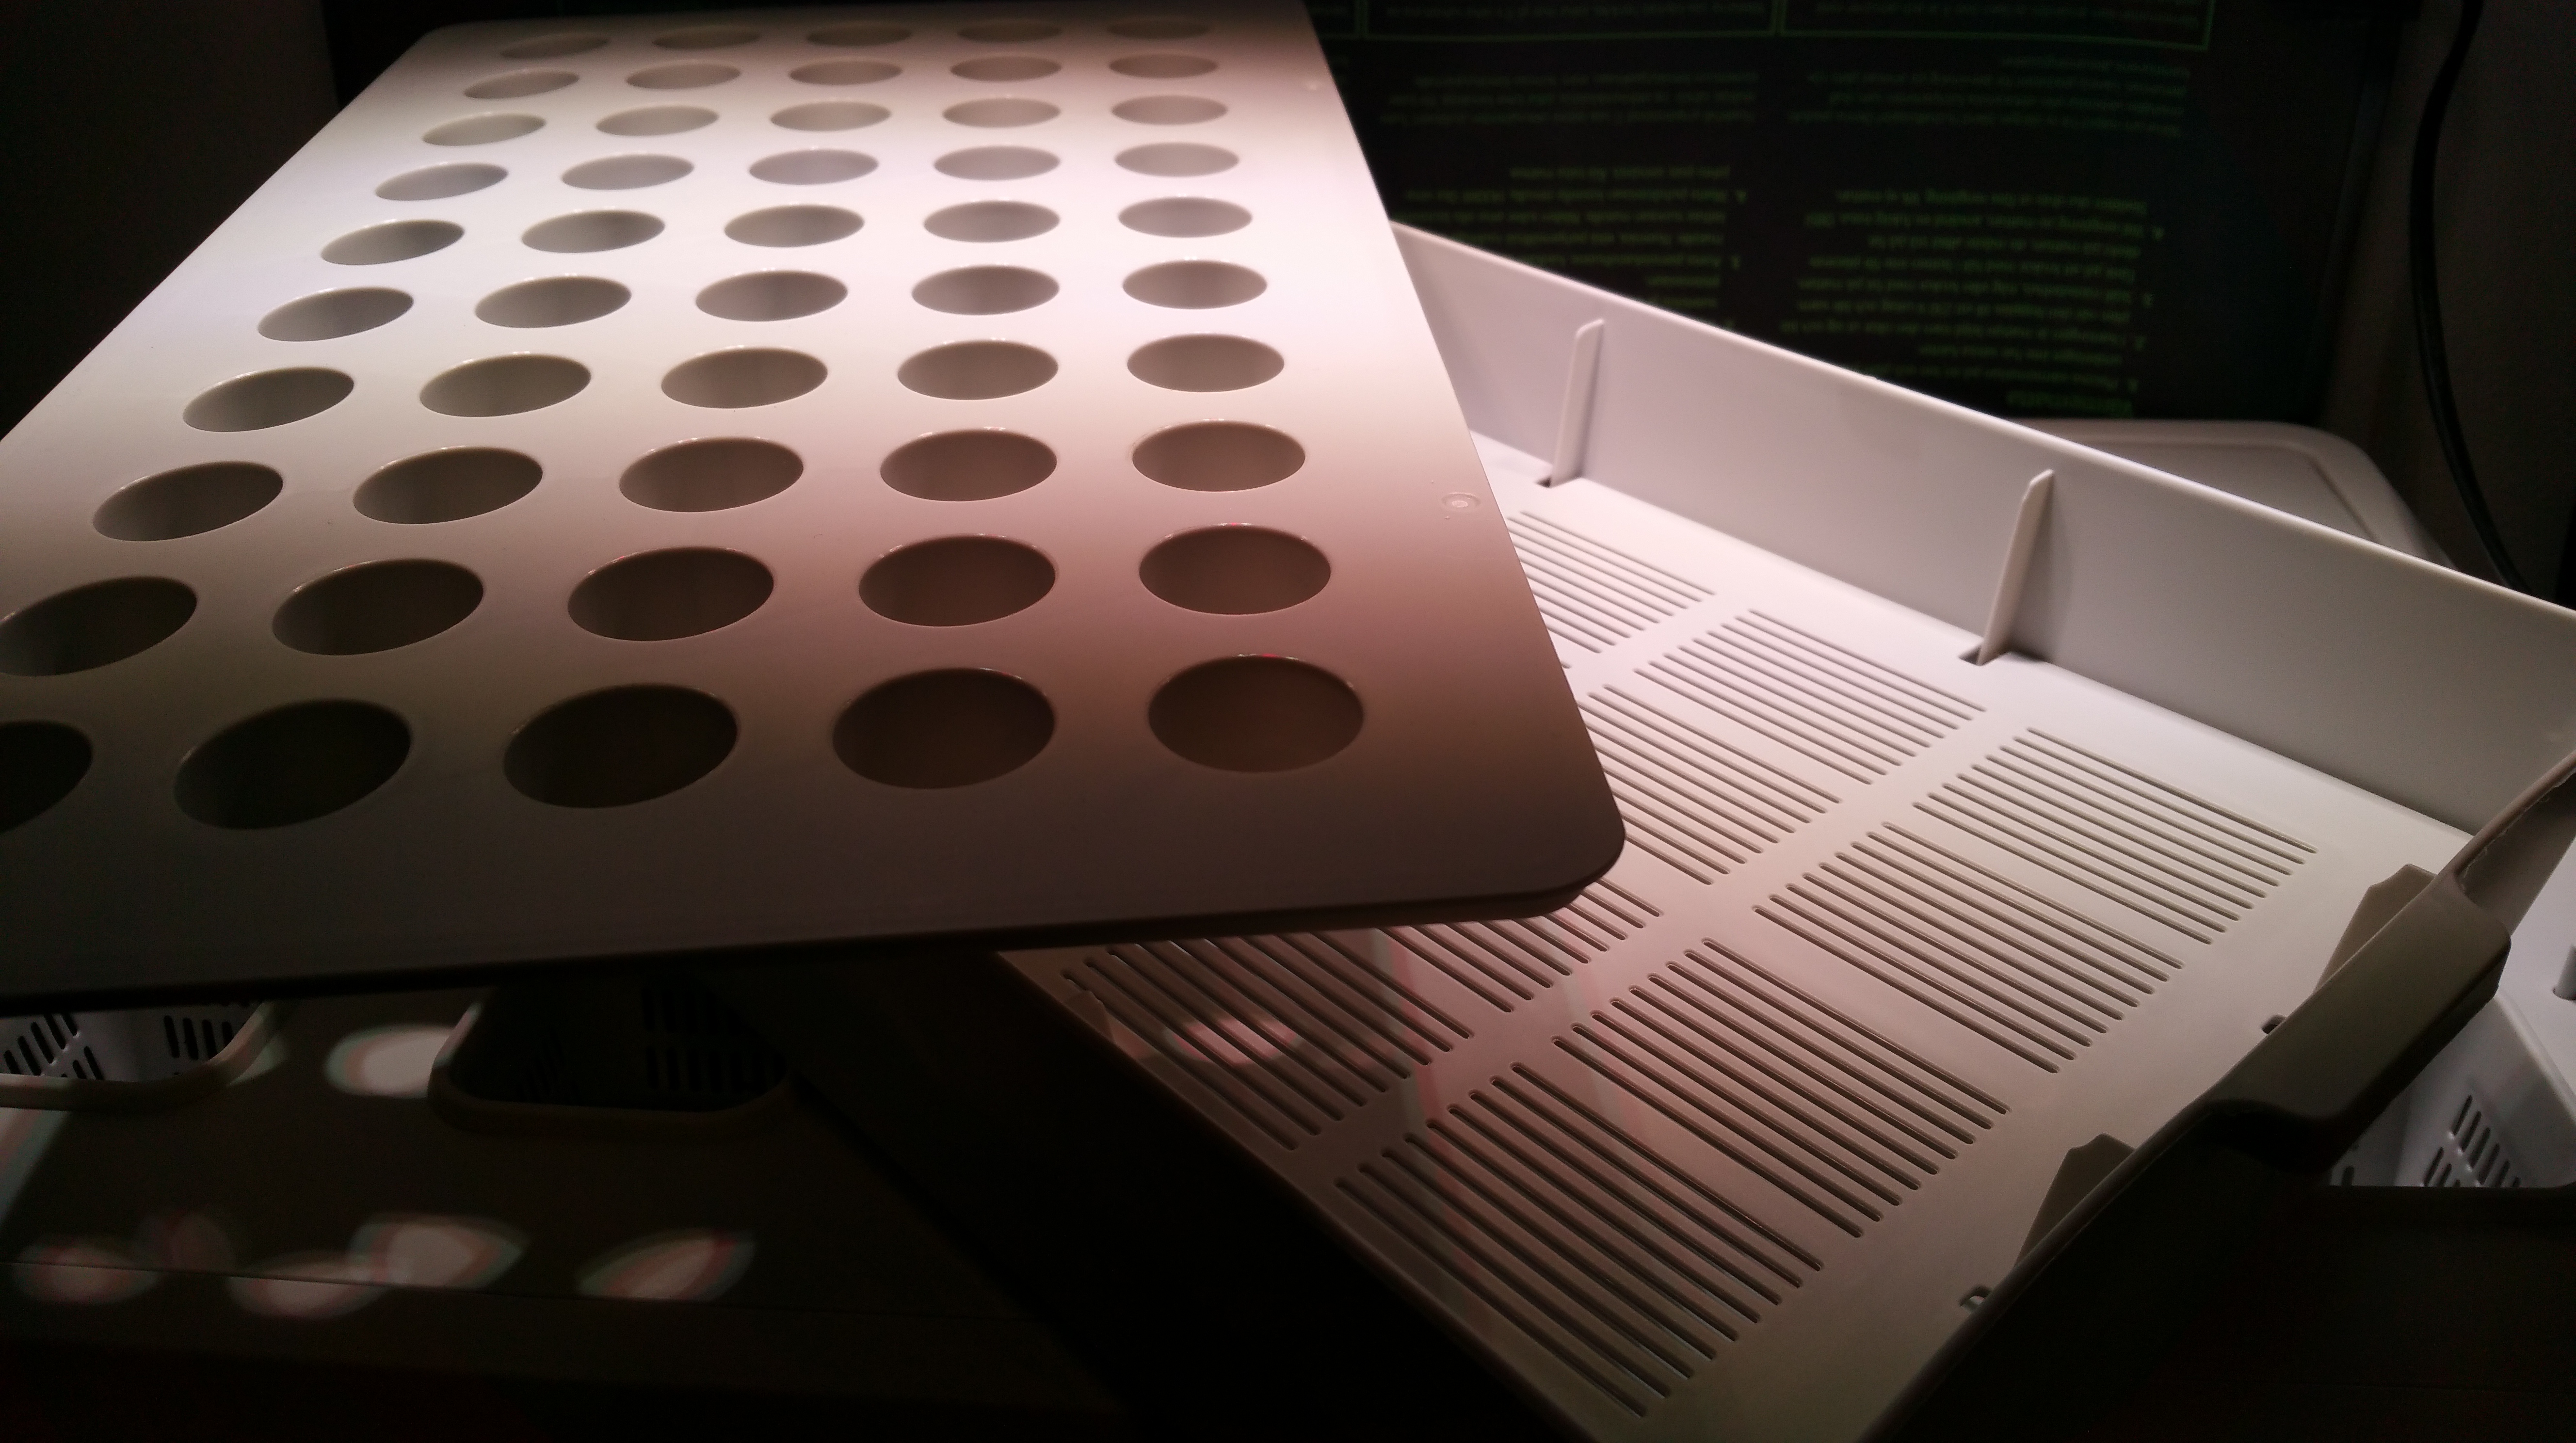
The germination process is handled with a simple tray with holes, some plugs made of stone wool (a fibrous mineral material), a water box below, and protective plastic cover with some air ventilation holes.
As not all seeds germinate, it is a good idea to put 2-3 seeds per plug.

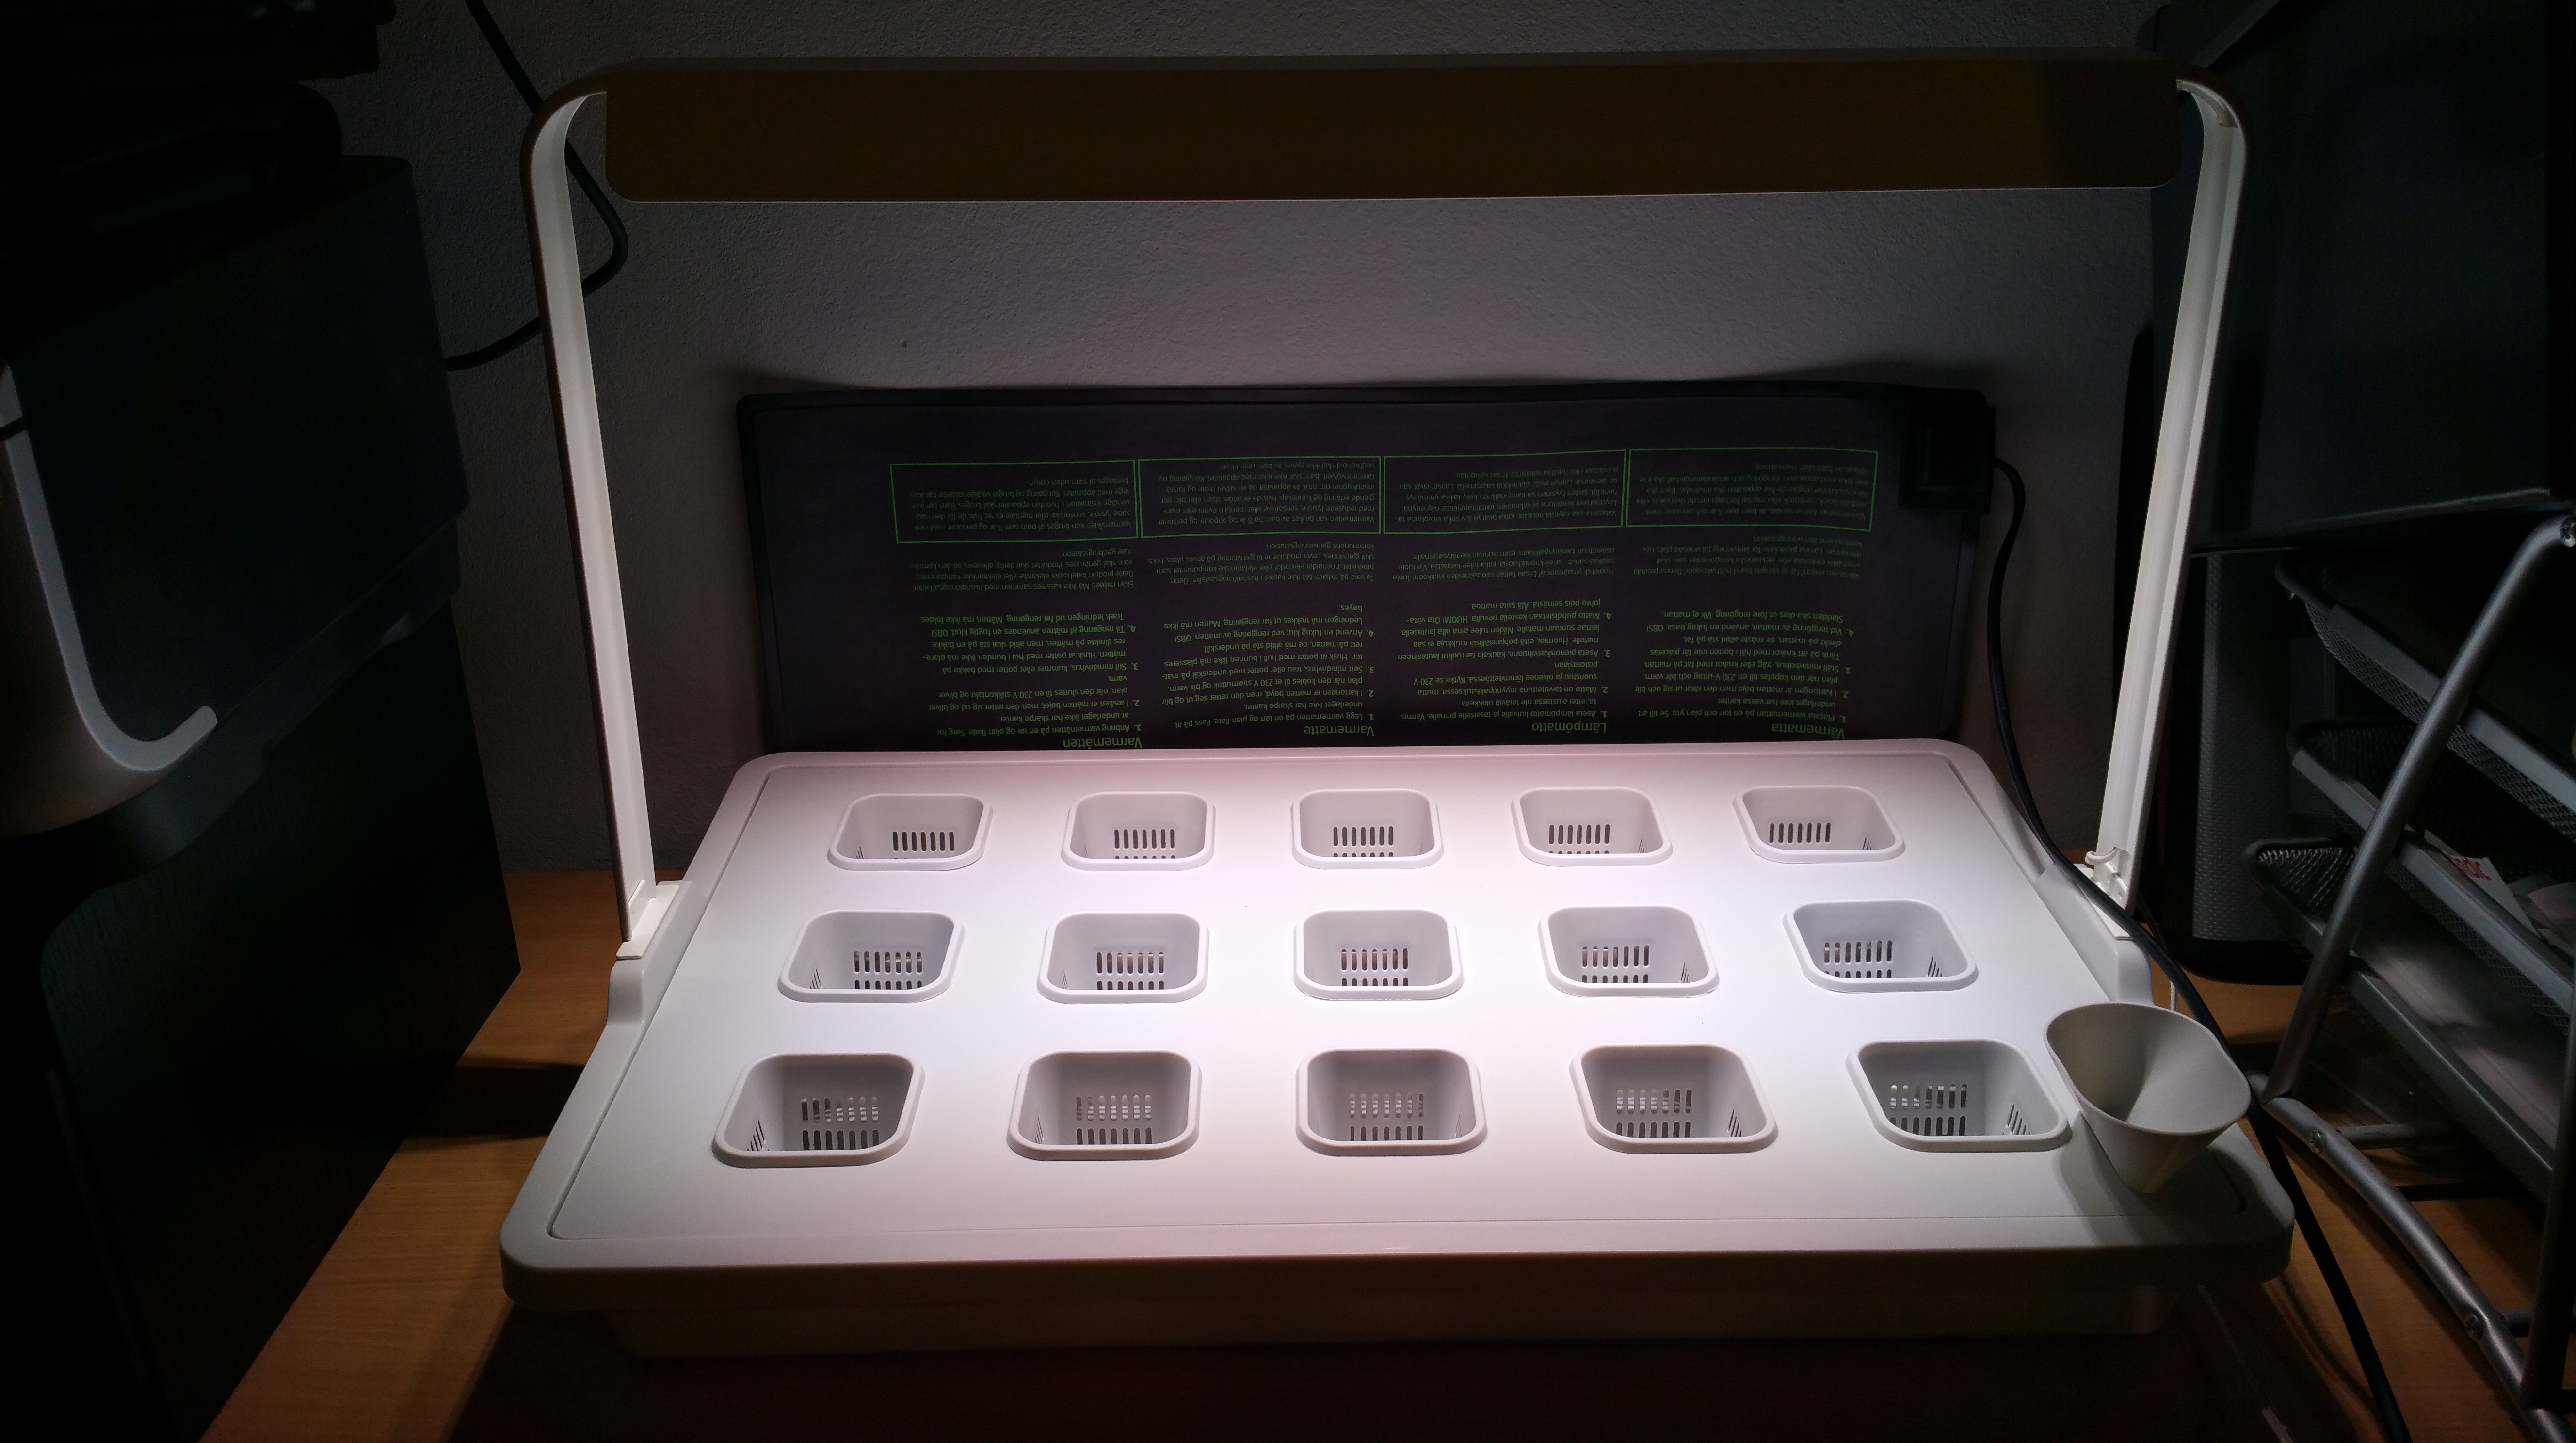
The optimal temperature for most chili varieties’ germination is around 27-29 Celsius degrees, so I use an electric warming mat below the nursery to keep the temperature even. There is also a LED light with plants’ wavelengths in the IKEA system, the cultivation insert set for seedling phase is intended to be combined with the pumice stone (volcanic rock from Iceland), which allows roots support and access to hydroponic growing solution, while also allowing airflow to the plant roots.
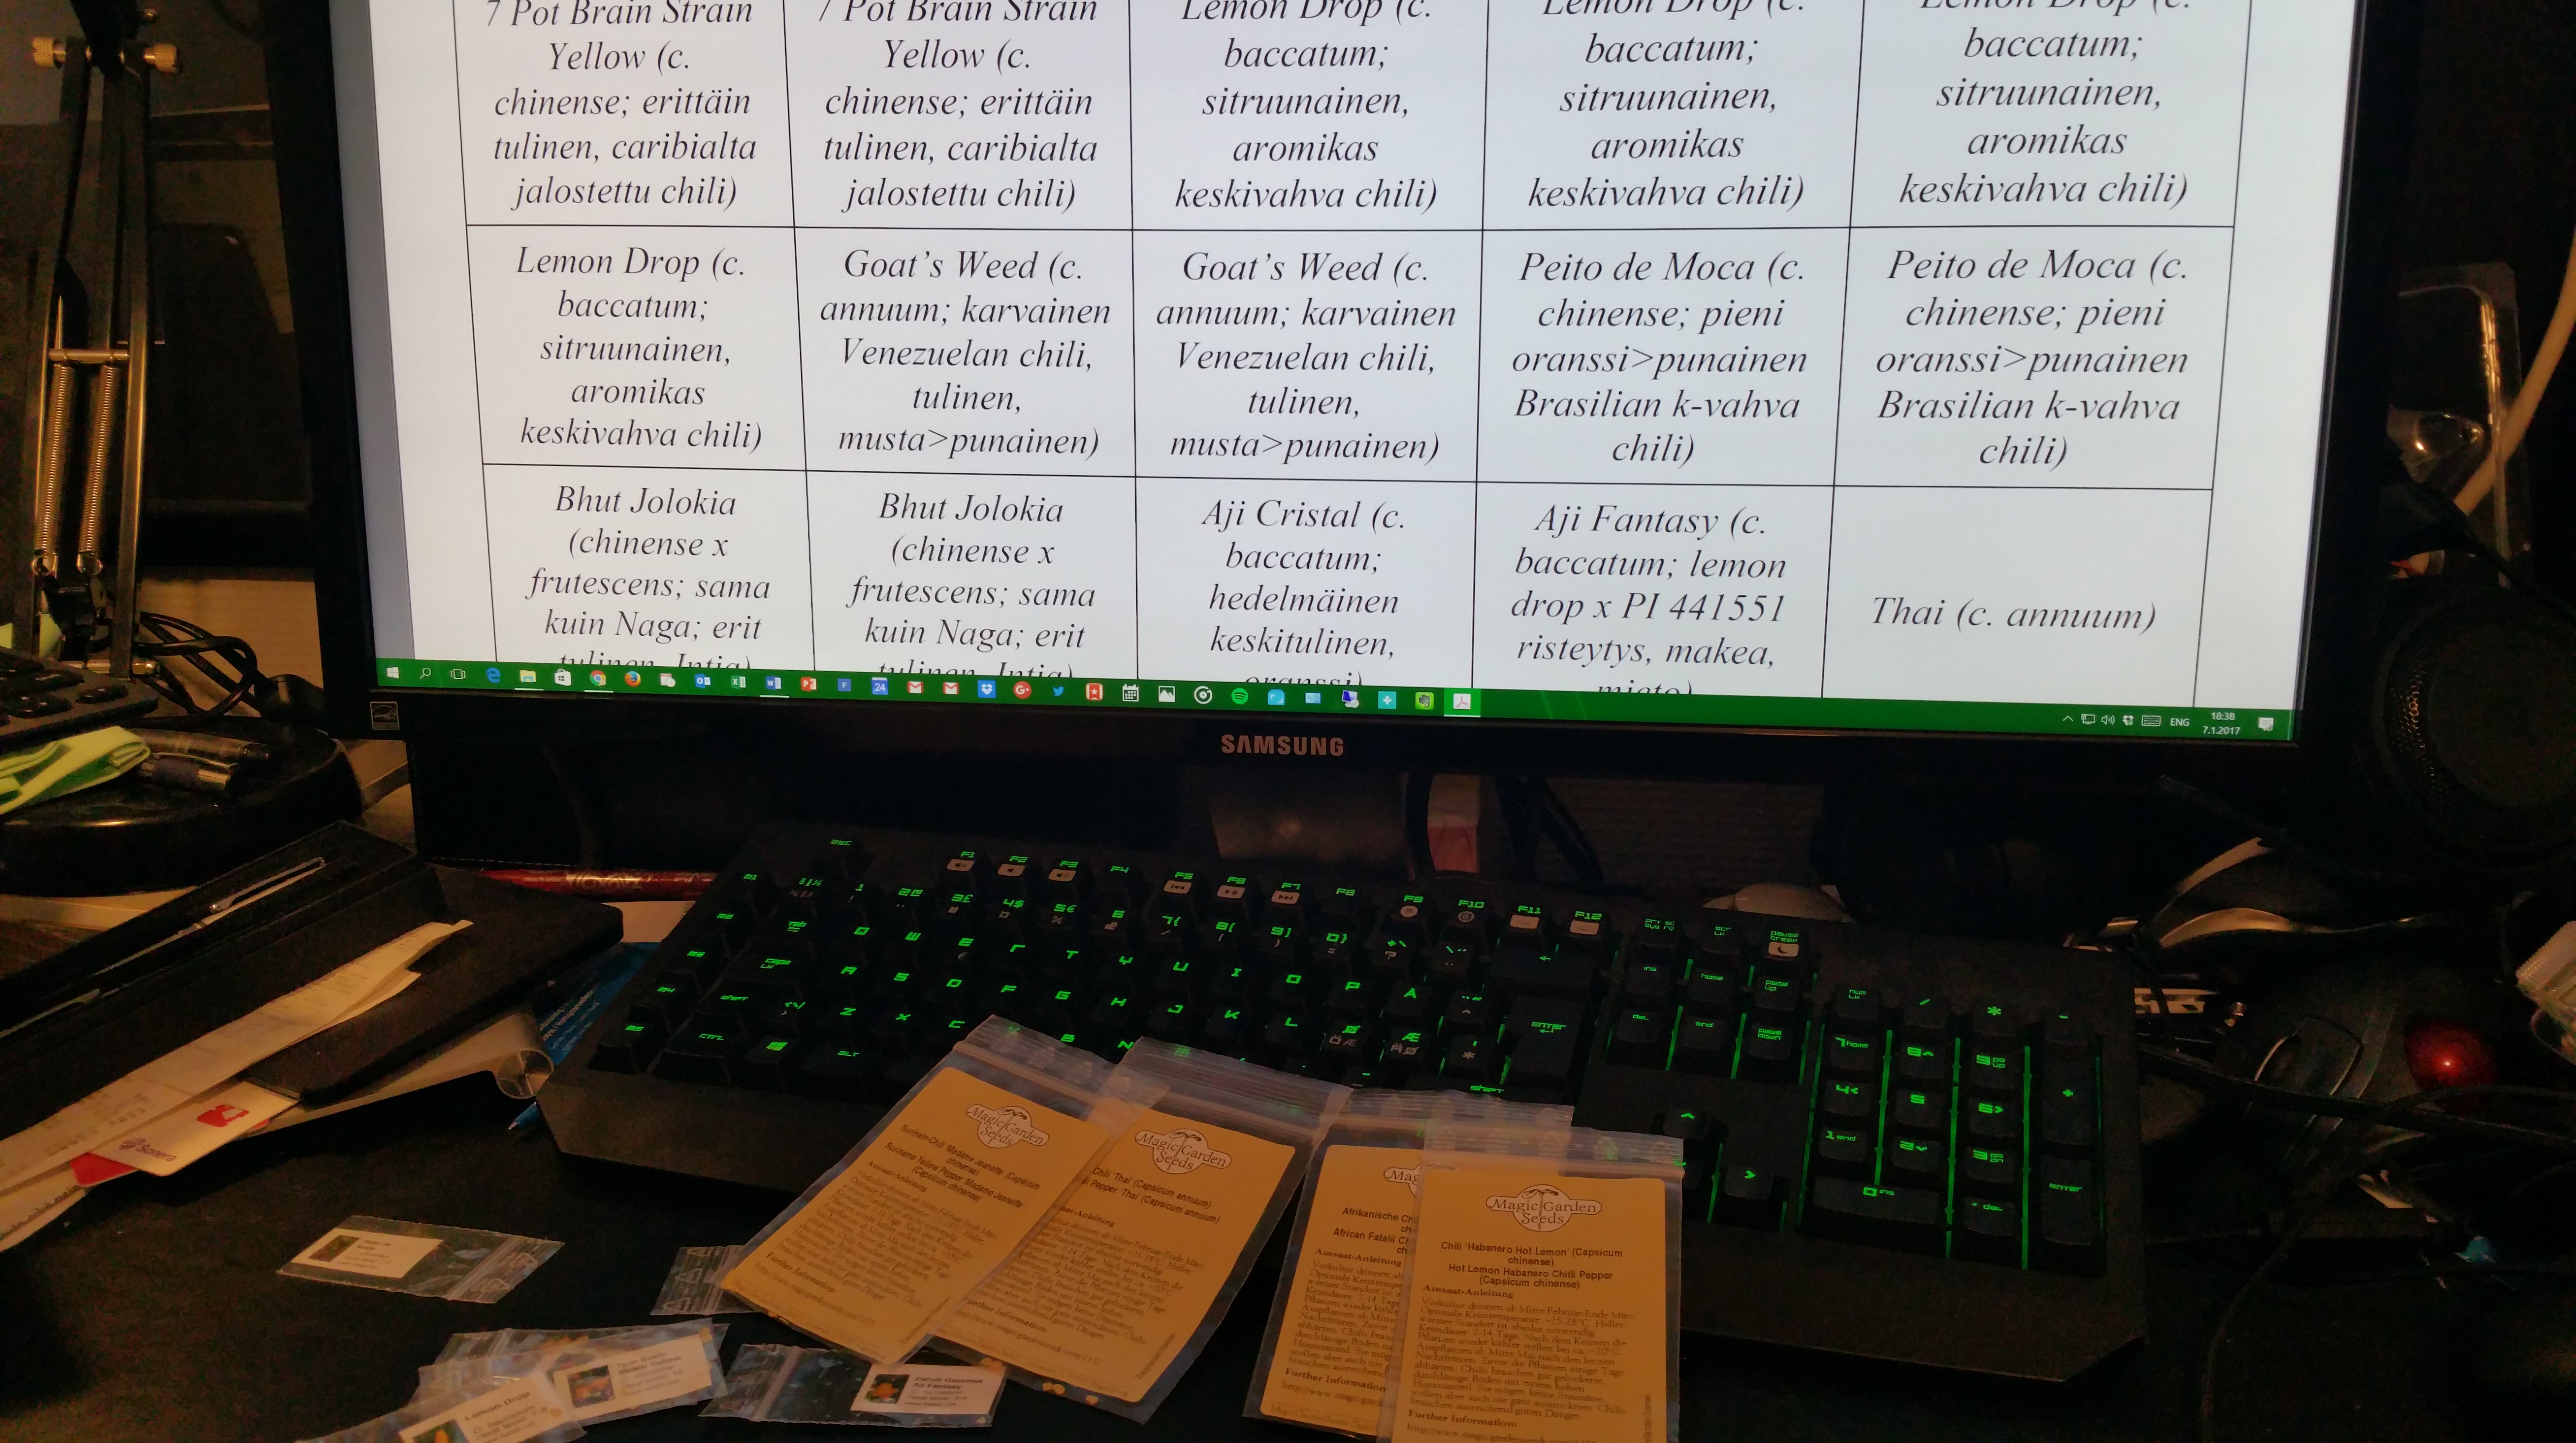
This time, the chili varieties I chose for growing are: Pequin Firecracker (c. annuum), a hybrid Tepin x Lemon Drop (c. annuum x baccatum), 7 Pot Brain Strain Yellow (c. chinense), Lemon Drop (c. baccatum), Goat’s Weed (c. annuum), Peito de Moca (c. chinense), Bhut Jolokia (which is now classified as a c. chinense x frutescens hybrid from India?), Aji Cristal (c. baccatum), Aji Fantasy (a commercial Finnish c. baccatum hybrid of Lemon Drop x PI 441551), a non-specified ‘Thai’ chili variety (c. annuum), Habanero Hot Lemon (c. chinense), Fatalii (c. chinense), and my old favourite, yellow Madame Jeanette (c. chinense, a habanero chili from Suriname). Old familiar ones, and new acquaintances. Happy new chili season, all fellow chili-heads!
PS. Here is also a cheerful video by IKEA about the joys of hydroponics:


You must be logged in to post a comment.