My original plan was to move into full hydroponic gardening setup in our greenhouse early this year. However, during the Easter weekend, we got again a “takatalvi” (a cold spell with snowfall) in Tampere, and the greenhouse will stay closed for a long time, still. Thus, a Plan B.
I had both twelve chili saplings of different varieties, and twelve small “self-watering” plant pots – these are Orthex Eden 12 cm models, meaning that they have only 0.3 L water reservoir, and 0.8 L for the hydroponic substrate (or soil). I had also a 45 L bag of Gold Label HydroCoco 60/40 substrate in my stash, so I proceeded to make a “passive hydroponics” setup using what I got. I washed the pots (they had spent the winter outdoors), then buried the rockwool cubes (with saplings sticking out) into the substrate in each self-watering pot. The nutritient mix is again based on Canna Coco A+B.
I multi-purposed a Bosch workbench from our garage as the growing table, and positioned the Nelson Garden LED growing lights hanging close above the plants.
This system should make do for some time now. The only downside is that small water reservoir in all of those 12 pots. I have no idea how fast the small saplings will drink that amount, so it might be that soon I will be mixing nutritients and filling in 12 pots every day or so. Let’ see: the maximum amount of liquid these pots can take is under 12 L, so if I will prepare a large 10 L bucket of the nutritient solution per each “serving”, this should be pretty straightforward. Canna, the nutritient manufacturer, instructs to use 19 ml of A solution and 19 ml of B solution per 10 L of water in the starting & rooting phase, and then add the dosage into 23 ml + 23 ml, when the plants have entered the early vegetative, growth phase. When we’ll have a bit larger plants (2-4 weeks-old saplings), the recommended nutritient amounts are 27 ml + 27 ml, per 10 L water.
Due to having a lot of other things in my mind and life this Spring, I am rather late in my chili pepper project – but as Juice Leskinen said “Kuule istuta vielä se omenapuu”. I will plant my plants.
As I wrote in January, because hydroponics make chilies grow so fast and tall, it is actually probably good to start a bit later, in any case. That way, the plants should hopefully still be of manageable sizes, when I am able to move them into the proper hydroponic setup in our greenhouse. Handling a full hydroponics system in my small basement “office” is really not that feasible, even under the best of conditions. I hope that this time it will be a warm and early summer (fingers crossed).
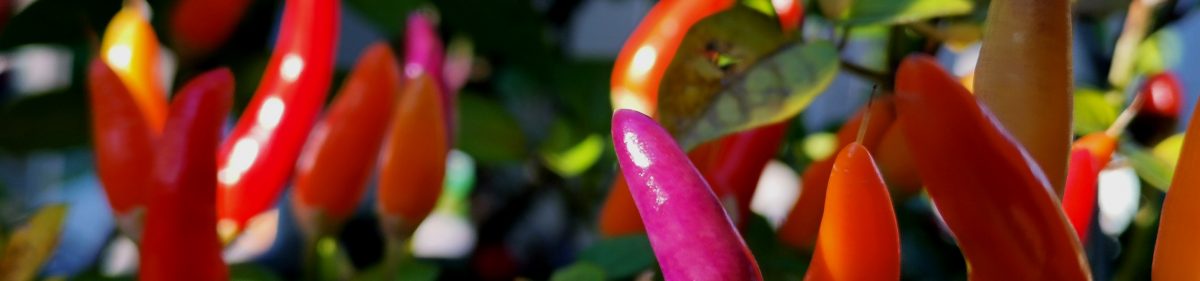
As said, I have two themes this year: taste and colour. Into the taste category, I finally decided two chili varieties: Hainan Yellow Lantern and Lemon Drop.
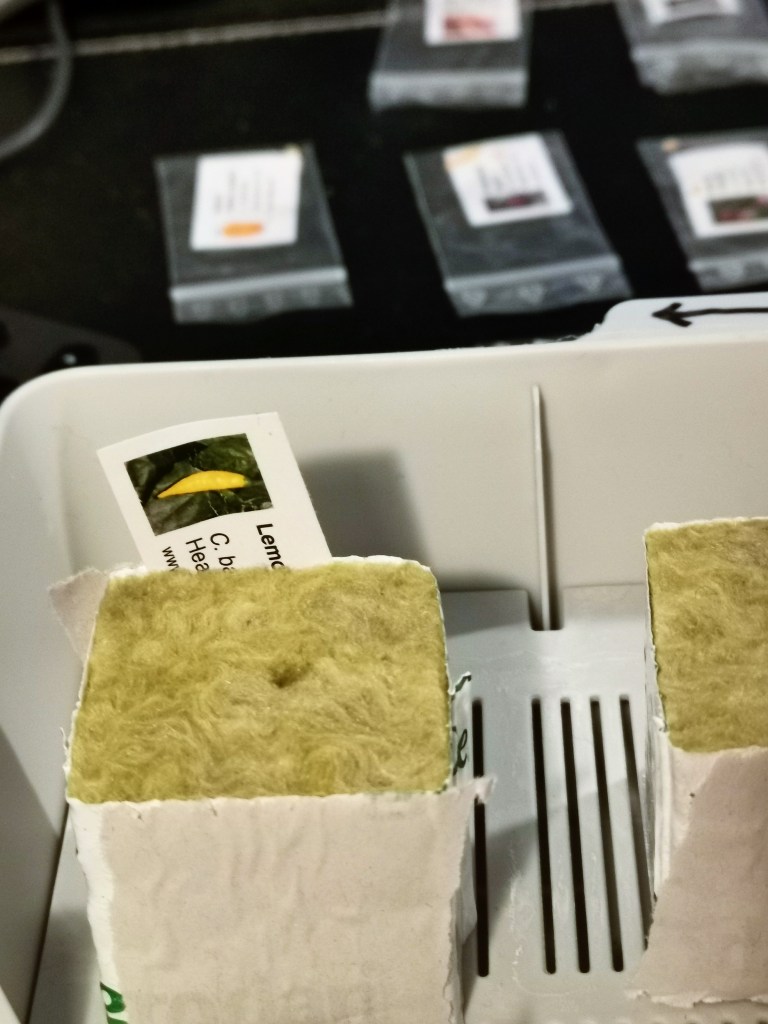
Placing the seeds – handling rock wool with gloves, due to it causing skin irritation when touched.
In the more exotic section, where interesting looks are the main criteria, I chose (finally in a pretty random manner) the following: Buena Mulata, Pimenta da Neyde, Chinese 5 Color, Kanon Pepper F2, Filius Blue, Numex Twilight, Bolivian Rainbow, and Purple Bhut Jolokia.
Since I do not have room to grow into large, fruit-bearing plants nowhere that number of chili peppers, I conceive this as a sort of speedrun style competition: those plants that germinate fastest, and produce promising saplings, will get into my AutoPot 4Pot system. I do not know what to do with the rest – maybe I will just put them into regular flowerpots with soil outdoors, and see if any of them will survive, too.
The germination follows pretty standard procedure again, except that IKEA had stopped selling accessories for their old hydroponic products (shame on them!) So, I picked some standard rock wool cubes from the local hydroponic gardening shop (luckily, I did this long before the coronavirus epidemic), and then just installed them into the covered water-tray system – which is on top of the electric heat mat, and under the LED lights. Let’s see how long it takes before the first plants will appear, this time.
I placed two seeds inside each rock wool cube. Let’s hope that it is enough for the most varieties time time, too.
All my chili seeds are coming from Fatalii this time. Here are some short characterizations of his, about these chili varieties:
Hainan Yellow Lantern: “This variety comes from Hainan island, China, where it’s actually quite commonly used for mainly a tasty hot sauce. Very prolific variety that has a strong chinense aroma, very similar to Harold st. Barts and few other yellow Capsicum chinense varieties.” (Link.)
Lemon Drop: “Lemon Drop represents hot, non-sweet, slightly lemon-flavored types of baccatum peppers (as opposed to sweet, low-heat or only moderately hot Ajis). The plant is relatively compact and produces lots of bright yellow fruit even in non-ideal home conditions.” (Link)
Buena Mulata: “Very old heirloom variety from 1940’s. This plant looks absolutely gorgeous with all great colored pods! The flowers and pods start from purple and ripen to very beautiful colors!” (Link)
Pimenta da Neyde: “One of the strangest chile peppers I’ve ever seen! Mature pods won’t change the color, but stay purple instead.” (Link)
Chinese 5 Color: “Fantastic, very colorful ornamental chili pepper which is also quite hot with a decent taste to be used for cooking.” (Link)
Kanon Pepper F2: “This beauty is still unstable meaning the results growing this one will vary, which is a good thing when you want to find your favorite among them.” (Link)
Filius Blue: “So very pretty ornamental chili pepper which ripens from beautiful blueish purple to red with some fancy color stages in the middle! Quite hot.” (Link)
Numex Twilight: “An ornamental chile pepper that is so insanely pretty you simply can’t miss it. If you like to grow useful chile peppers that are a true eye-candy!” (Link)
Bolivian Rainbow: ” The dark green leaves will turn shiny deep purple, almost black. The cone-shaped, erect pods go through colors of green, purple, pink, yellow and orange before ripening bright red!” (Link)
Purple Bhut Jolokia: “One of the most amazing looking super hot varieties there is! Ripens from green to purple to red. Very heavy producer and the pods taste very good when ripe.” (Link)
Seeds, cubes, water, light, suitable heat – everything should be in place now.
My first hydroponics chili pepper growing season has been bit of a mixed experience so far. On the one hand, the passive hydroponic setup that I installed (based on the AutoPot 4pot system, HydroCoco, and Canna Coco A+B) was a great success. The plats really grew fast.
So fast actually, that I was soon in trouble with them. My planting schedule was based on my earlier experiences with soil-based gardening, but the growth speed in hydroponics is much faster. I germinated the seeds in early February, moved selected seedlings into the AutoPot system in 25th February, and already in early April the plants were so tall they should had been moved to the greenhouse already. My LED plant light system was particularly a bottleneck – the fast-growing chili plants grew quickly up to the maximum height that I could adjust the LED strips into, and I needed to cut them down quite a bit. Even then, the plant growth would have needed better light, and real, strong sunlight that would had been coming from multiple angles, not just from those narrow LED strips.
But we got snow and “takatalvi” (cold spell & wintry weather) in April, and I could not move the plants into the greenhouse. I just kept growing them, cutting them down, growing more – and waiting for the weather to get warmer.
It was only in late May (18th May, to be exact), when the weather forecast told that further snow was now highly unlikely. I started moving the overgrown plants to the greenhouse, but lost maybe half of their branches. The weak, big plants were just not made for punishing physical handling. The hydroponics setup is not designed to be moved around, either.
Poor chilies, moved too late to the greenhouse.
But, I got the plants out, set up the AutoPot system again, this time into the greenhouse, filled it in with water and Canna Coco, and hoped for the best.
All four plants are still alive, which is nice. CAP 270 is in bloom, and is bearing the first fruit even now. But the plants are not that nice looking, as they lost much of their branches in the move, and the growth patterns are not that good, thinking about the future crop. The branches should be stronger, thicker and more symmetrical, to support decent amount of chili pods. Well, we’ll see what the final outcome will be.
The lesson? Maybe I need to carefully think about my cultivation schedules: the plants should be much smaller at the point when they still can safely be moved from indoors to the greenhouse. They should be pruned, so that the powerful growth can be controlled. But otherwise: hydroponic gardening seems like a really interesting option!
Short update again on chilies and hydroponics (apologies): my current work on this is focused on three areas. Firstly, I have been trying to figure out what growing method (or sub-method) to use. As I wrote earlier, there are reasons why ‘passive hydroponics’ looks like the best in my case. There are different ways of implementing this, though. Understanding in advance e.g. the risks associated in algae growth, over- (or under-) fertilisation, and pests in passive hydroponics appears to be important. As contrasted with growing in soil, the basic situation with nutrients is very different. In principle the hydroponic growing should be free of many risks coming with soil (less risk of pests and plant diseases, no need for pesticides, etc.) However, a hydroponic farmer needs to be bit of a scientist, in that you need to understand something about physics, chemistry and some (very basic) bioengineering. The choice of growing medium (substrate) is important as in passive hydroponics one should get enough moisture (water) to the plant roots without suffocating them – thus, the material needs to be neutral (no bio-actives or fertilisers by its own), porous and spongy enough to hold suitable amounts of water when irrigated, but also get dry enough so that air can get to the roots in-between drenching.
Secondly, I have been looking into the technical solutions for implementing the hydroponic growing environment. As I wrote, I have considered building my own ‘hempy bucket’ system. However, I kept thinking about root rot, fungus and other risks: in this kind of bucket system, there is always some fertilising liquid just standing in the water reservoir. The standing water provides ideal conditions for algae growth. Stagnate water system can cause lack of oxygen; build-up of salts and decomposing algae can produce toxins. I am not sure how significant those risks are (there are many hempy bucket gardeners who appear perfectly happy with their low-cost systems), but currently I am inclining more towards a commercial passive hydroponics system that also includes some kind of water valve: the idea here is, that the water valve will allow automatic, periodic watering of the growing media (and the root system), but also flush the water away as completely as possible, so that no similar stagnate water reservoir would be in the pots, as in the hempy bucket option. There are at least two models that are widely available and used: AutoPot and PLANT!T GoGro. I am not sure if there is much fundamental different between these two – GoGro appears to be more widely available to where I am living, but some gardeners appear to consider AutoPot (the original, older system) as more robust and a bit more sophisticated.
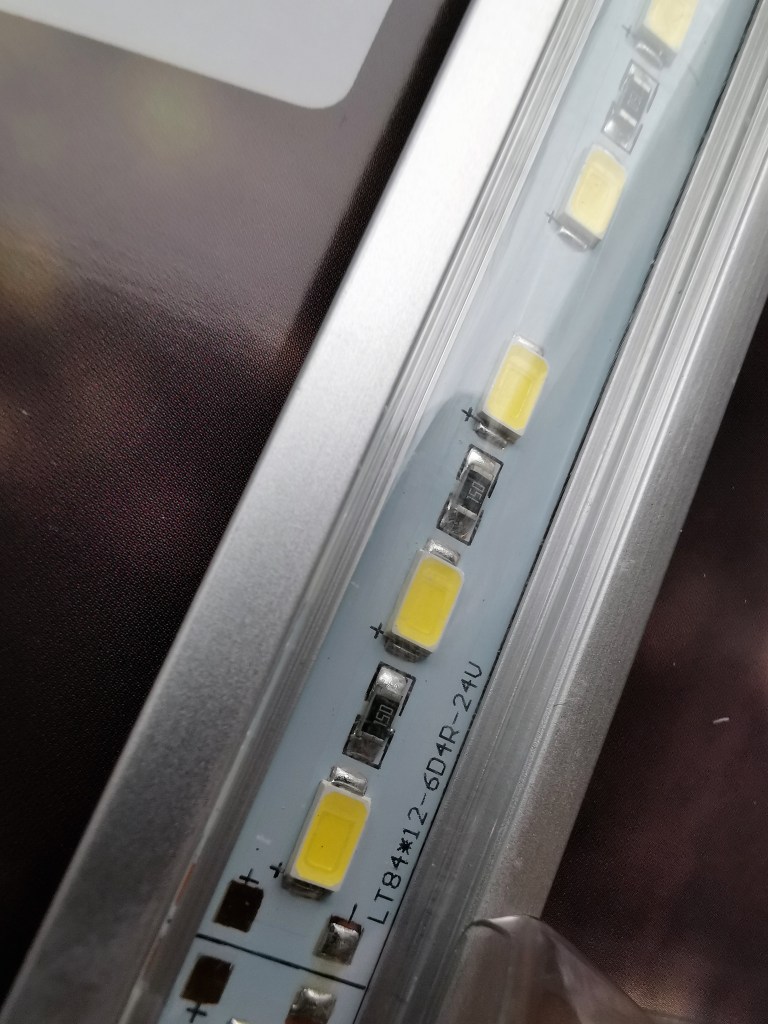
LED strip (Nelson Garden 23W).
Thirdly, I need to find a plant light solution that works. Currently, the tiny seedlings can nicely fit below the small LED plant light system that I have been long using. However, doing some hydroponic gardening indoors (before the greenhouse season starts) means that I need to be ready to provide enough, and right kinds of light for growing plants. We had an old fluorescent tube lamp, left from Laura’s old aquarium. That lamp was, however, too large and heavy for my needs, and I was also a bit suspicious how safe (in electronic terms) a 10+ year-old lamp setup would be today. Some chili gardeners appear to be using rather expensive, “hi-fi lamps” where different high-intensity discharge lamps (HIDs) have taken over from older incandescents and fluorescent tube lamp systems. Ceramic metal halide lighting and full-spectrum metal halide lighting are used to create powerful light with large amounts of blue and ultraviolet wavelengths that are good for plant growth. The price of good lamps of this kind can be rather high, however. I decided to go for a lightweight but plant-optimised LED system that was a comparably budget-friendly option. I am now setting up four 23W LED strips that were sold as Nelson Garden LED plant light (No.1 and No.2 systems use the same power transformer). Each LED strip is 85 cm long, is specified for 6400 K light temperature, and should provide 2200 lumen, or, more precisely, PPFD (100 mm) 570 µmol/s/m² of lighting power. Having four of those should be enough for four AutoPot style chili growing stations, at least in the early phases of gardening, I think. I am still thinking about how to suspend and adjust these LED strips to correct height above the plants. I am doing this pre-growing phase in my home office corner, in the basement, and e.g. the ceiling panels do not allow attaching anything into them.
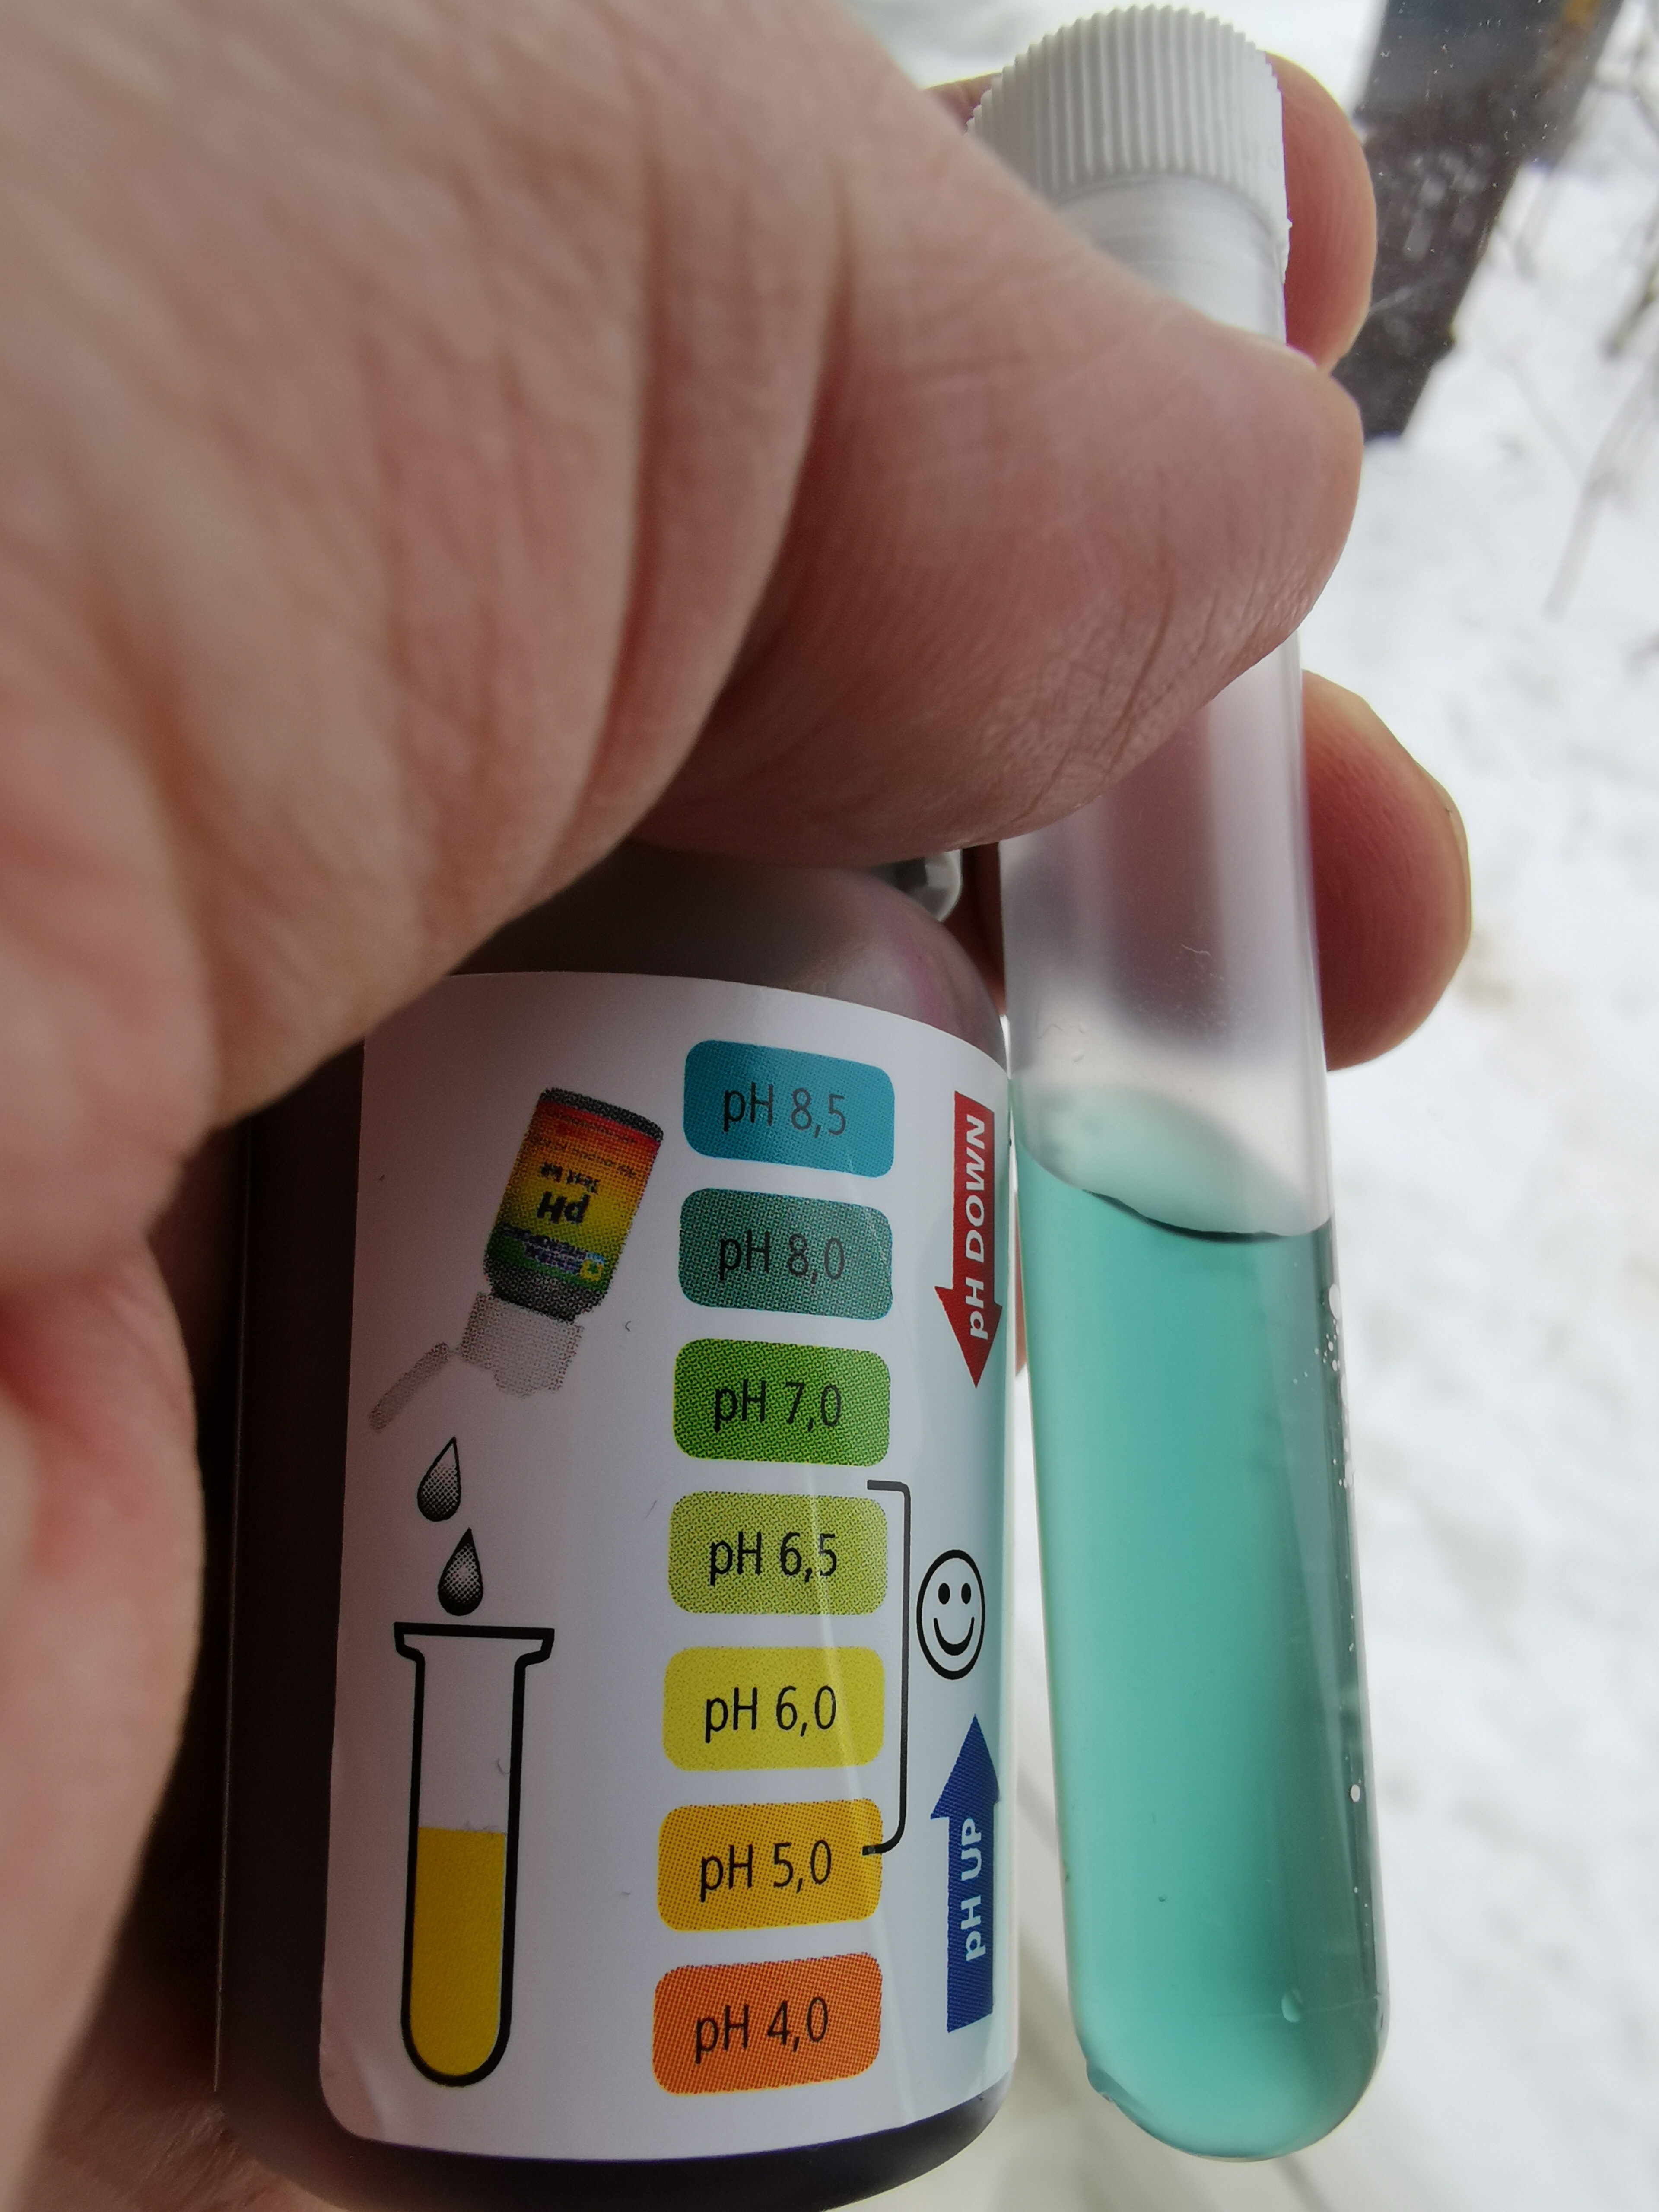
Measuring the nutrients.
Finally, the choice of growing medium has also an effect on the style of fertilisers to use, and most hydroponic gardeners invest to both EC and pH meters and adjustment solutions, in order to control the salts and acidity levels in the nutrient solution, and to adjust the values in different stages of growth, bloom and fruit production. Some do not take this so seriously, and just try to follow some fertiliser manufacturer’s guidelines and make no measurements at all, just trying to monitor how plants look like. Some study this very scientifically, measuring and adjusting various nutrients, starting from the “key three”: Nitrogen (N), Phosphorus (P) and Potassium (K), which are commonly referred to as the fertilizing products’ NPK value. All these three are needed: nitrogen boosts growth, phosphorous is needed by plant for photosynthesis, cell communication and reproduction; and potassium is crucial for plant’s water regulation. But there are also “micronutrients” (sometimes called “trace elements”) that are needed in smaller amounts, but which still are important for healthy growth – these include, e.g. magnesium. Popular fertilisers for hydroponic gardening often come in multiple components, where e.g. the mixtures for growth, bloom and then the micronutrients are sold and apportioned separately. It is possible to find quite capable all-in-one fertiliser products, however. I am currently planning of using coco coir (neutral side-product of coconut manufacturing) as the growing medium, so I picked “Canna Coco A+B” by Canna Nutrients as my starting hydroponic fertiliser solution. I also bought a simple pH tester for checking the acidity of fertilising solution, and I probably should also invest in a reliable EC meter, at some point. The starting solution for seedlings should be very mild in any case, to avoid over-fertilising.
I have done my chili gardening so far only with traditional, soil-based methods. The results have been varied, and there seems to be the constant threat of pests, plant diseases, or improper amounts of water and nutrients while working with soil. I am not completely sure how real this observation is, but I think I have noticed that e.g. soil-based chili growing is something that some of the more passionate hobbyists have long left behind. After moving into hydrophonics (where nutrients and oxygen are moved with water flow to plant roots), then to aeroponics (use of moist air to nourish hanging root systems), some even have made use of the NASA experiments in the International Space Station to create “high pressure aeroponics” or ultrasonic “fogponics” systems, where very small, 50 micron droplet size is utilised, to stimulate the growth of fine root hairs (trichoblasts) that maximise the surface area of root system, and produce optimal crop yield with minimal amounts of water and nutrients. The related high-pressure pumps and misting nozzle systems are interesting in engineering sense, I admit.
The first seedlings, spring 2019.
I was personally merely considering the more prosaic “bucket bubbler” hydroponics setup, but even that proved a bit problematic in my case. (There is no electric line running into our greenhouse, where I was planning these hydroponic bubblers to be situated.) Thus, I have now turned towards “passive hydroponics”, which is probably the oldest way this has been applied: growing plants without soil. The version that I am now aiming at is internationally known as a “hempy bucket” method: a black/dark bucket is filled with a 3 parts perlite and 1 part vermiculite mix, where the chili seedling is planted. There needs to be a drill hole for excess water down in the bucket, at c. 2 inches (or c. 5 cm) from the bottom. One then waters the plant with a nutrient, hydroponic solution every other day, until the roots grow and reach the water reservoir at the bottom part of the bucket. The solution watering is then reduced a bit, to twice a week. The water reservoir, bucket microclimate and perlite-vermiculite substrate keeps the upper roots supported, nourished and moist, while also providing nice amounts of oxygen, while the submerged, lower parts of the roots deliver the plant plenty of water and nutrients. The final outcome should be a better and more controlled growing environment than what can be reached in typical soil-based gardening.
My experiment with the Ikea hydroponics system has now produced a nice selection of small chili seedlings. The next step is moving them from the nursery box into the cultivation kit. Below are some photos: the idea is to completely bury the stone wool “starter plug” (now penetrated by chili roots) into coarse pumice stone pieces, within perforated cultivation pots. After those are placed into the cultivation kit, one just needs to fix the kit with a mix of fertilizer and water in suitable ratio (half capful into 4 liters of water is Ikea’s own Växer recommendated ratio, I did put in a bit more). Those pots which are not in use should be covered with provided lids, as this prevents algae growth in the kit. The pumice stone gravel absorbs the liquid, providing chili seedlings with both water, nutritients, and access to air. Let’s see how this goes on from this…
In January, it is again time to sow the seeds for 2017 chili crops. This time, I have a theme: colour ‘yellow’. Well, almost all my chilies this season are yellow, but not quite, as you can notice from below.
Another new concept this year for me is hydroponics. The idea of hydroponic gardening is to use no soil, but rather just expose plants to water, nutrients and sunlight. The plants’ roots will be circulated by a mineral solution, and there is some supportive, non-organic material used to keep the plants growing up in firm position.
I will most likely not develop a full hydroponic system when these chilies move to our greenhouse, but I will try it out in the germinating and seedling growing phases. To make things as easy (and as cost-effective) as possible, I got the entire system from IKEA. They have also some videos about the hydroponic indoor gardening and the techniques and materials they had chosen in their website at: http://www.ikea.com/gb/en/products/indoor-gardening/.
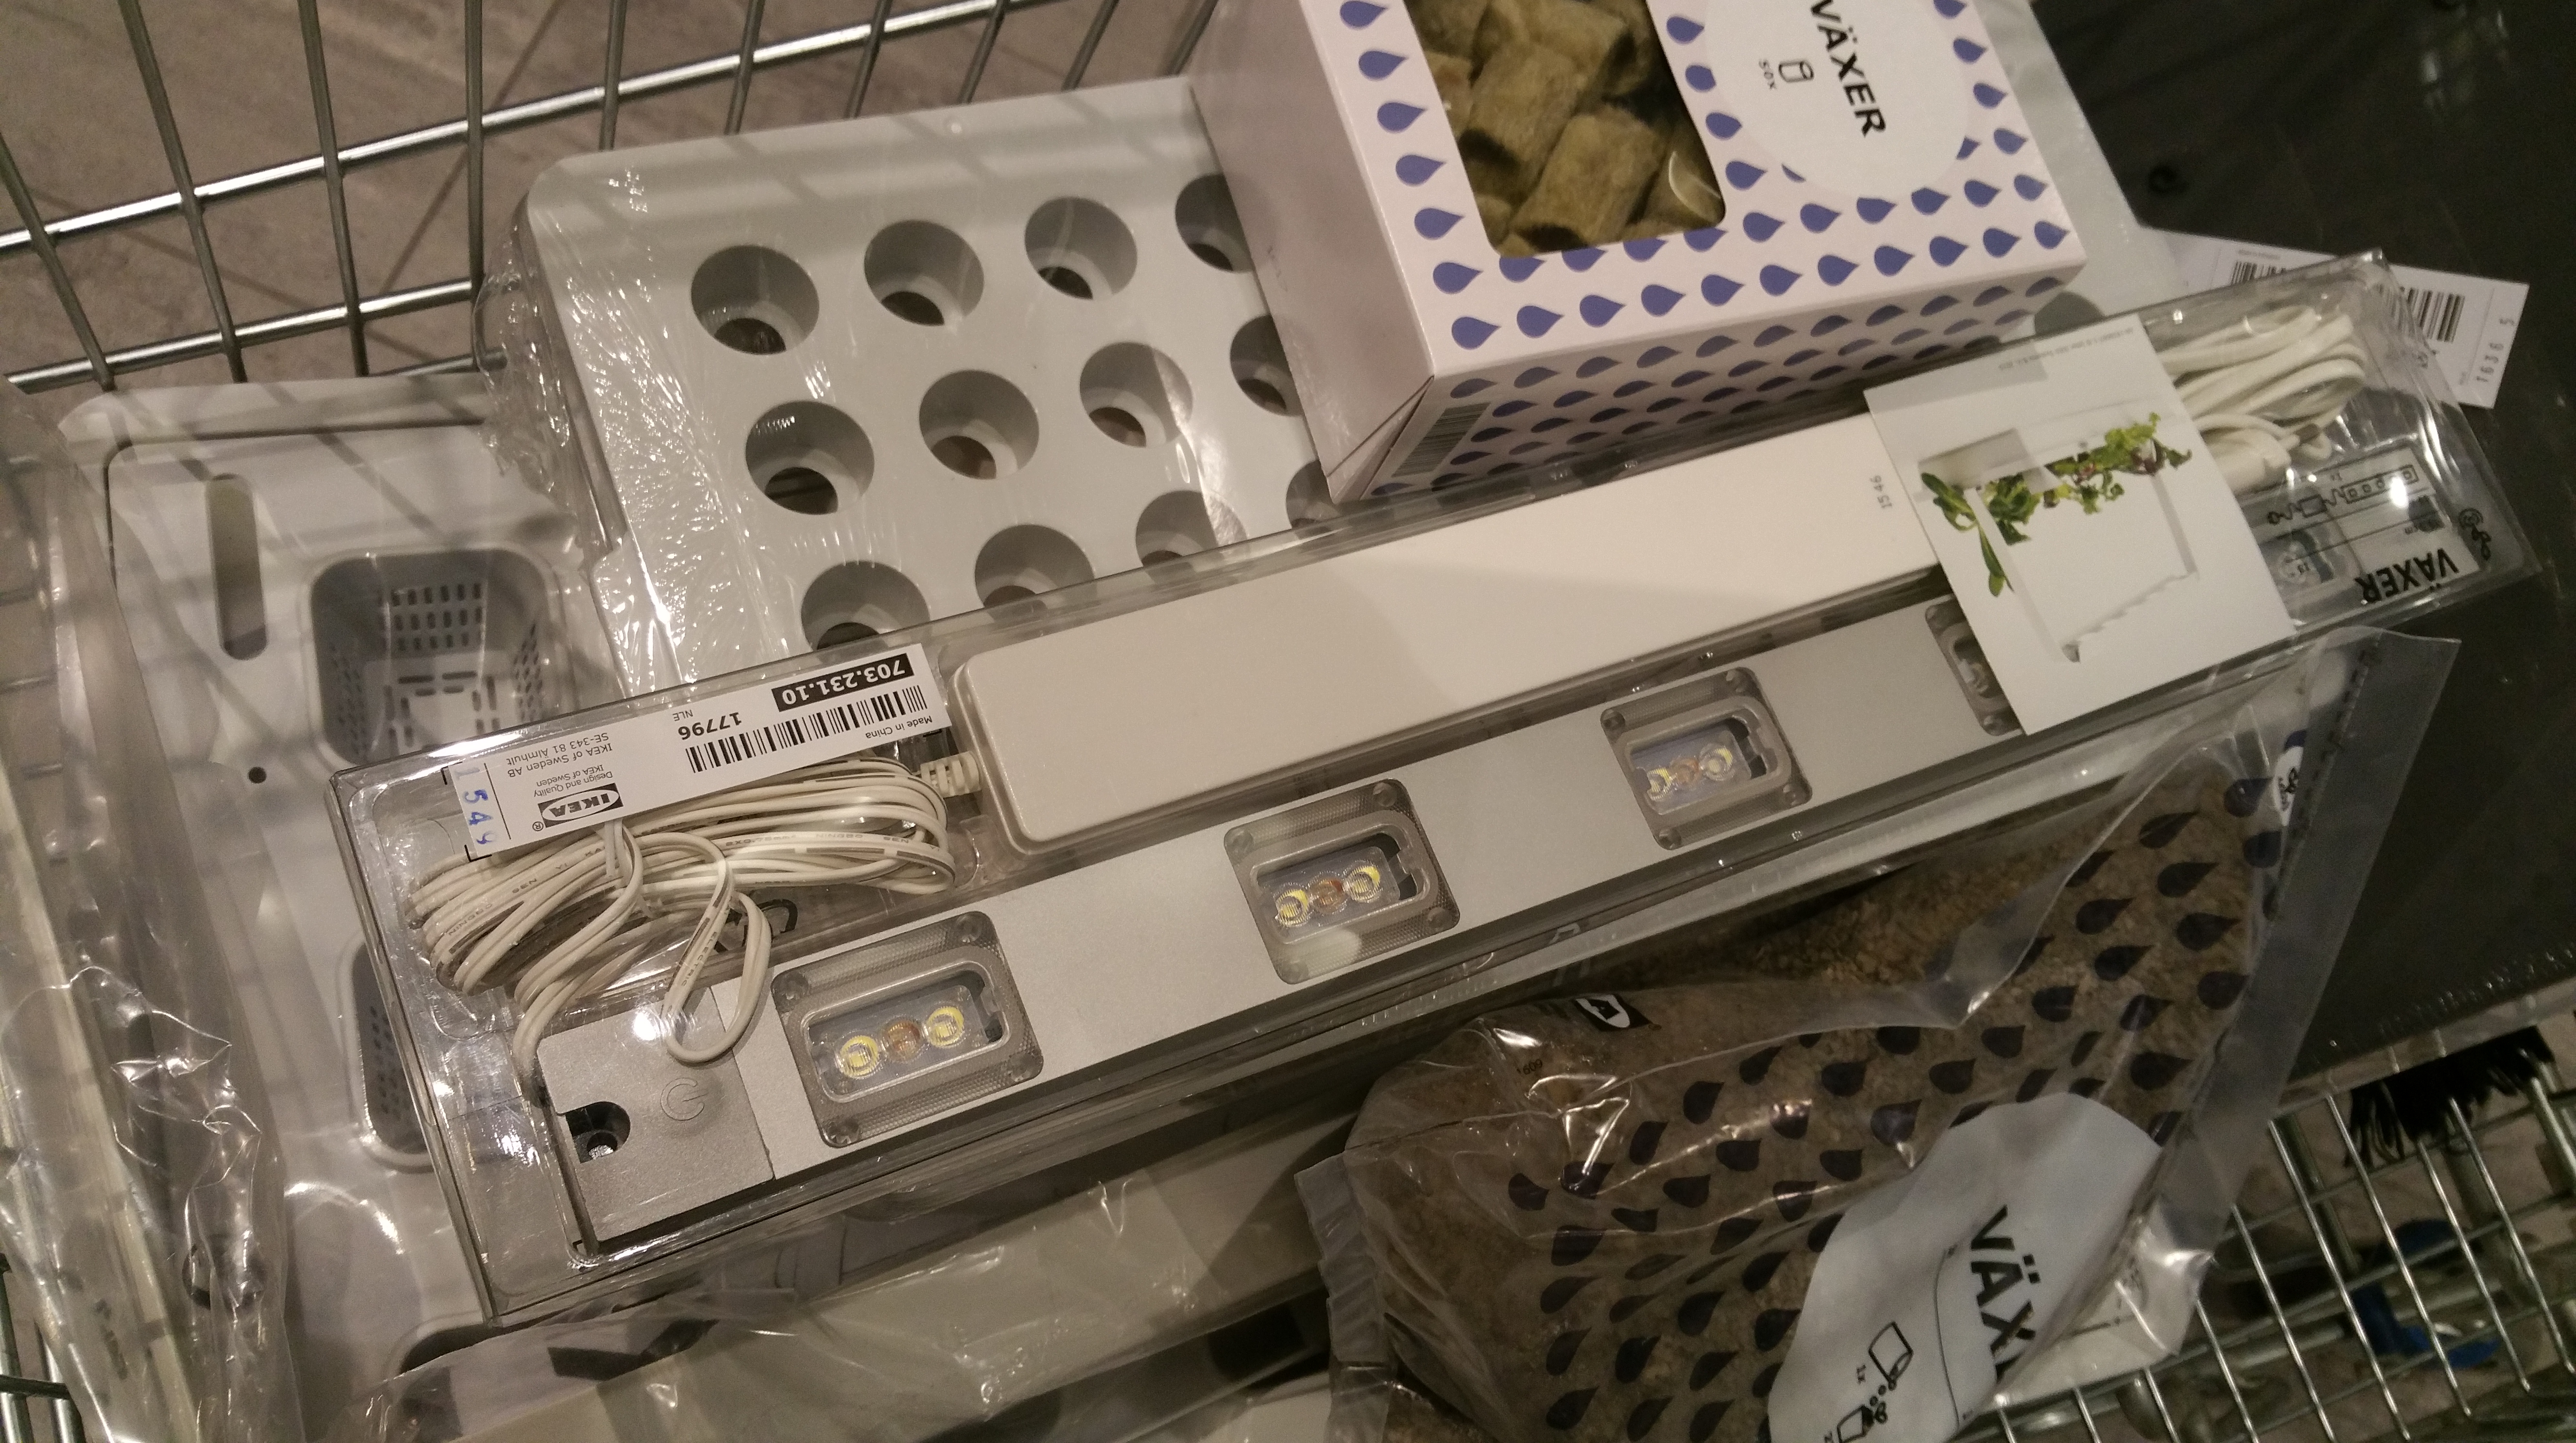
IKEA shopping…
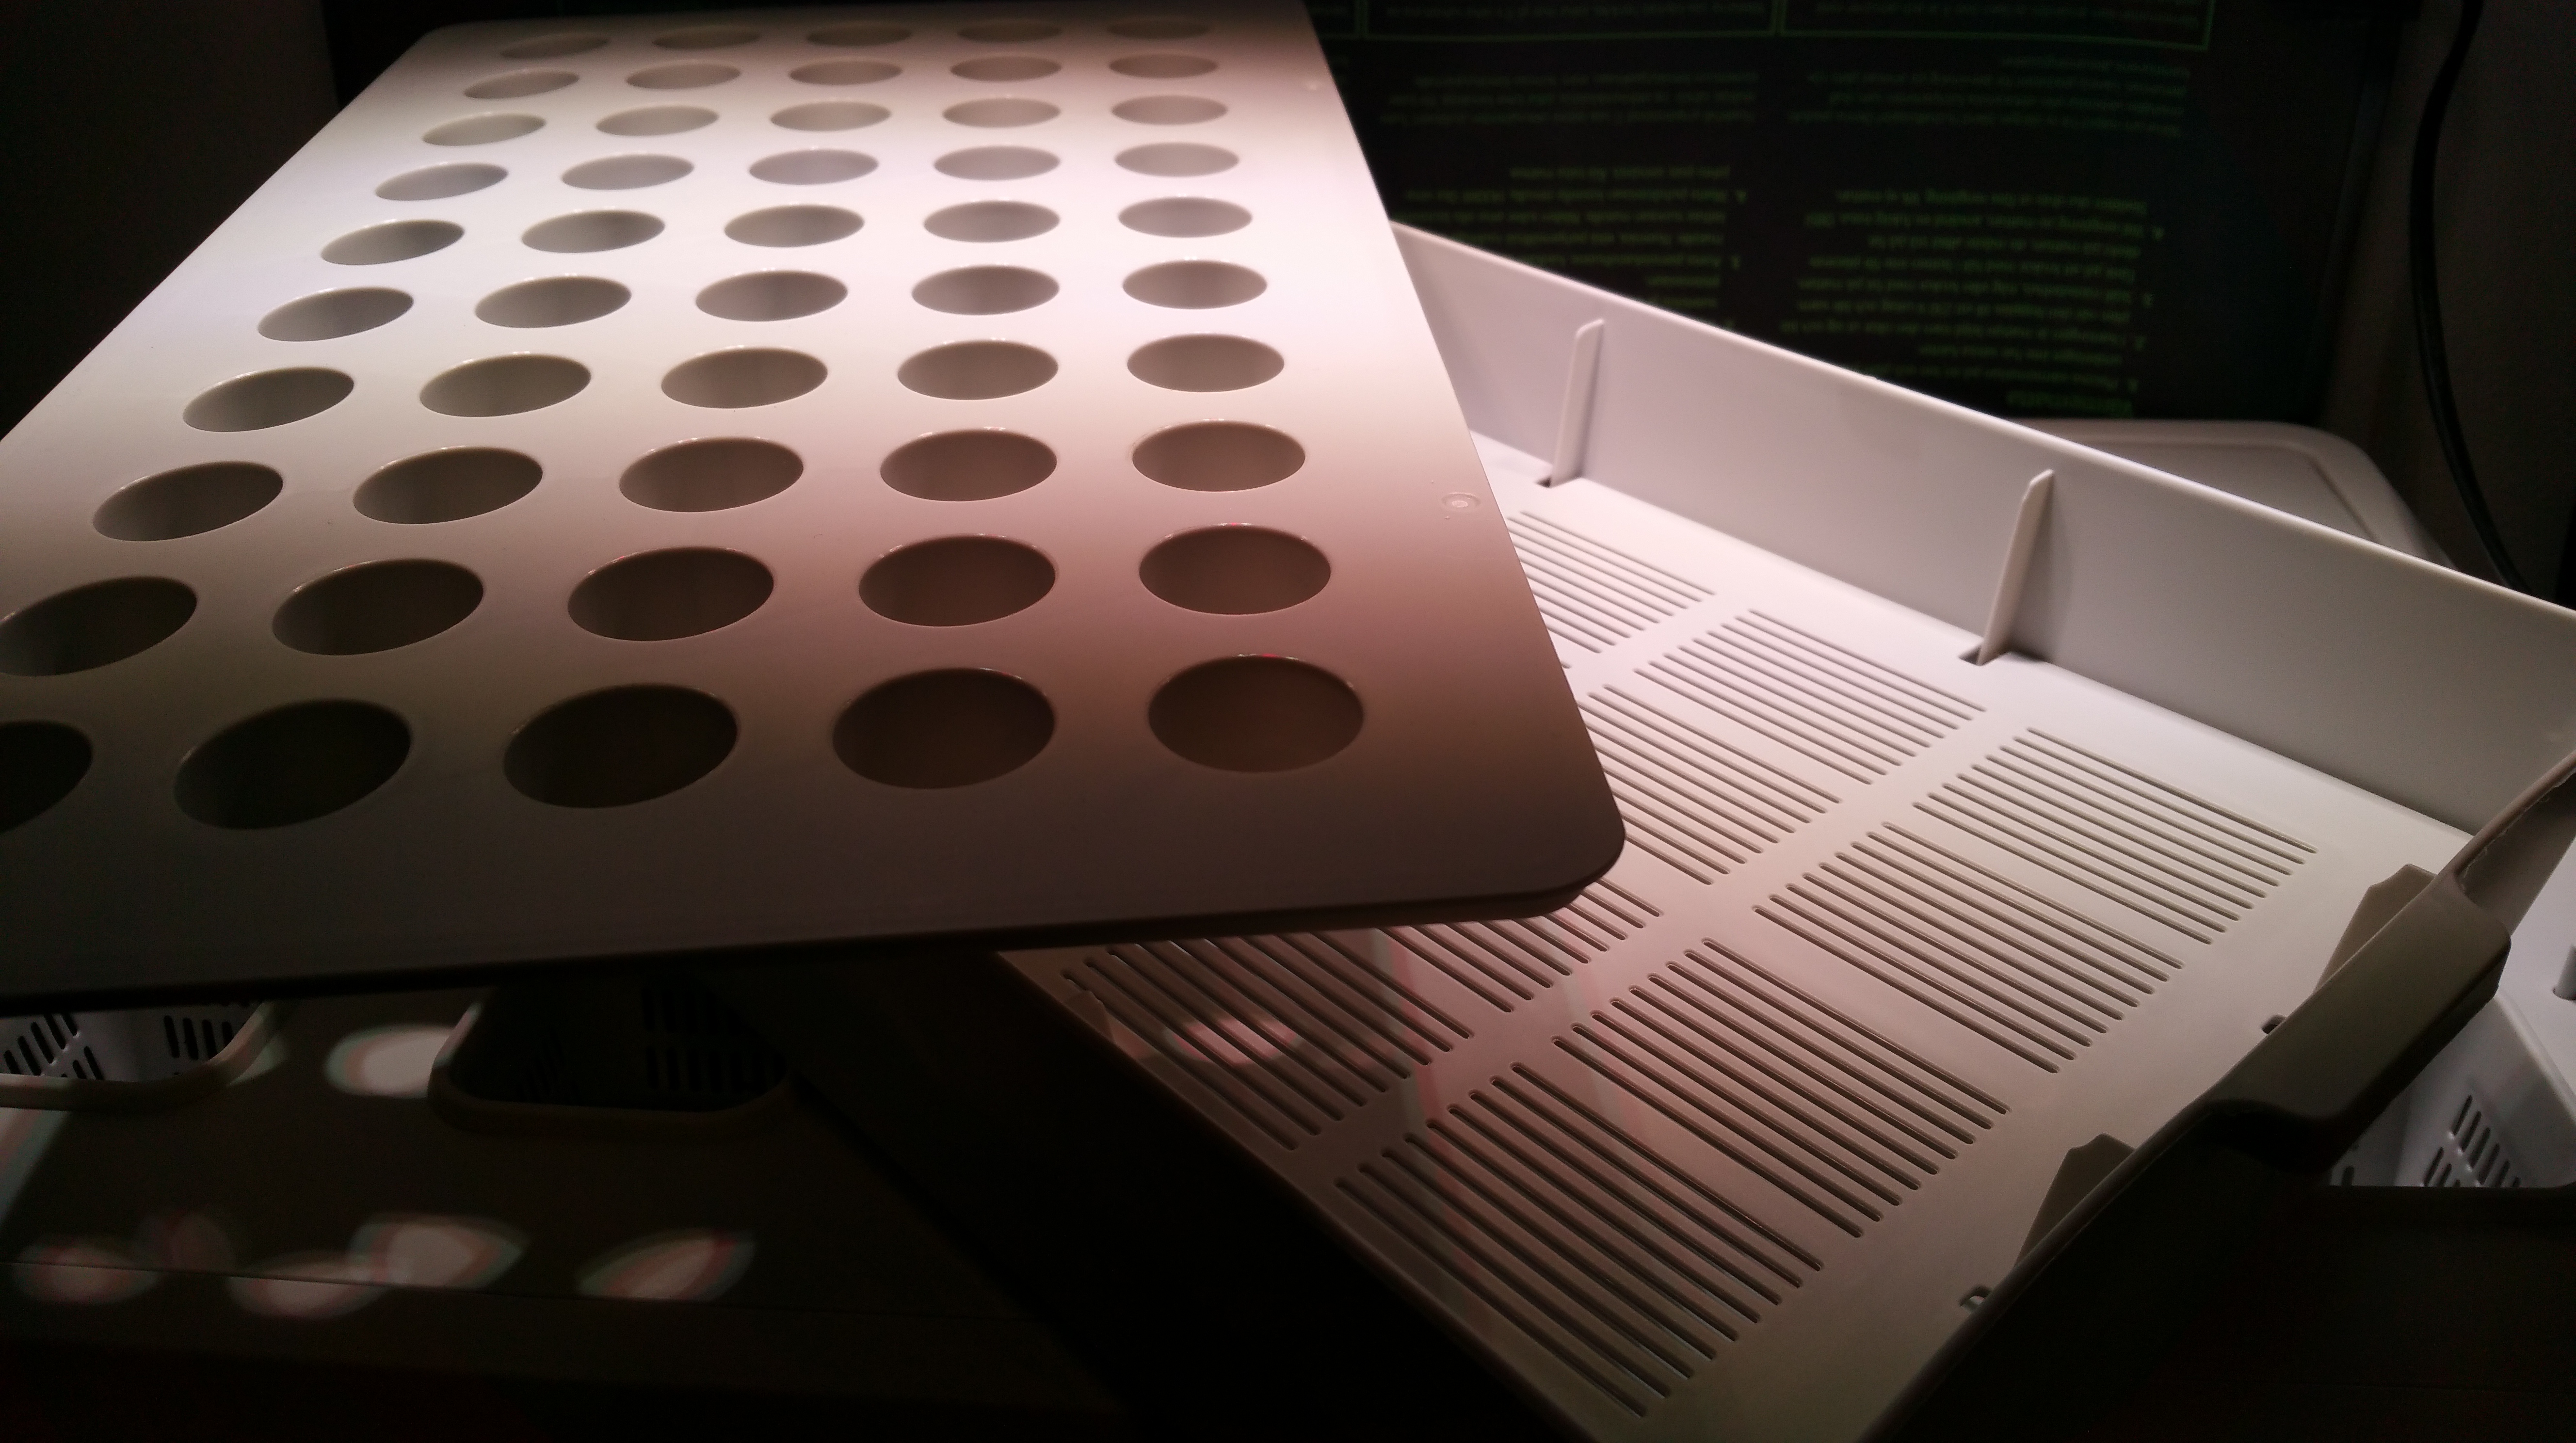
The germination process is handled with a simple tray with holes, some plugs made of stone wool (a fibrous mineral material), a water box below, and protective plastic cover with some air ventilation holes.
IKEA nursery box.
As not all seeds germinate, it is a good idea to put 2-3 seeds per plug.
Chili seeds on stone wool plugs.
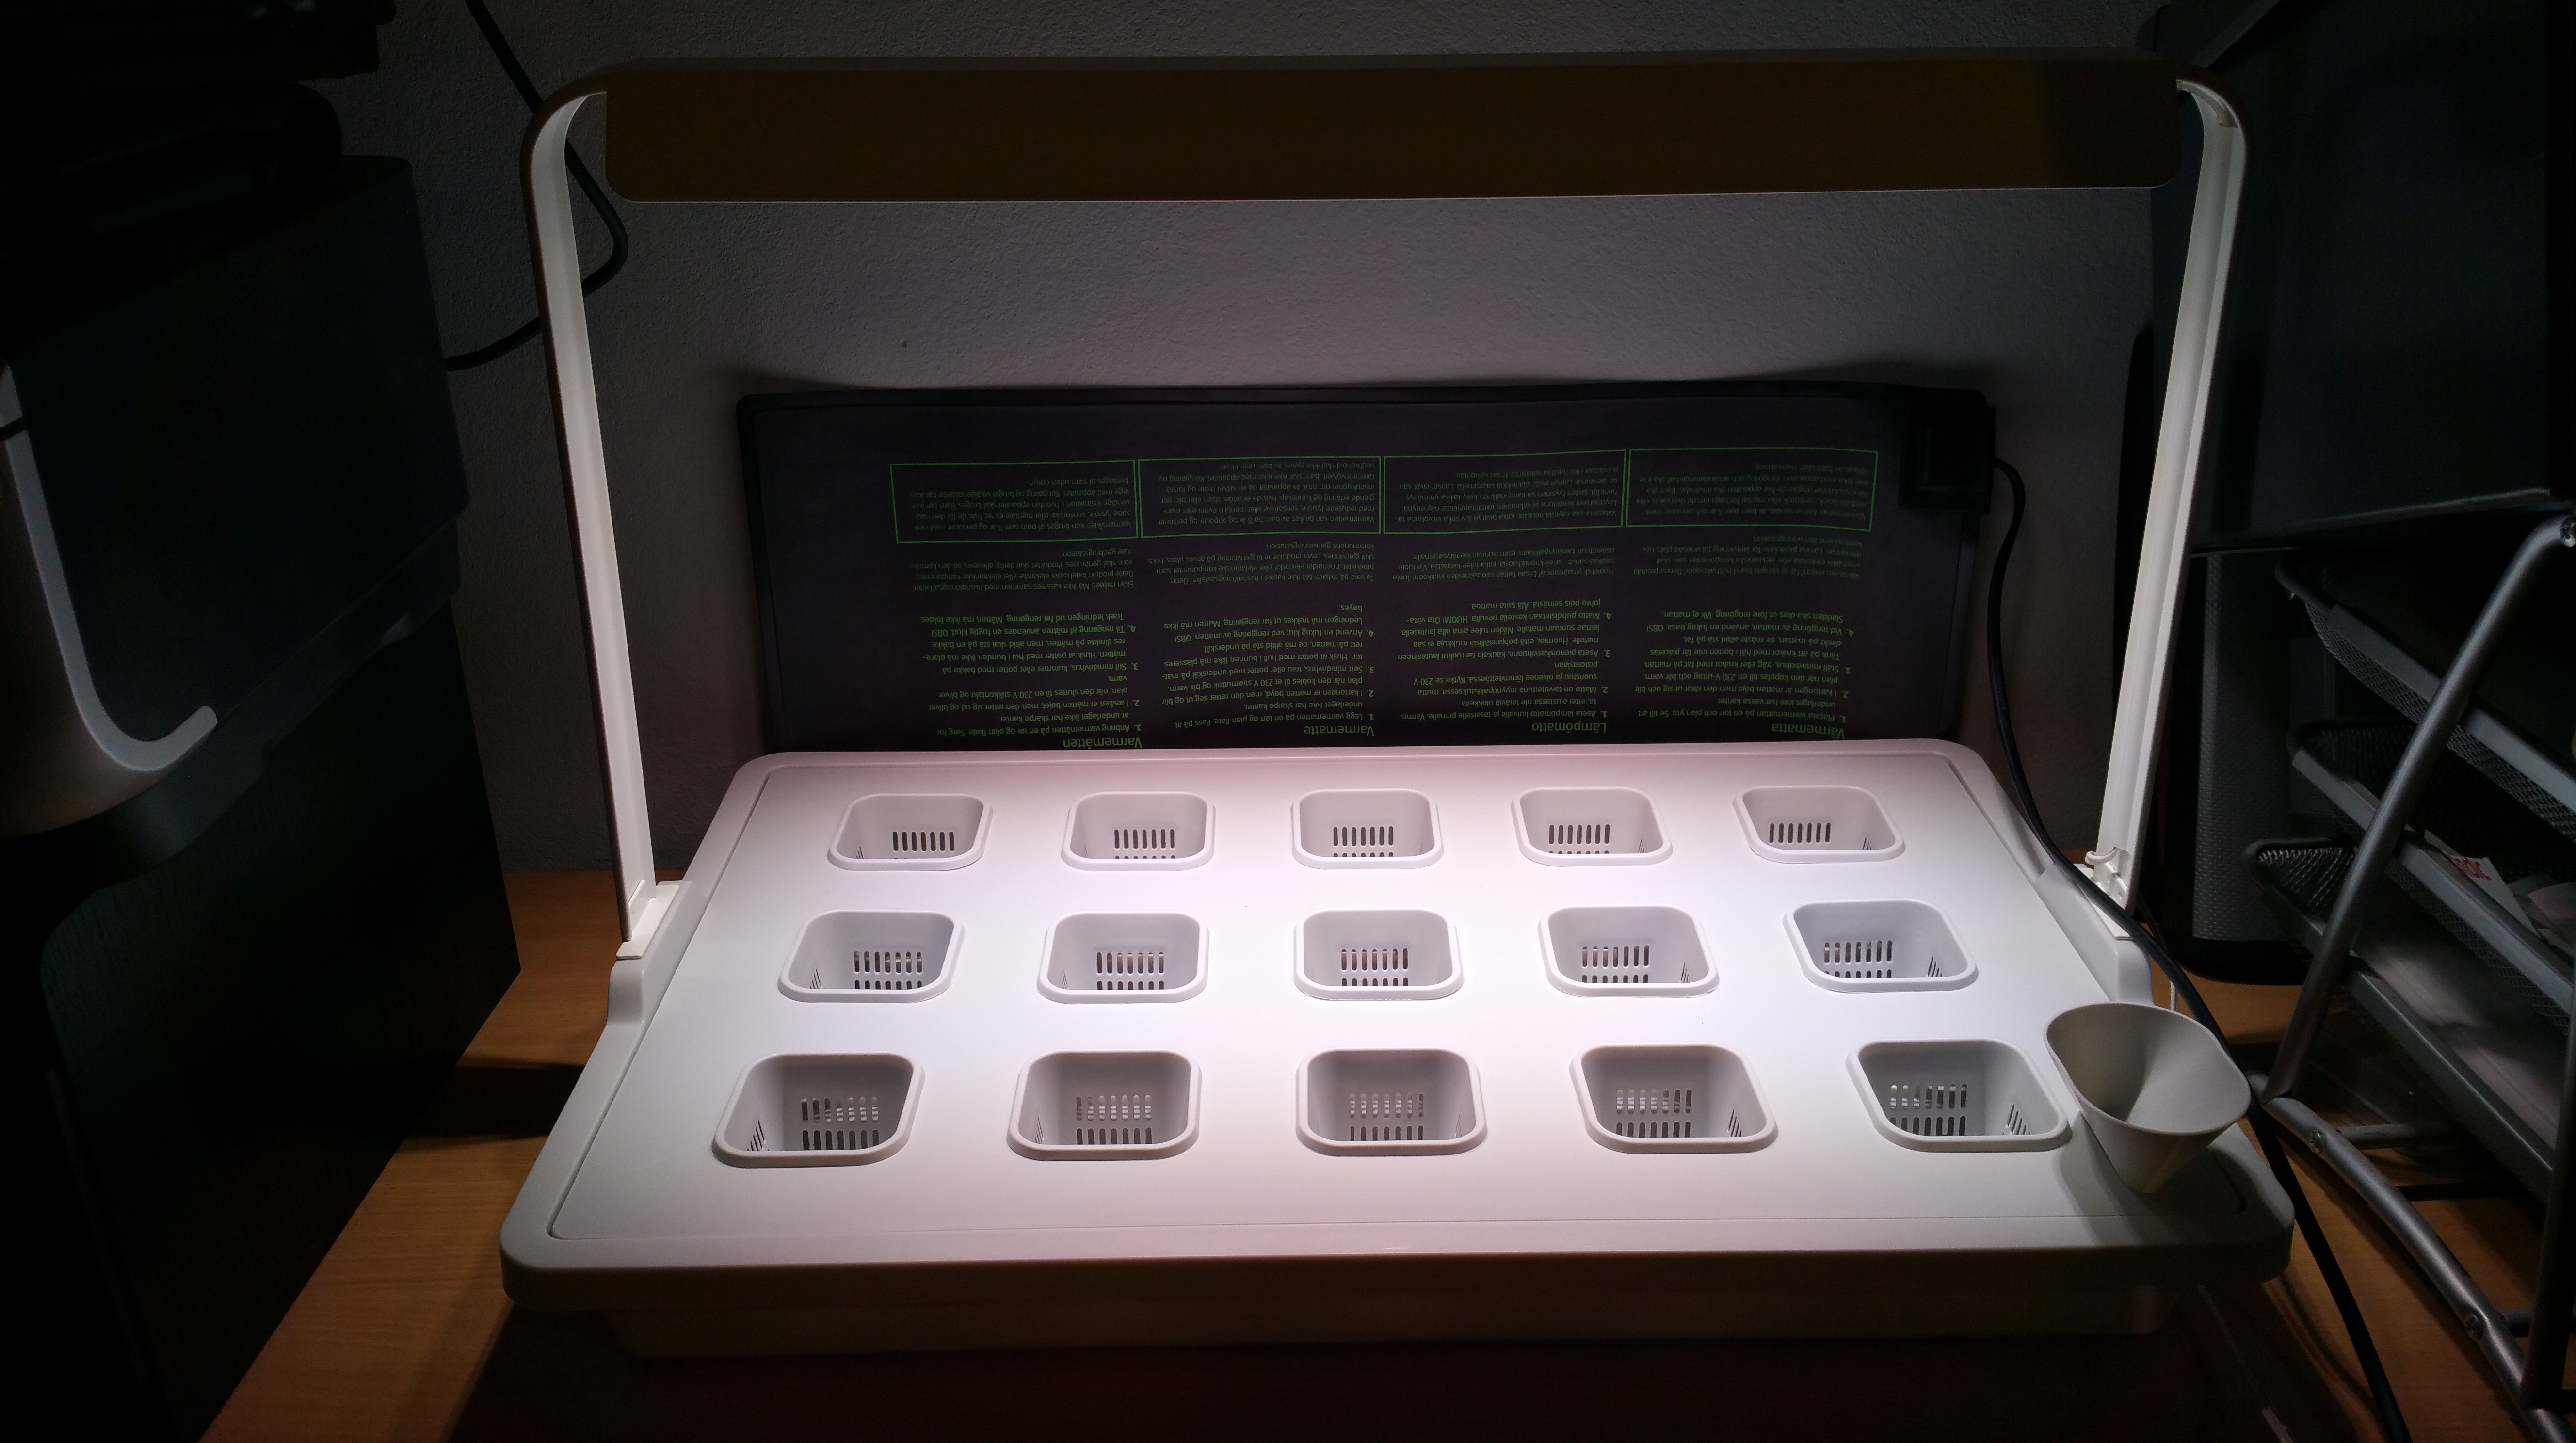
The optimal temperature for most chili varieties’ germination is around 27-29 Celsius degrees, so I use an electric warming mat below the nursery to keep the temperature even. There is also a LED light with plants’ wavelengths in the IKEA system, the cultivation insert set for seedling phase is intended to be combined with the pumice stone (volcanic rock from Iceland), which allows roots support and access to hydroponic growing solution, while also allowing airflow to the plant roots.
IKEA cultivation insert set for hydroponics.
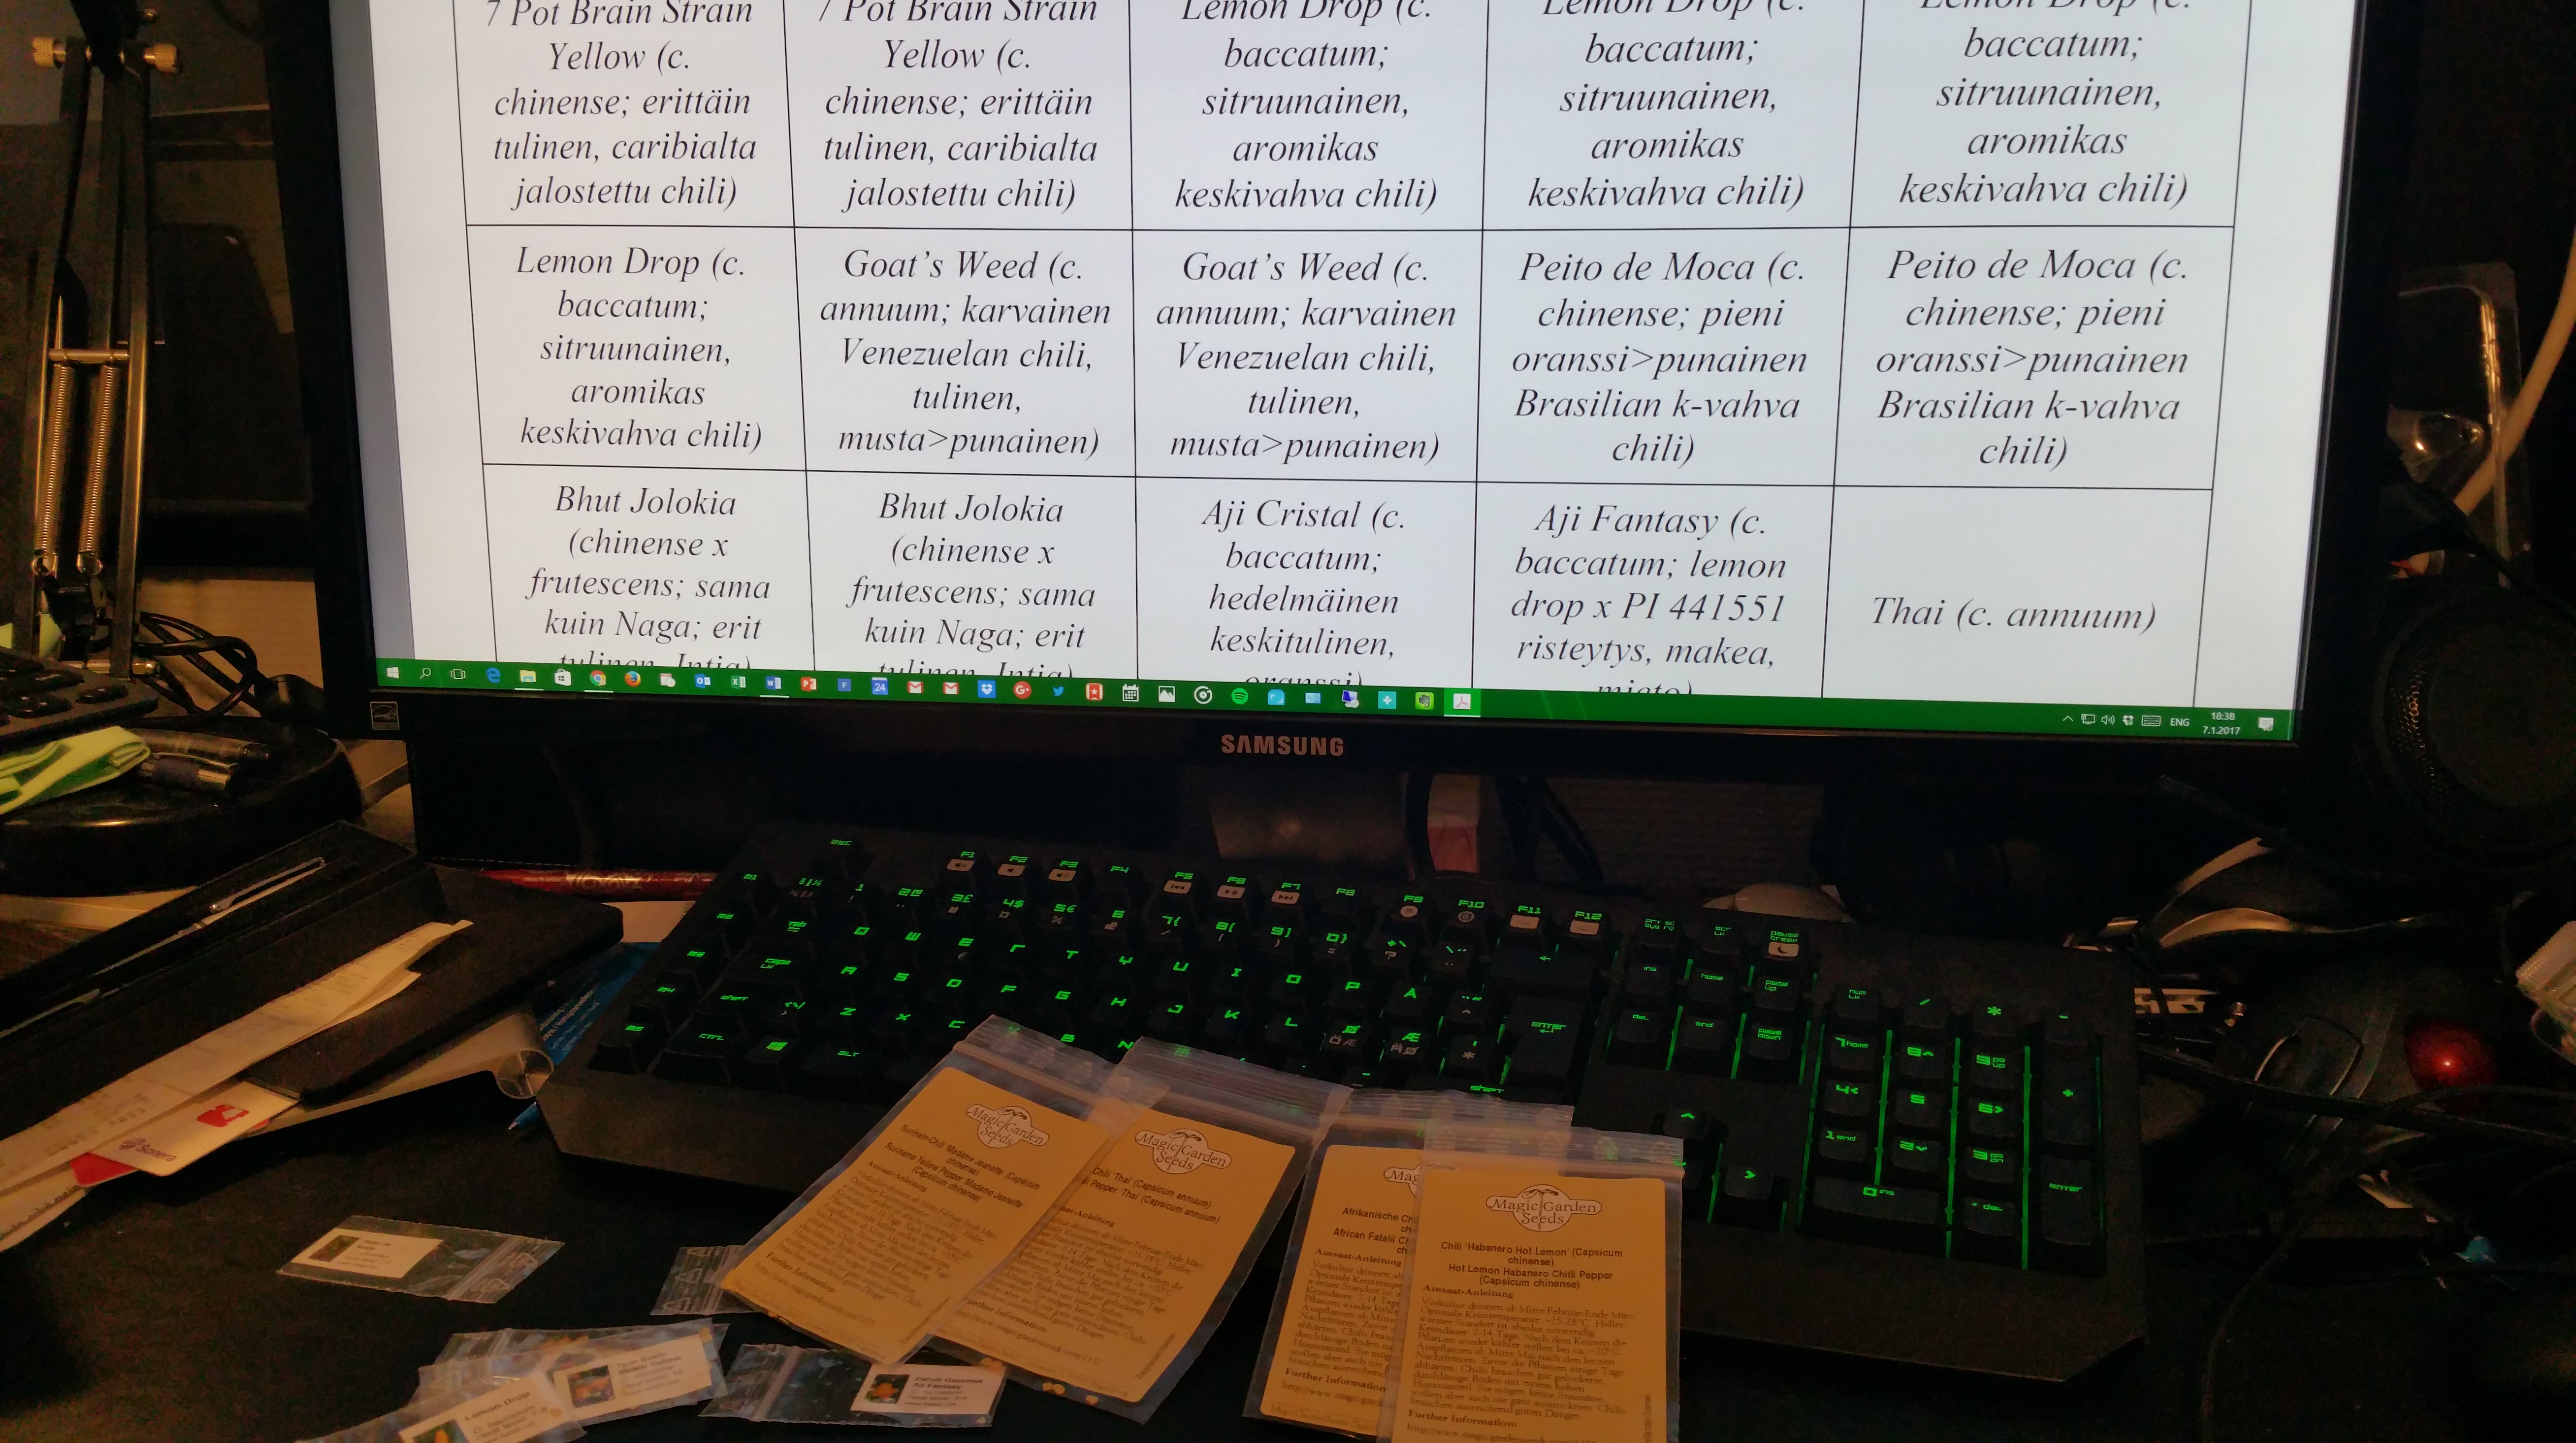
This time, the chili varieties I chose for growing are: Pequin Firecracker (c. annuum), a hybrid Tepin x Lemon Drop (c. annuum x baccatum), 7 Pot Brain Strain Yellow (c. chinense), Lemon Drop (c. baccatum), Goat’s Weed (c. annuum), Peito de Moca (c. chinense), Bhut Jolokia (which is now classified as a c. chinense x frutescens hybrid from India?), Aji Cristal (c. baccatum), Aji Fantasy (a commercial Finnish c. baccatum hybrid of Lemon Drop x PI 441551), a non-specified ‘Thai’ chili variety (c. annuum), Habanero Hot Lemon (c. chinense), Fatalii (c. chinense), and my old favourite, yellow Madame Jeanette (c. chinense, a habanero chili from Suriname). Old familiar ones, and new acquaintances. Happy new chili season, all fellow chili-heads!
Chili growing is a multi-form hobby.
PS. Here is also a cheerful video by IKEA about the joys of hydroponics:
 My original plan was to move into full hydroponic gardening setup in our greenhouse early this year. However, during the Easter weekend, we got again a “takatalvi” (a cold spell with snowfall) in Tampere, and the greenhouse will stay closed for a long time, still. Thus, a Plan B.
 This system should make do for some time now. The only downside is that small water reservoir in all of those 12 pots. I have no idea how fast the small saplings will drink that amount, so it might be that soon I will be mixing nutritients and filling in 12 pots every day or so. Let’ see: the maximum amount of liquid these pots can take is under 12 L, so if I will prepare a large 10 L bucket of the nutritient solution per each “serving”, this should be pretty straightforward. Canna, the nutritient manufacturer, instructs to use 19 ml of A solution and 19 ml of B solution per 10 L of water in the starting & rooting phase, and then add the dosage into 23 ml + 23 ml, when the plants have entered the early vegetative, growth phase. When we’ll have a bit larger plants (2-4 weeks-old saplings), the recommended nutritient amounts are 27 ml + 27 ml, per 10 L water.


You must be logged in to post a comment.